
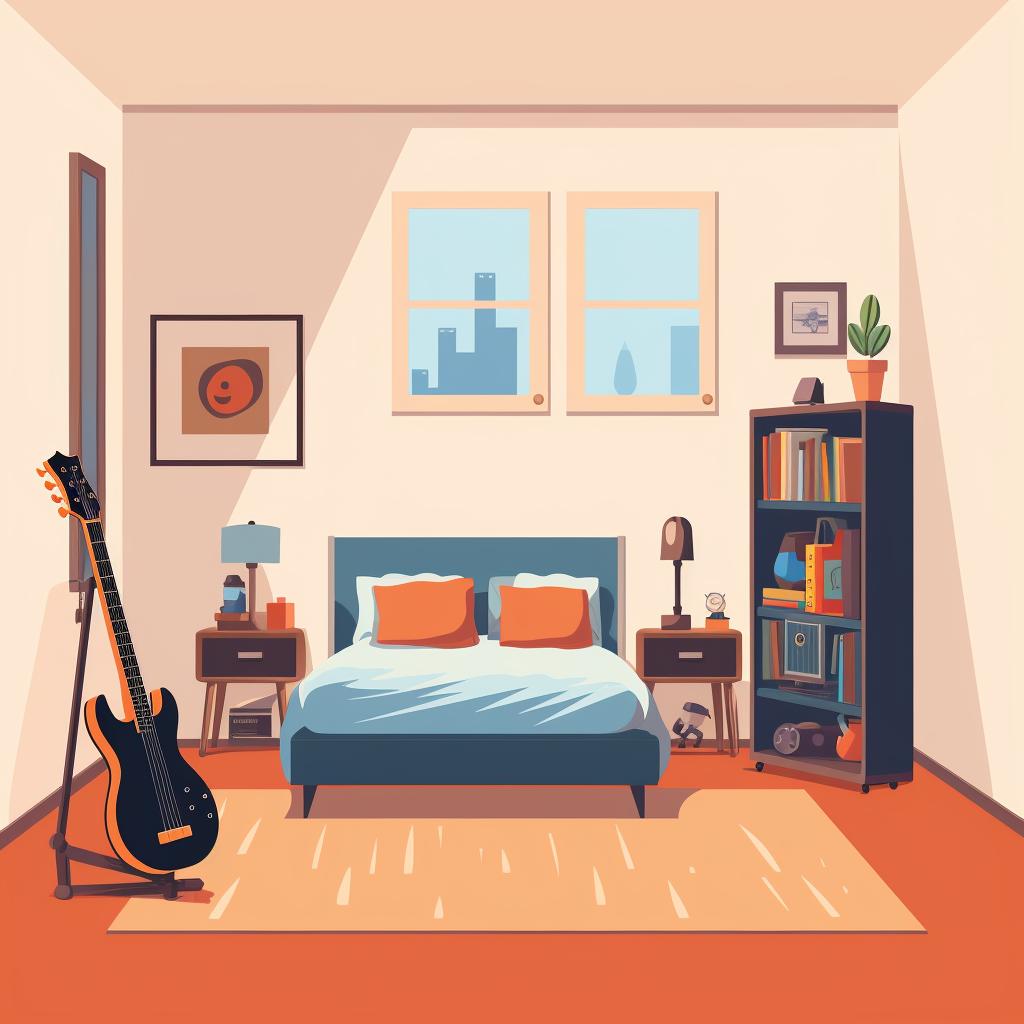
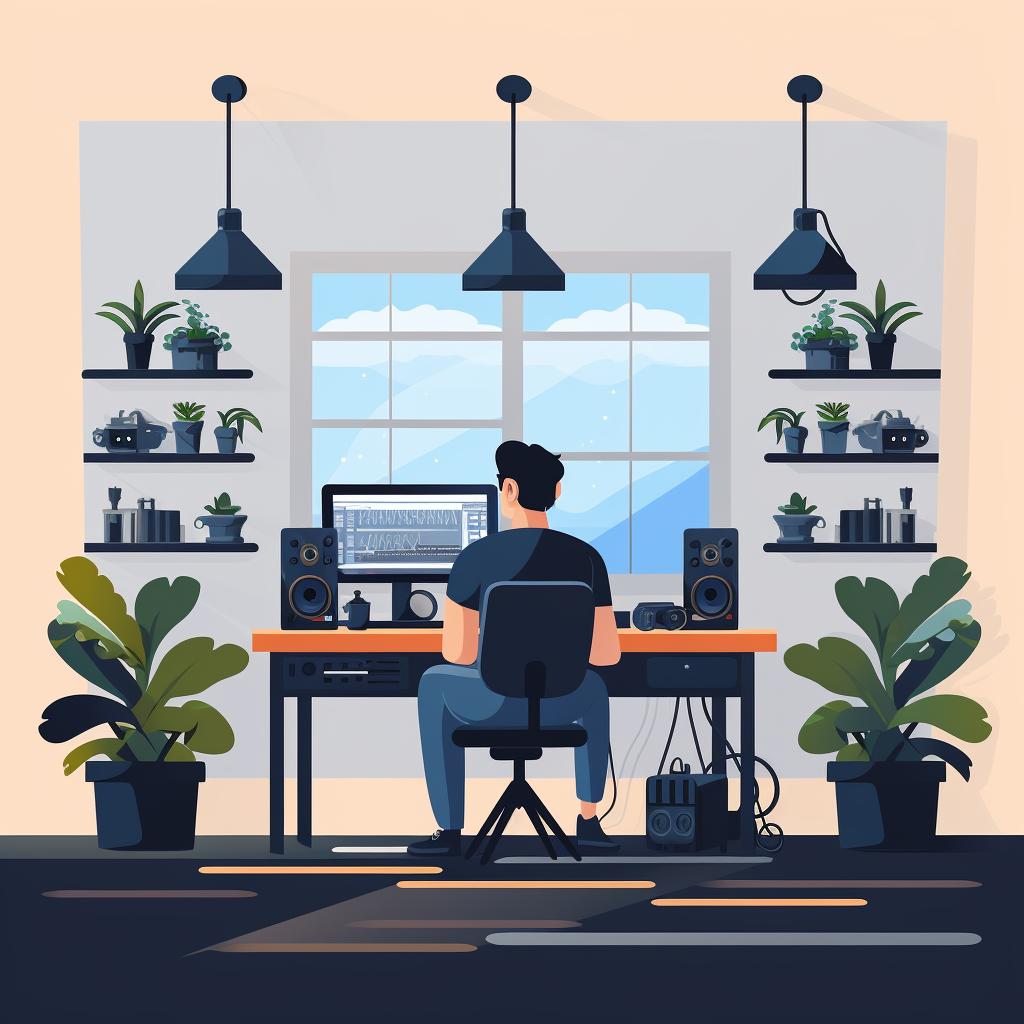
Kickstart Your Bedroom Studio Journey: The Ground Rules 🚀
Ever dreamt of transforming your bedroom into a buzzing hub of creativity, a DIY home recording studio? Well, you're in the right place! This guide is your golden ticket to converting that cozy corner into a dynamic, affordable recording studio setup.
From understanding the basics of acoustics to choosing the right home studio equipment, we'll walk you through every step of the process. You'll discover how to optimize your space for sound, where to place your equipment for the best results, and even how to soundproof your room on a budget.
But that's not all! We'll also share maintenance tips to keep your studio in tip-top shape, and recording techniques to help you sound like a pro. Ready to embark on your bedroom recording studio setup journey? Let's dive right in!
Don't forget to check out our other articles on exploring the best software for your home recording studio, and our FAQs on how to set up a home studio and what you need to start a home recording studio.

Cracking the Code: What's in a Recording Studio Kit? 🎧
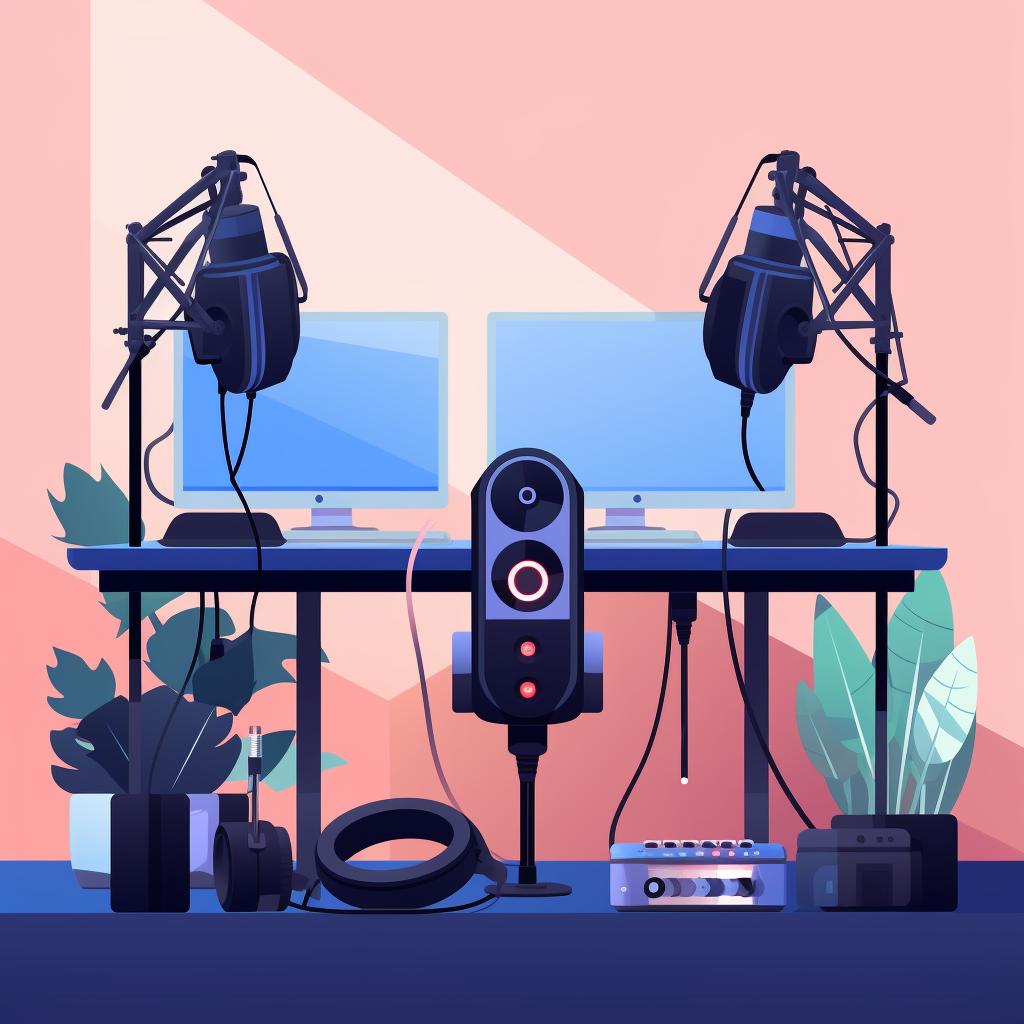
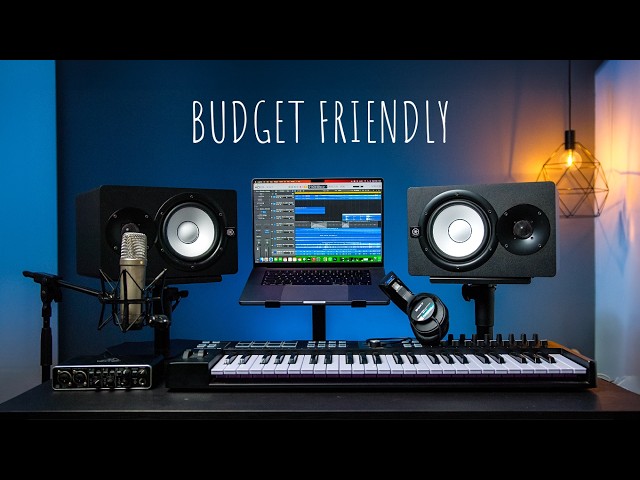
Essential Gear for Your DIY Home Recording Studio
- Microphone: The cornerstone of any recording studio. A good quality studio microphone can capture your voice or instrument with clarity and precision.
- Audio Interface: This is the bridge between your microphone and your computer. It converts the analog signal from your mic into a digital signal your computer can understand.
- Headphones: A pair of studio-grade headphones is essential for monitoring your recordings. Look for ones with a flat frequency response for the most accurate sound.
- Studio Monitors: These are not your average speakers. Studio monitors provide a clear, uncolored representation of your sound, crucial for mixing and mastering.
- Pop Filter: This handy tool reduces plosive sounds (like 'p' and 'b' sounds) that can cause distortion in your recordings.
- Microphone Stand: A sturdy stand is a must-have. It holds your microphone in place, reducing handling noise and allowing you to focus on your performance.
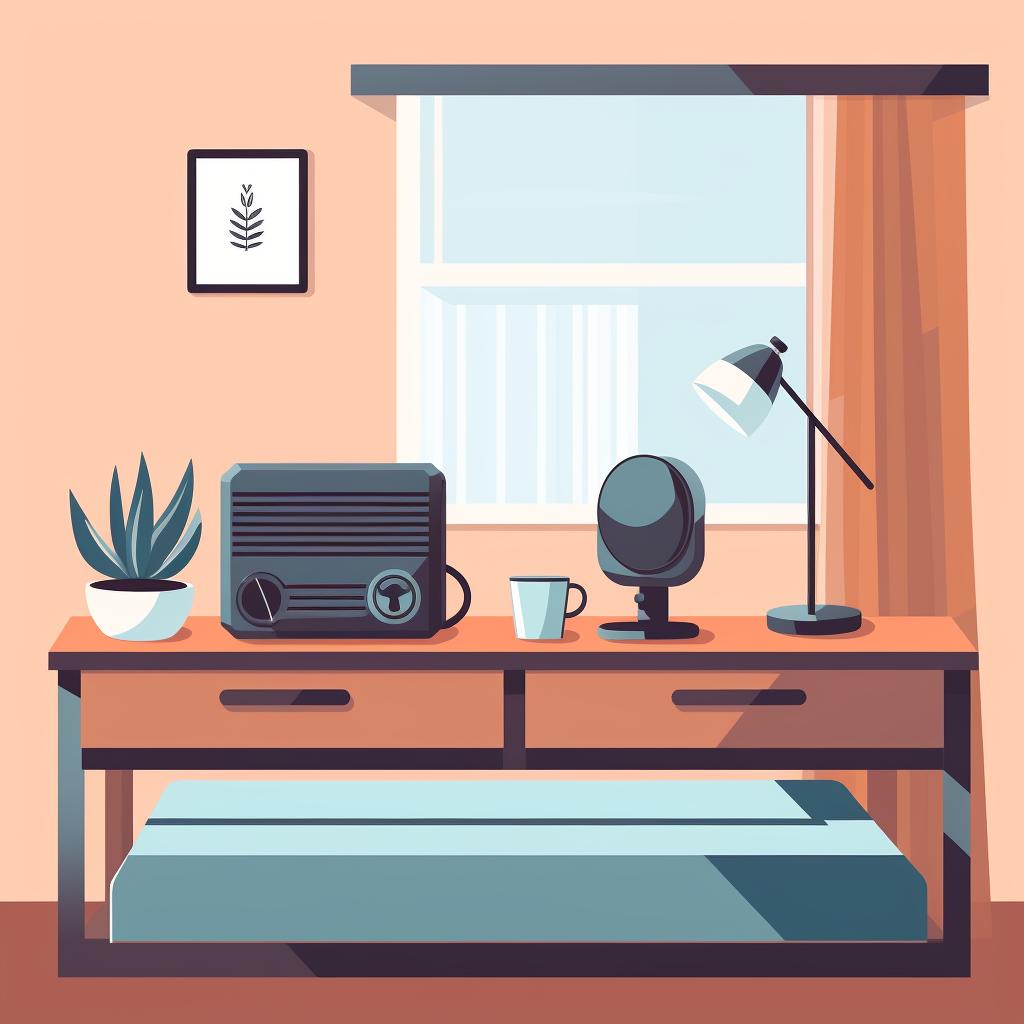
- Acoustic Treatment: To control sound reflections and get the best sound quality, consider adding some form of acoustic treatment to your room, like foam panels or diffusers.
- Cables: Don't forget about the cables! You'll need XLR cables for your microphone and cables to connect your audio interface to your computer and studio monitors.
Recording Studio Essentials Quiz
Test your knowledge about the basic equipment needed for a recording studio.
Learn more about 🎙️ Recording Studio Essentials Quiz or discover other Fresh Out of the Booth quizzes.
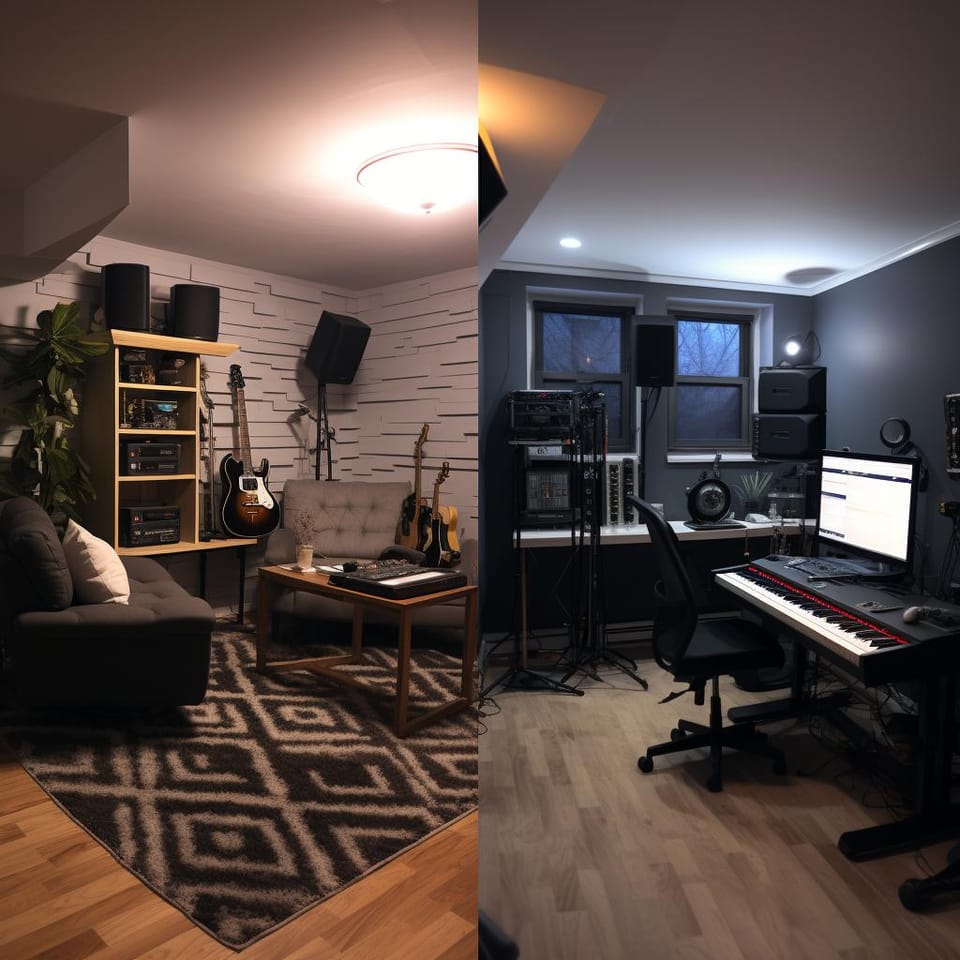
From Bedroom to Studio: Your DIY Setup Guide 🛠️
Now that we've covered the basics, let's dive into the nitty-gritty of setting up your home studio. Follow these steps to transform your bedroom into a professional recording space:
Your DIY Studio: From Bedroom to Sound Booth

Learn more about 🎧 Your DIY Studio: From Bedroom to Sound Booth 🎤 or discover other Fresh Out of the Booth guides.
Great job! You've set up your home studio. But before you start recording, let's talk about an important aspect of your studio: soundproofing. Read on to learn more about how to soundproof your studio.
Silence is Golden: Mastering the Art of Soundproofing 🤫
Acoustics 101: Soundproofing Your Studio
What's that? The hum of the fridge? The neighbor's dog barking? Or maybe it's the echo bouncing off your walls? Soundproofing is the unsung hero of any successful bedroom recording studio setup. It's the secret sauce that keeps unwanted noise out and the magic of your music in.
But don't panic, we're not talking about a complete room makeover. There are plenty of DIY home recording studio soundproofing techniques that won't break the bank. From strategically placing acoustic foam panels to creating your own sound diffusers, there's a solution for every budget and every room. Curious about where to place your soundproof panels? Check out our guide here.
Remember, a quiet room equals a clean recording. So, let's dive in and take control of your sound. Ready to turn your bedroom into a studio? Let's get started.
Now that we've discussed the importance of soundproofing, let's take a look at a practical guide that will walk you through the process of soundproofing your home studio. This video by Home RenoVision DIY provides a detailed, step-by-step guide on how to soundproof a room, making it perfect for a home recording studio.
Now that you've got a good idea of how to soundproof your studio, it's time to think about the gear you'll need to make high-quality recordings. Let's move on to our shopping guide for essential recording studio equipment.
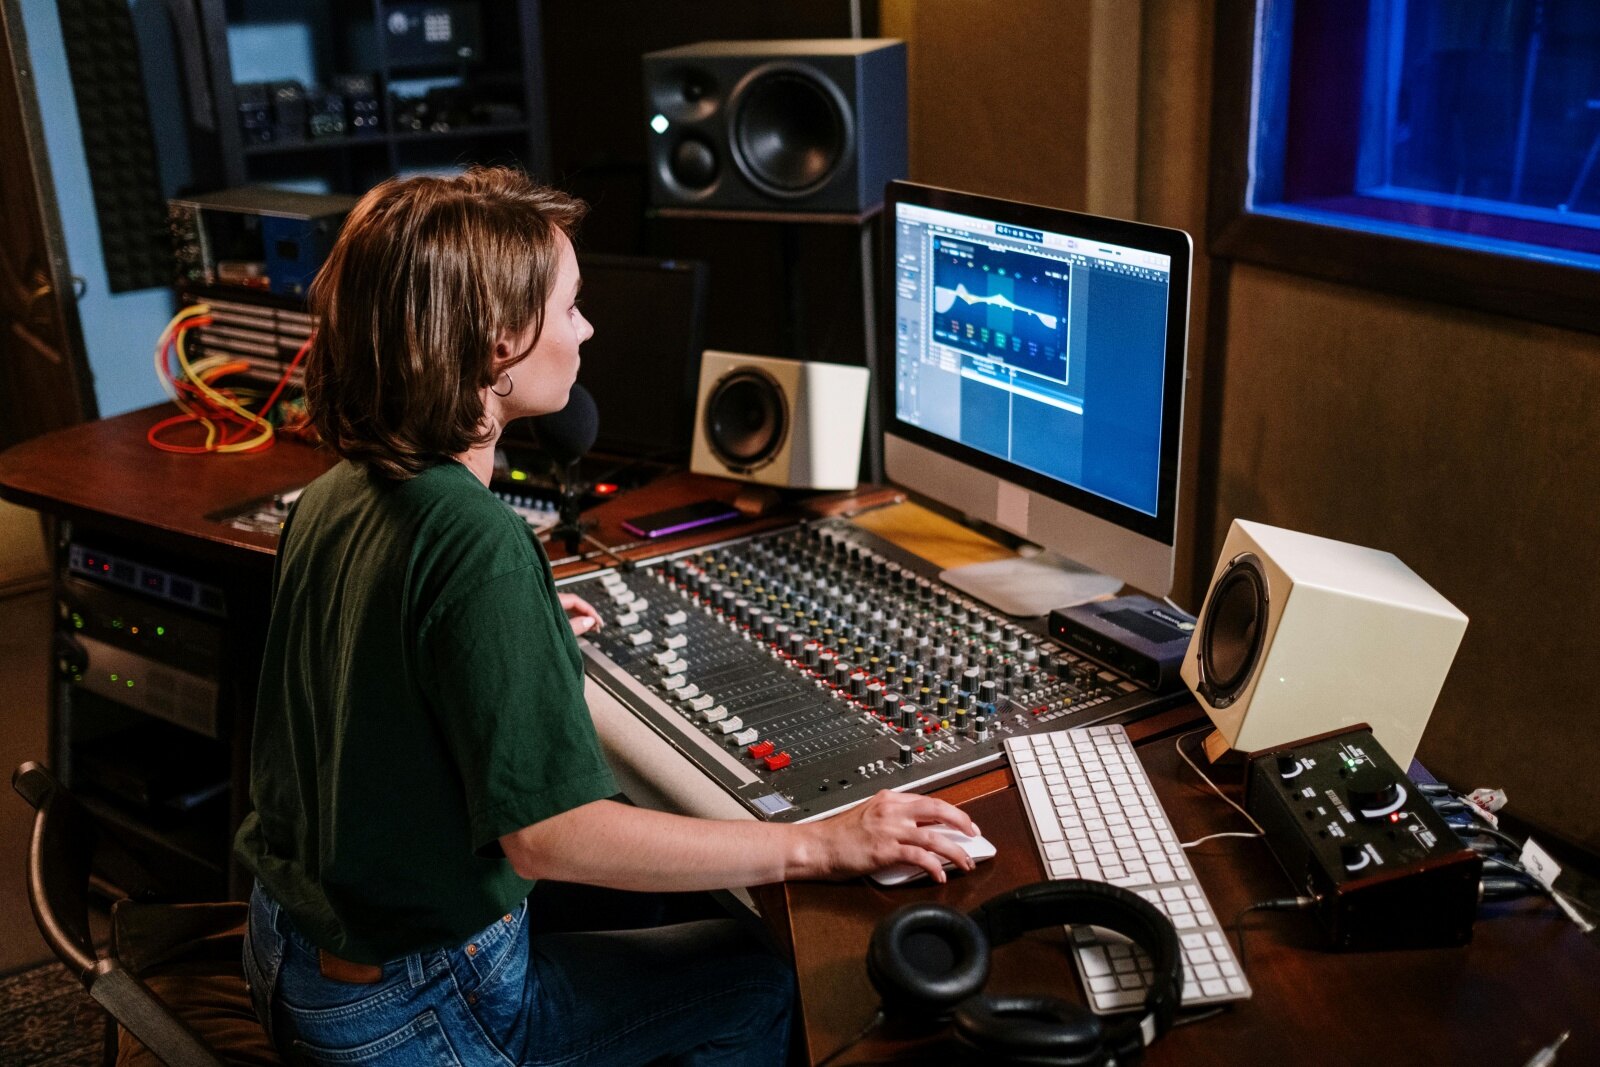
Gear Up: Your Shopping List for a Stellar Studio 🛍️
Top Picks for Your DIY Home Recording Studio
Keep it Fresh: Maintaining Your Studio's Top-Notch Status 🧹
Think of your bedroom recording studio setup as a prized race car. It's not enough to just have the gear, you need to maintain it for optimal performance. Regularly dust your equipment, keep drinks away from your gear, and avoid exposing it to extreme temperatures or humidity. This way, your home studio equipment stays in tip-top shape, ready to capture your next big idea.
And what about the environment? Remember, a clean, clutter-free space is not just visually pleasing but also acoustically efficient. A chaotic room can disrupt sound waves and affect your recording quality. Want to know more about this? Check out our guide on soundproofing your home studio.
Lastly, keep your software updated. This ensures you're getting the best out of your recording software. Remember, a well-maintained studio is the first step towards creating magic!
Now that we've covered how to take care of your studio equipment, let's dive into some routine tasks you should be doing to keep your studio in top shape. Here's a handy checklist to guide you:
By following this checklist, you'll ensure your studio is always ready for recording. Now, let's move on to some techniques to help you sound like a pro!
Sound Magic: Pro Techniques to Boost Your Recordings 🎤
Now that you've got your equipment in place and your room sounding like a slice of sonic heaven, it's time to dive into the heart of your DIY home recording studio: the techniques. You see, the magic isn't just in the gear or the room, it's in your hands. How you record, mix, and master your tracks can make a world of difference.
Ever wondered why some recordings sound like a band in a box, while others feel like a live concert in your living room? It's all about the technique. For instance, did you know that the position of the microphone can drastically alter the sound of your recording? Or that adding a little reverb can give your tracks a sense of space and depth? Check out our step-by-step guide for more insights on these home recording tips.
Remember, every great producer started as a beginner. So, don't be afraid to experiment, make mistakes, and learn. After all, your bedroom recording studio setup is your playground. Ready to make some noise?
Recording Techniques and Best Practices Quiz
Test your knowledge about recording techniques and best practices.
Learn more about 🎙️ Recording Techniques and Best Practices Quiz or discover other Fresh Out of the Booth quizzes.
On Your Marks, Get Set, Record! Your Studio Awaits 🎵
Friends, you've journeyed through the exciting realm of bedroom recording studio setup, braved the wilds of acoustics, and conquered the mountain of gear selection. Now, full of knowledge and anticipation, your DIY home recording studio is no longer a dream but a reality waiting for you to breathe life into it. Isn't it thrilling to know that the next big hit could be born right in your own bedroom?
Remember, the key to mastery is practice. The world of sound is vast and complex, but with each recording, each mix, each experiment, you'll become more adept at capturing the magic. Still curious? Our Ultimate Guide to DIY Home Recording Studio Setup and these handy Tips for Recording Clear Audio at Home can fuel your ongoing exploration.
So, pick up that mic, plug into your passion, and let your creative spirit run wild. The world is waiting to hear your story—shall we begin?

No comments yet. Be the first to share your thoughts!