
Setting a realistic budget for your home recording studio
Building a home recording studio involves balancing equipment quality with your available cash. The total cost varies significantly based on whether you are starting from scratch or upgrading existing gear. Experts suggest that a functional entry-level setup can begin around $300 to $500, covering a basic audio interface, USB microphone, and essential software. For a more professional signal chain with dedicated preamps, studio monitors, and acoustic treatment, budgets typically range from $1,000 to $2,500.
When planning your spend, prioritize the audio interface and microphone first. These components capture the raw sound, so investing in quality here yields the highest return. Avoid overspending on decorative accessories or high-end headphones until your core recording chain is stable. Consider the age and condition of used gear; reputable marketplaces often list lightly used interfaces that offer pro-level features at a fraction of the retail price.
Acoustic treatment is another area where budget decisions matter. While professional foam panels help, a well-dressed closet or a corner with heavy curtains can serve as an effective dead space for voiceovers. Do not neglect your room’s natural sound properties before buying expensive hardware. A free space audit using your phone’s voice memo app can reveal echo issues that no amount of gear can fix.
Core equipment essentials
The following items form the backbone of any home studio. These are the specific tools you need to capture, process, and monitor audio effectively.


As an Amazon Associate, we may earn from qualifying purchases.
Start with a reliable audio interface. This device converts analog signals from your microphone into digital data for your computer. Look for interfaces with at least two inputs if you plan to record guests. Phantom power (+48V) is essential if you later switch to condenser microphones.
Pair your interface with a dynamic microphone. Dynamic mics are forgiving of untreated rooms and reject background noise better than condenser mics. They are the standard for podcasting and voiceover work. Ensure the mic has a cardioid pickup pattern to focus on your voice and minimize room reflections.
Closed-back studio headphones allow you to monitor your audio without sound bleeding into the microphone. Open-back headphones sound more natural but leak audio, making them unsuitable for recording in the same room. Choose a pair with a comfortable headband for long editing sessions.
A pop filter is a simple but critical accessory. It sits between your mouth and the microphone to reduce harsh "p" and "b" sounds. Without it, your recordings may require extensive editing to remove distracting plosives. Most pop filters attach directly to your mic stand or boom arm.
Software and additional tools
Hardware captures the sound, but software shapes it. A Digital Audio Workstation (DAW) is required to record, edit, and mix your audio. Many interfaces come with bundled DAW software, which can save you an initial investment. Popular options include Audacity (free), Reaper (affordable), and Adobe Audition (subscription-based).
Consider adding a boom arm or shock mount to your setup. A shock mount isolates the microphone from vibrations caused by desk bumps or keyboard typing. A boom arm frees up desk space and allows you to position the mic at the optimal distance from your mouth. These accessories are relatively inexpensive but significantly improve recording consistency.
Common questions about home studios
Legal and noise considerations
While recording audio at home is legal, you must respect local noise ordinances. High volumes or bass-heavy music can disturb neighbors, leading to complaints or fines. Keep monitor levels reasonable and use headphones for critical listening. If you are recording guests, always obtain verbal or written consent to ensure privacy and copyright compliance.
Summary
Building a home recording studio is a process of incremental improvement. Start with a solid foundation of interface, mic, and headphones. Expand your budget into acoustic treatment and software as your needs grow. Avoid buying expensive gear before mastering your recording environment. With careful planning, you can achieve professional results without breaking the bank.
Shortlist real options
Choosing the right home recording studio equipment depends on your budget and the specific type of audio you plan to capture. Whether you are recording voiceovers, music, or podcasts, the core components remain consistent: a microphone, an interface, monitoring headphones or speakers, and digital audio workstation (DAW) software. Experts at Berklee College of Music note that building a pro-level space is possible on any budget if you prioritize the right foundational gear over expensive add-ons.
The following table compares four distinct home studio configurations, ranging from portable USB setups to more traditional XLR-based interfaces. These options represent the strongest current choices for different user needs.
| Setup Type | Microphone | Interface | Best For |
|---|---|---|---|
| Portable USB | USB Condenser | Built-in | Podcasters and beginners |
| Basic XLR | XLR Condenser | 2-Channel USB | Voiceovers and solo musicians |
| Dual Mic | 2x XLR Dynamic | 4-Channel USB | Interviews and duets |
| Advanced | XLR Large Diaphragm | 8+ Channel | Music production and mixing |
The portable USB setup offers the simplest entry point. By integrating the microphone and interface into a single device, it eliminates the need for external power supplies or complex cabling. This is ideal for content creators who need to record high-quality audio quickly without managing multiple pieces of hardware. However, it limits your ability to expand the system later.
For those requiring greater flexibility, the Basic XLR setup provides a clear upgrade path. Using separate microphones and interfaces allows you to swap components as your skills improve. This configuration is standard for voiceover artists and solo musicians who need precise control over their sound source and gain staging.
The Dual Mic setup is designed for collaborative recording. It supports two simultaneous inputs, making it perfect for interview-style podcasts or musical duets. The 4-channel interface provides enough headroom for future expansion, such as adding instruments or additional microphones.
Finally, the Advanced setup caters to serious producers and musicians. With support for eight or more inputs, this configuration allows for complex multi-track recording, including full drum kits, orchestral sections, or large vocal ensembles. The higher channel count and superior preamps justify the increased cost for professional-grade production.
Inspect the expensive parts
Before you finalize your podcast setup, audit the components that carry the highest financial risk. In an AI-enhanced home studio, a single failed piece of hardware can bottleneck your entire workflow or ruin hours of audio. Treat these expensive items like insurance policies: inspect them before they become liabilities.
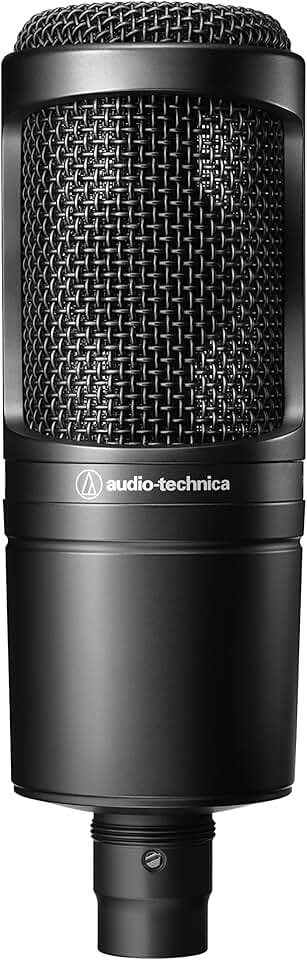
The microphone is the most critical investment. Inspect the grille for dents and the capsule for dust. A damaged diaphragm introduces distortion that AI noise reduction cannot fully fix. If buying used, ask for a test recording to check for intermittent crackling, which often signals a failing internal connector.
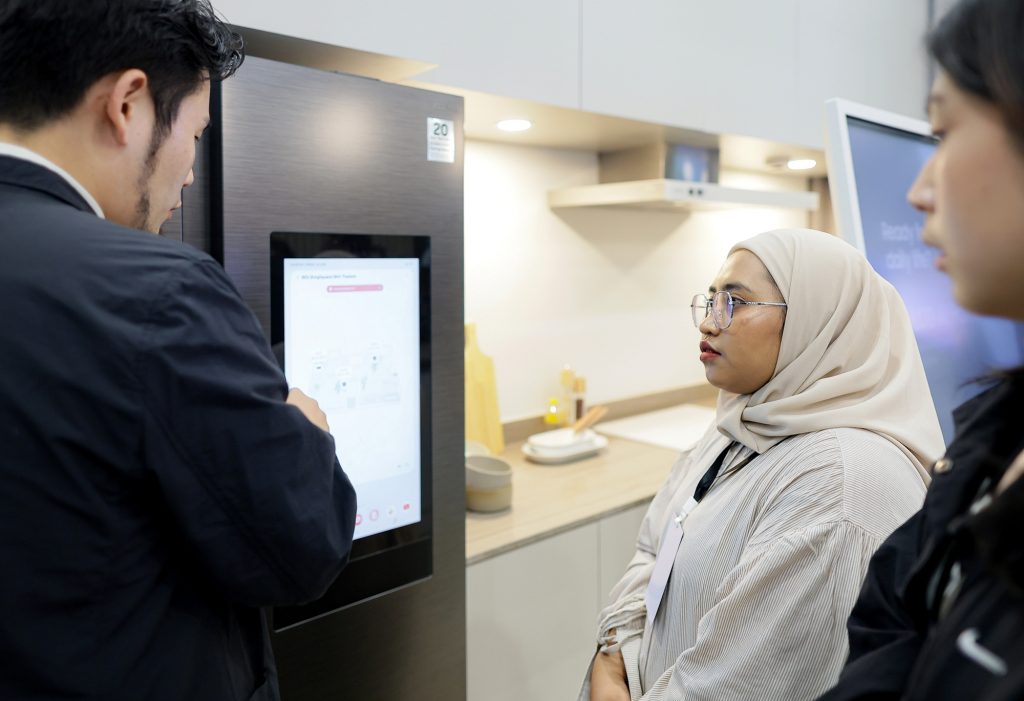
Your interface converts digital signals to analog sound. Test all output jacks with different headphones and monitors. Look for "popping" sounds when plugging in cables, which indicates worn-out input sockets. A failing interface can introduce latency, breaking the real-time AI processing loop you rely on for live monitoring.
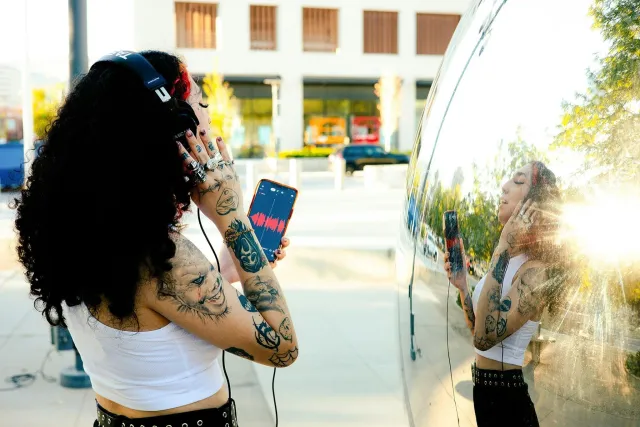
AI audio tools are CPU-intensive. Open your case and check that fans spin freely and dust filters are clean. Overheating causes throttling, which drops your audio buffer and creates glitches. Ensure your GPU drivers are updated, as many AI noise gates and enhancement plugins now rely on hardware acceleration.
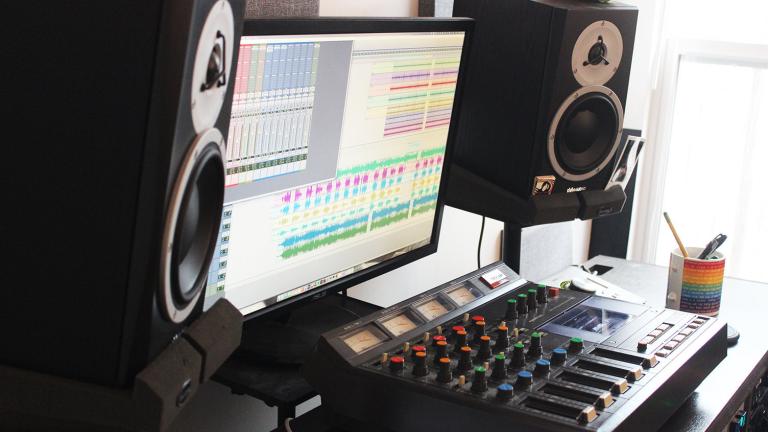
Poor monitoring leads to bad mixing. Check your speakers for blown cones by playing a low-frequency test tone. Ensure your stands are stable; vibration transfer from your desk can muddy your sound. If using headphones, inspect the ear pads for tears that might leak sound and compromise your recording environment.
By focusing on these high-cost failure points, you ensure your studio remains a reliable tool rather than a source of expensive headaches.
Plan for ownership costs
A microphone and interface are just the entry fee. The real expense of a home studio comes from the hidden costs that accumulate after the first session. Software subscriptions, acoustic treatment, and hardware replacements turn a "budget" setup into a monthly bill that rivals a gym membership.
The recurring software tax
Most modern recording workflows rely on Digital Audio Workstations (DAWs) and plugin suites. While many offer free trials, professional-grade tools like iZotope RX for noise reduction or subscription-based libraries from Spitfire Audio require annual payments. These costs are often overlooked when calculating the initial budget. A $20 monthly subscription adds $240 a year, which can fund a second microphone or better headphones by the end of the first cycle.
Acoustic treatment and gear maintenance
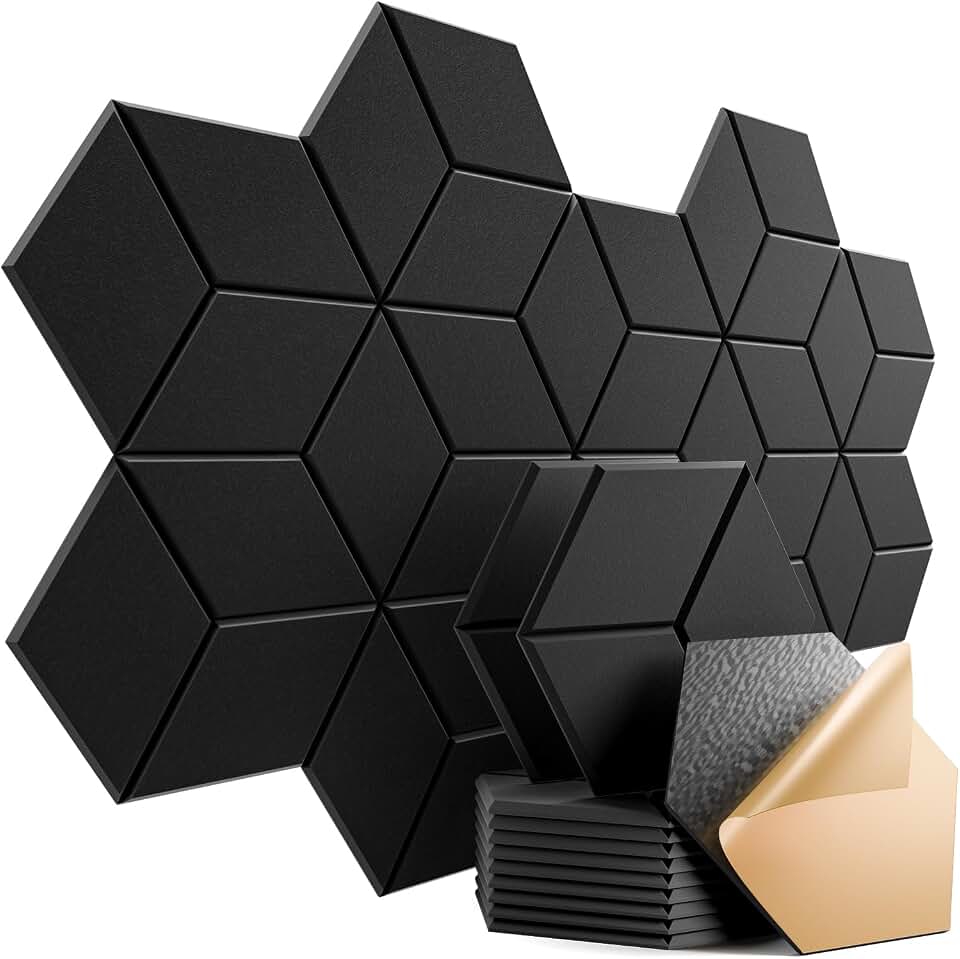
Cheap foam panels degrade quickly and rarely solve low-frequency issues. Proper acoustic treatment involves bass traps and diffusion panels that are a one-time investment but often underestimated in cost. Additionally, cables break, phantom power fails, and hard drives corrupt. Keeping a 10% buffer of your initial budget for replacements and backups prevents a broken cable from halting production for days.
When cheap stops being cheap
The cheapest interface often lacks clean preamps, forcing you to buy a separate mic preamp or accept noisy recordings that require expensive software repair later. Upgrading components piecemeal is rarely efficient. A mid-tier setup that covers 80% of your needs upfront usually costs less in the long run than repeatedly replacing entry-level gear that hits a ceiling.

As an Amazon Associate, we may earn from qualifying purchases.
Home recording studio: what to check next
Before committing to a setup, it helps to know exactly what goes into the budget and the legal landscape. A basic home studio does not require a professional facility, but it does need specific core components to capture clear audio.
No comments yet. Be the first to share your thoughts!