What a home recording studio budget actually looks like
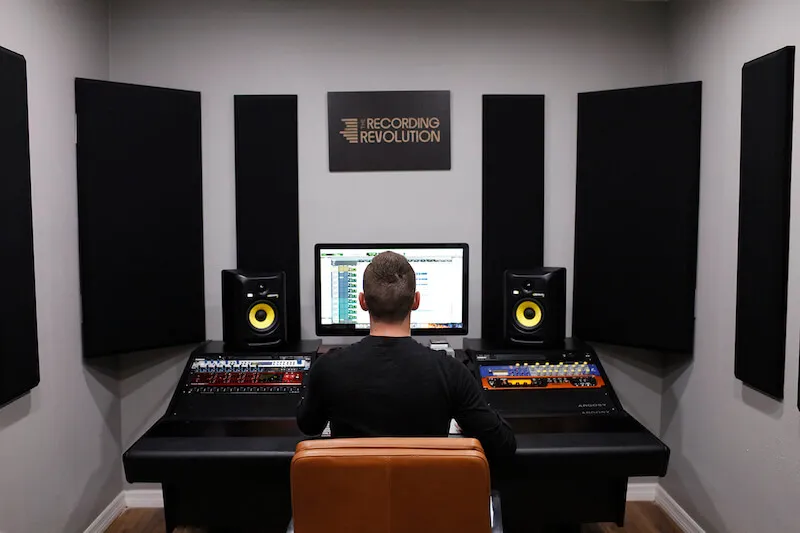
Your budget determines your starting line, not your finish line. A functional home studio does not require professional-grade equipment on day one. You can build a credible setup for under $500 by prioritizing the essentials: a computer, an audio interface, and one decent microphone. The goal is to capture clean audio that sounds intentional, not to replicate a commercial facility.
The biggest mistake new podcasters make is overspending on accessories before mastering their signal chain. Treat your budget like a ladder. Start with the core components that directly affect sound quality. Upgrade your acoustic treatment and monitoring only after you have recorded enough episodes to identify specific weaknesses. This approach prevents wasted spending on gear you do not yet know how to use effectively.
Price, age, and condition create a constant tradeoff. New gear offers warranty protection and modern connectivity, but the used market often provides better value for microphones and interfaces. Check for cosmetic wear on used audio interfaces, but be wary of internal repairs that may not be visible. For microphones, inspect the grille for dents and the cable for fraying. A well-maintained used condenser microphone can outperform a cheap new dynamic one, provided it has been stored properly.


As an Amazon Associate, we may earn from qualifying purchases.
Building within these constraints requires discipline. Stick to a fixed budget and resist the urge to add "just one more" piece of gear. Your first studio should be simple enough to maintain and flexible enough to grow. As your audience expands and your technical needs evolve, you can reinvest earnings into better acoustics or higher-fidelity converters. The best home recording studio is the one you can afford to maintain consistently.
Shortlist real options
A home recording studio doesn't require a commercial-grade facility, but it does demand specific hardware that balances audio quality with your budget. The core components are consistent across setups: an audio interface to convert analog signals, a pair of studio monitors or headphones, a microphone, and a Digital Audio Workstation (DAW) on your computer. The difference between a hobbyist setup and a professional one often comes down to the quality of the interface and the acoustic treatment of the room.
When selecting gear, prioritize interfaces with low-latency drivers and high-quality preamps. For microphones, large-diaphragm condensers are standard for vocals, while dynamic microphones handle noisy environments better. The "best" setup is subjective, but the following Amazon options represent the most reliable entry points for 2026, categorized by their primary strength.


As an Amazon Associate, we may earn from qualifying purchases.
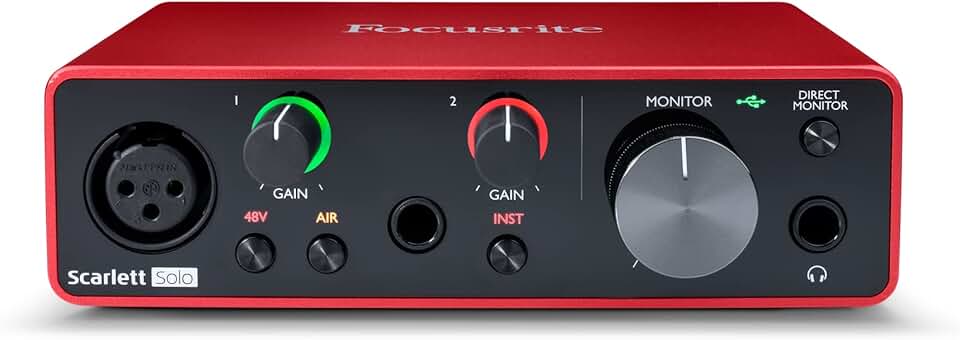
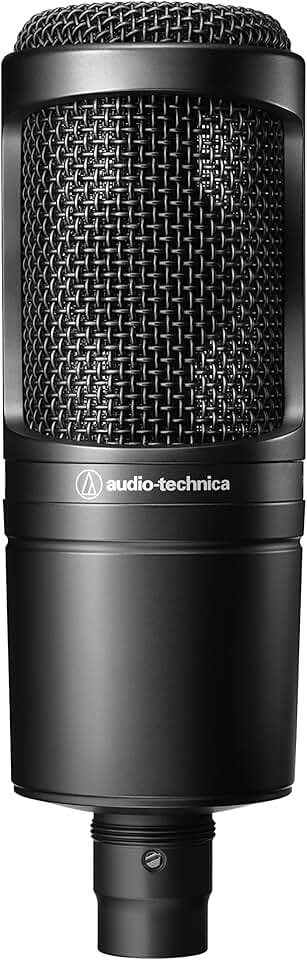
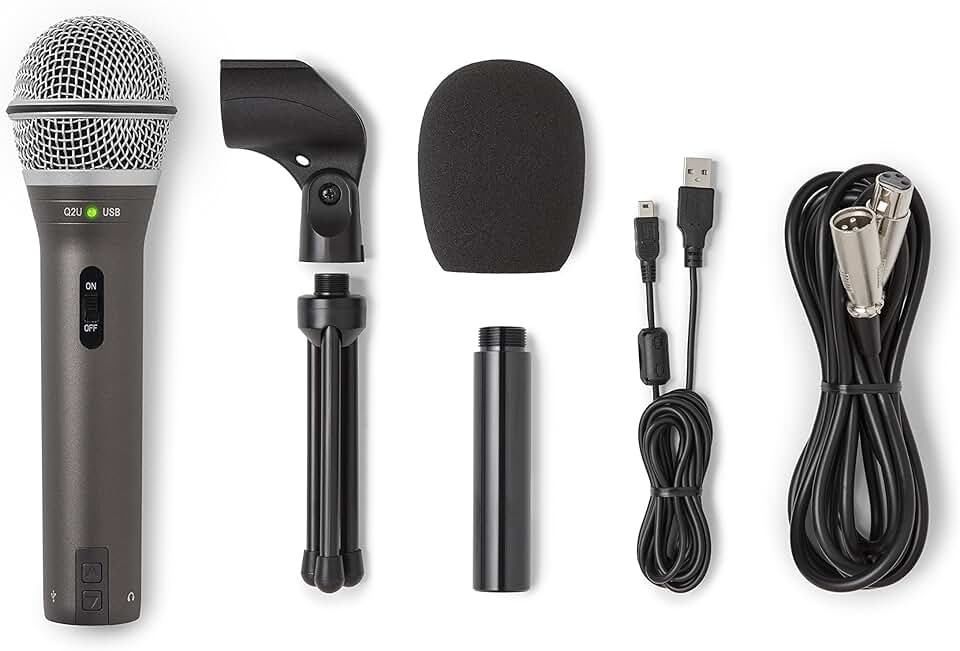
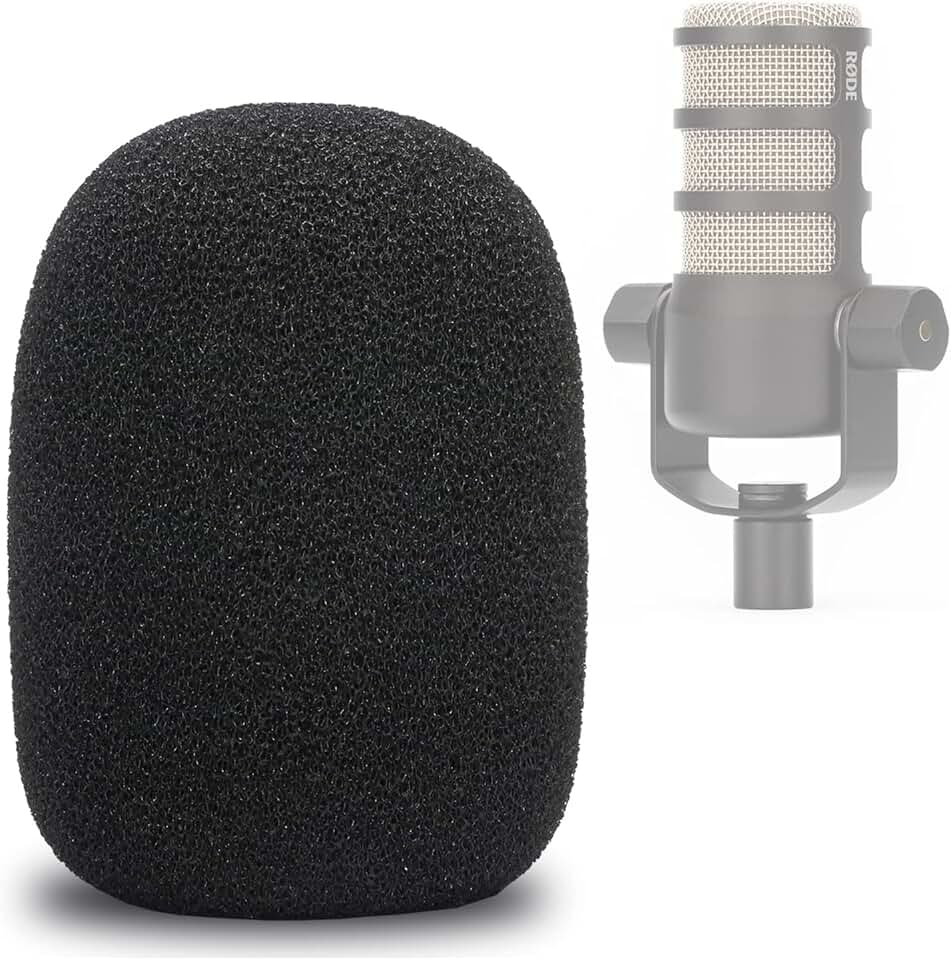
The Focusrite Scarlett 2i2 remains the most common starting point for new studios due to its reliability and widespread driver support. It pairs well with the Audio-Technica AT2020 for a classic vocal setup. If you are recording in a less-than-ideal acoustic environment, the Samson Q2U or Rode PodMic are safer choices because their dynamic capsules reject background noise better than condensers.
For monitoring, the PreSonus Eris E3.5 offers a flat frequency response that helps you make accurate mixing decisions without the coloration of consumer speakers. These components form the backbone of a functional studio. Beyond hardware, the legal landscape for home recording is generally permissive, provided you respect copyright laws and local noise ordinances.
Inspect the expensive parts
Before you commit to a full build, check the components that cause the most financial pain if they fail. In a home studio, the audio interface and the microphone are the two most common points of expensive failure. A bad interface can ruin an entire signal chain, while a cheap microphone will never recover the quality of a good room.
Check the audio interface
The audio interface is the bridge between your analog microphones and your digital computer. If the preamps are noisy or the drivers are unstable, your recordings will suffer regardless of your microphone quality. Look for interfaces with solid build quality and reliable driver support for your operating system. Avoid the cheapest options, as they often introduce hiss or latency that makes editing a nightmare.
Evaluate the microphone
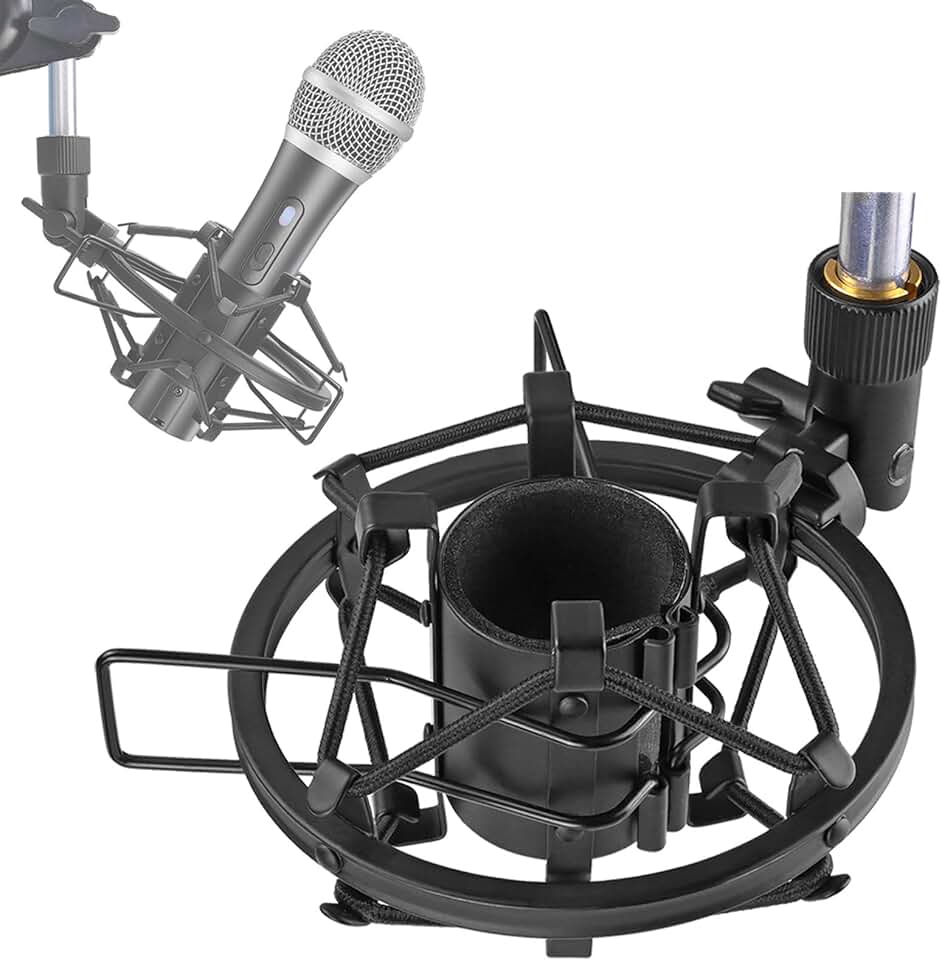
Your microphone is the most critical piece of gear for capturing voice. For podcasting, a dynamic microphone is usually the best choice because it rejects background noise better than a condenser mic. Inspect the build quality and the included accessories. A sturdy stand and a good shock mount are essential to prevent handling noise from ruining your audio. Don't skimp here; a $100 dynamic mic will outperform a $300 condenser in a untreated room.
Verify your monitoring
Headphones or studio monitors are how you hear what you are recording. If your headphones have a colored frequency response, you might mix your audio poorly, leading to tracks that sound muddy or harsh to listeners. Invest in flat-response headphones for recording and mixing. This ensures you are hearing the audio accurately, not just what the headphones make it sound like.
Test your acoustic treatment
No amount of expensive gear can fix a bad room. Before buying more hardware, assess your recording space. Hard surfaces like desks and windows create echoes and reverb that degrade audio quality. Start with simple, affordable treatments like acoustic panels or even thick blankets to dampen reflections. This step is often overlooked but provides the biggest immediate improvement in sound quality.
Plan for ownership costs
Buying the gear is only the first expense. A home studio requires ongoing maintenance, software subscriptions, and physical upgrades that add up quickly. If you ignore these hidden costs, a budget setup can become more expensive than a professional rental over time.
Software and subscription fatigue
Many "free" microphones require paid plugins for noise reduction, EQ, or compression. Subscription models for Digital Audio Workstations (DAWs) or cloud storage for episodes create recurring bills. Calculate the monthly cost of these tools and multiply by the expected lifespan of your setup. A $15/month subscription adds $180 to your annual ownership cost.
Maintenance and physical upgrades
Cables fail, interfaces lose ports, and acoustic treatment degrades. Budget 10-15% of your initial hardware cost annually for replacements and minor upgrades. Unlike a car, you don't need scheduled service, but you do need to replace worn consumables like pop filters and shock mounts.
When cheap stops being cheap
A $50 microphone that sounds poor forces you to buy expensive software to fix it, or worse, it ruins your audio quality so badly that you lose listeners. The cost of lost credibility often exceeds the price difference between a budget mic and a mid-tier option. Invest in gear that captures good sound natively to avoid downstream expenses.


As an Amazon Associate, we may earn from qualifying purchases.
Home recording studio: what to check next
Before investing in gear, it helps to understand the real costs and requirements. A functional home recording studio doesn't require a professional studio budget. You can start with a setup under $350 using a computer, an audio interface, a dynamic microphone, and headphones. For higher quality, expect to spend between $500 and $1,500 for better acoustic treatment and interface options.
The core components are straightforward. You need a computer to run your digital audio workstation (DAW), an audio interface to convert analog signals to digital, a microphone suitable for your voice or instrument, and closed-back headphones for monitoring. Acoustic treatment, such as foam panels or a portable vocal booth, is optional but significantly improves sound quality by reducing room echo.
There is no single "best" home recording studio because the right setup depends on your genre and budget. For podcasting, a dynamic microphone like the Shure SM7B or USB mics like the Blue Yeti are popular starting points. Musicians often prefer XLR condenser mics paired with a multi-input interface. The best choice is the one that fits your space and recording needs without breaking the bank.
Recording audio at home is generally legal in most jurisdictions, provided you have consent from all parties involved. If you are recording interviews or conversations, always inform participants and obtain permission. Be mindful of local noise ordinances, especially if you live in an apartment or shared housing. Respecting privacy and local laws ensures your studio remains a creative space without legal complications.
No comments yet. Be the first to share your thoughts!