
Pick the right audio interface
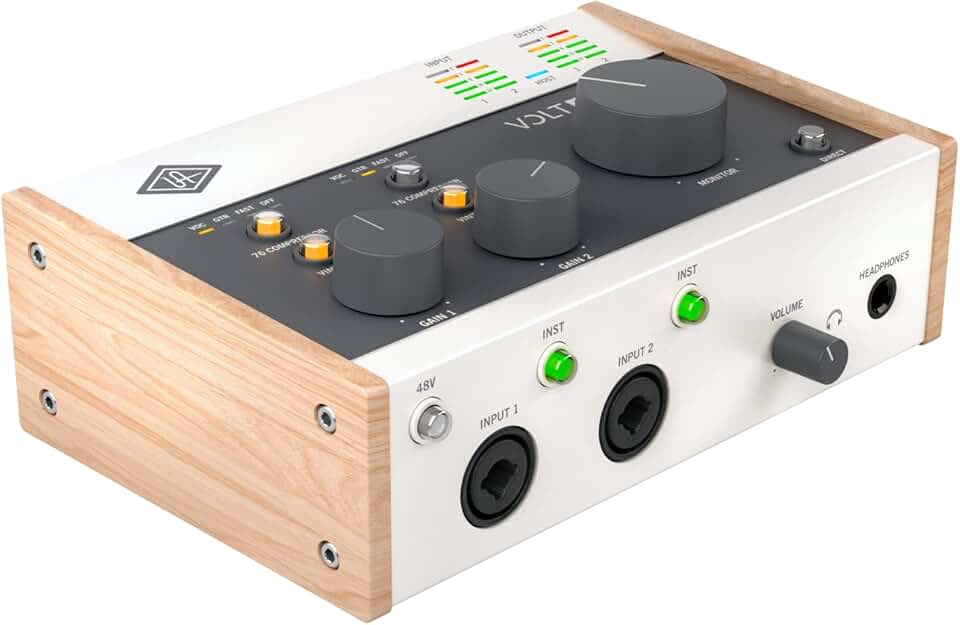
Your audio interface is the bridge between the analog world and your digital audio workstation. It converts microphone and instrument signals into digital data your computer can process. Choosing the right one depends on how many sources you need to record simultaneously, the quality of the preamps, and what software comes bundled with the unit.
For most home studios, a two-input interface is the sweet spot. It allows you to record a stereo pair of microphones for an acoustic guitar or piano, or track a vocal and a guitar at the same time. If you plan to record a full band live, you will need more inputs, but for solo artists and small ensembles, two is usually sufficient.
When comparing models, look at the preamp quality and the included software. Good preamps add warmth and clarity to your recordings, while bundled software can save you hundreds of dollars in initial costs. Below is a comparison of popular options that balance price, performance, and features for 2026.
| Model | Inputs | Max Sample Rate | Key Bundle |
|---|---|---|---|
| Universal Audio Volt 2 | 2 | 192 kHz | Plugin bundle + DAW |
| Focusrite Scarlett 2i2 | 2 | 192 kHz | Ableton Lite + plugins |
| PreSonus Studio 24c | 2 | 192 kHz | Studio One Artist |
| Motu M2 | 2 | 192 kHz | Cubase AI + plugins |


As an Amazon Associate, we may earn from qualifying purchases.
Consider your workflow when making a final decision. Some interfaces offer hardware monitoring loops for zero-latency recording, while others prioritize DSP processing for built-in effects. Match the interface to your primary recording style, whether that is vocals, instruments, or a mix of both.
Choose a microphone for your voice
The microphone is the most critical piece of gear in a home studio because it captures the raw signal before any processing can happen. Selecting the right type depends entirely on your recording environment and the source material you plan to track. In a treated professional booth, a sensitive condenser microphone reveals every nuance of a vocal performance. In an untreated bedroom or living room, that same sensitivity often captures too much room echo and background noise.
Shure SM7B
The Shure SM7B is the industry standard for broadcast and rock vocals, and it has become a staple in home studios for its ability to isolate vocals from noisy environments. Its cardioid pickup pattern rejects sound from the sides and rear, which is essential if you are recording in a room with computer fans or street noise. While it requires a powerful preamp to drive its low output, the sonic character is warm and rich, often described as "radio-ready" straight out of the box.

As an Amazon Associate, we may earn from qualifying purchases.
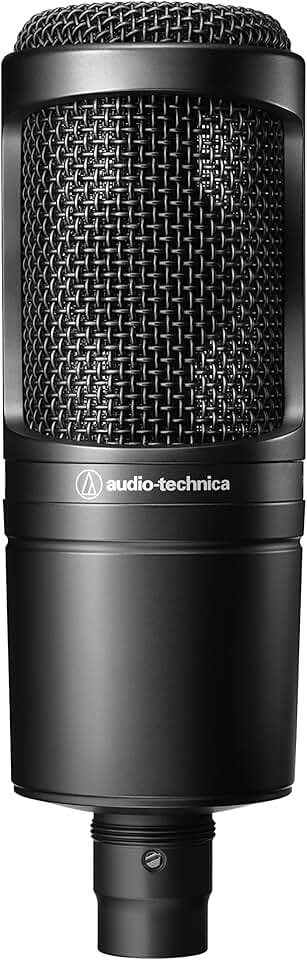
Audio-Technica AT2020
The Audio-Technica AT2020 is one of the most popular entry-level condenser microphones, offering a bright and detailed sound profile. It is an ideal choice for home studios that have been acoustically treated with foam or bass traps, as it will capture the clarity and air of a dry vocal performance. This microphone excels with acoustic instruments and clear, intimate vocal styles, provided the recording space is quiet and controlled.
As an Amazon Associate, we may earn from qualifying purchases.
Select studio monitors or headphones
Use this section to make the Best Home Recording Studio Gear for decision easier to compare in real life, not just on paper. Start with the reader's actual constraint, then separate must-have requirements from details that are merely nice to have. A practical choice should survive normal use, maintenance, timing, and budget. If a recommendation only works in an ideal situation, call that out plainly and give the reader a fallback path.
The simplest way to use this section is to write down the must-have criteria first, then compare each option against those criteria before weighing nice-to-have features.
Optimize your room acoustics
Treating your recording space doesn’t require building a booth or hiring an acoustic engineer. The goal is to manage reflections so your monitors and microphones capture the source, not the room’s quirks. Start by positioning your desk in the center of the longest wall, facing the far end. This "sweet spot" minimizes early reflections from side walls and helps your stereo image stay centered.
Next, address the most common acoustic flaw: standing waves and flutter echo. Place thick rugs or carpets on hard floors to break up sound bouncing between the floor and ceiling. For your walls, use movable absorption panels or even heavy moving blankets hung strategically behind your monitors. These materials absorb mid and high frequencies, reducing that "boxy" sound that plagues untreated bedrooms.
Finally, break up parallel surfaces that cause flutter echo. If your desk is against a wall, angle your monitors inward toward your ears rather than pointing them straight at a flat surface. If you have a window behind your listening position, heavy curtains or a bookshelf can help diffuse the sound. Small, cheap changes like these often yield better results than expensive gear alone.
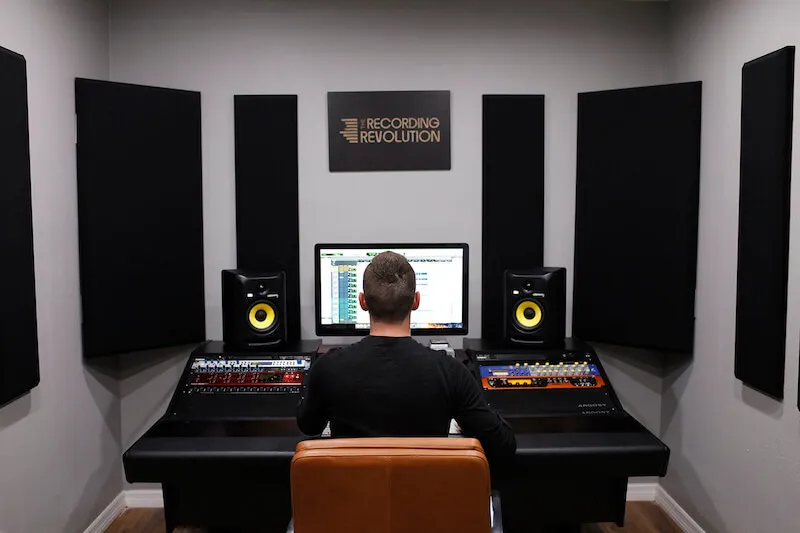
Place your desk in the center of the longest wall, facing the far end. This creates the optimal listening position, minimizing early reflections from side walls and ensuring a stable stereo image for your monitors.

Cover hard floors with thick rugs to stop sound bouncing between floor and ceiling. Hang heavy moving blankets or use movable acoustic panels on walls behind your monitors to absorb mid and high frequencies, eliminating that "boxy" room sound.
Flutter echo occurs when sound bounces between parallel surfaces. Angle your monitors inward toward your ears, and use bookshelves or heavy curtains on windows behind your listening position to diffuse reflections and improve clarity.
Essential accessories and cables
The difference between a usable home studio and a frustrating mess often comes down to the small things. A high-end interface won't save you from cheap, noisy cables, and a great microphone will struggle if it's mounted on a wobbly stand. These accessories are the backbone of your signal chain and workflow.
Start with reliable cabling. Invest in shielded XLR cables for microphones to prevent hum and interference, and high-quality TRS or USB-C cables for interfaces and monitors. Don't skimp here; a broken cable during a session is a major disruption. Pair these with sturdy mic stands—boom stands offer flexibility for vocalists, while heavy-duty desk stands are better for studio monitors. A pop filter is non-negotiable for vocal recording, taming harsh plosives that can distort your tracks.
Other small items make a big difference in comfort and sound quality. A good pair of closed-back headphones allows you to monitor tracks without bleed, while a simple desk lamp with warm lighting can help maintain focus during long mixing sessions. Consider a small notebook or voice memo app for capturing ideas before they fade. These overlooked items complete the ecosystem, turning a collection of gear into a functional creative space.


As an Amazon Associate, we may earn from qualifying purchases.
Frequently asked questions about home studios
How much is 4 hours of studio time? Professional studio rates vary significantly by facility and location. Half-day sessions (4 to 6 hours) typically start from $120 to $500, and can reach $1,500+ in bigger, well equipped studios. For most home recording projects, investing in quality gear like an audio interface and condenser microphone pays off faster than renting commercial space.
Can you have a recording studio in your house? Absolutely. Some good options for home recording studios are a spare bedroom, a basement, or an attic. Try testing the acoustic properties of the room before making your final decision: the most suitable rooms will have a dead, dry sound, without echoes or reverberation, and only need minimal acoustic treatment.
Where is the best place to record music at home? Try the area of the room where the ceiling height is the highest. Low ceilings are usually subject to some bad reflections, so the higher it is, the better the room will sound, and the better chance your recording will sound pleasing as well. Positioning your desk away from corners can also reduce bass buildup for clearer vocal and instrumental captures.
No comments yet. Be the first to share your thoughts!