
Your First Home Studio: Reality Check
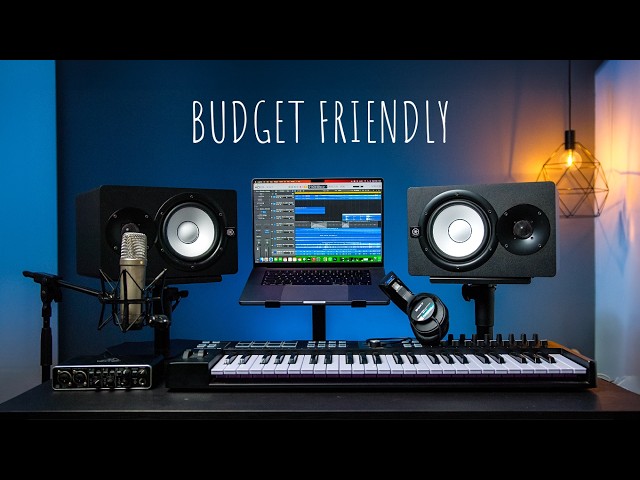
The dream of a professional-sounding home recording studio is within reach for almost anyone these days, but it's easy to get carried away. Too many people start by imagining a sprawling, acoustically treated space filled with expensive gear. The reality is, you can create surprisingly good recordings with a relatively modest setup. Don't fall into the trap of thinking you need everything at once.
The minimum viable setup includes a computer, a Digital Audio Workstation (DAW), an audio interface, and a microphone. Everything else is a bonus. The initial investment doesn't need to break the bank – you can find capable equipment for under $500. Focus on learning your tools and developing your skills before chasing the latest hardware.
Scaling up is part of the fun. Start small, and as you grow, upgrade individual components. This approach helps you learn what impacts your sound, rather than blindly buying based on marketing hype. A common mistake is neglecting room acoustics. You don’t need a fully soundproofed room, but understanding basic principles like reflection and resonance can improve your recordings.
Even simple steps, like adding rugs or strategically placing furniture, can make a difference. Experimentation is powerful. The goal isn't to replicate a professional studio exactly, but to create a space where you can capture clear, accurate sound. Make the most of what you have, and keep learning.
Core Gear: The Absolute Essentials
Let's break down the four core components of a home recording setup. First, the computer. In 2026, you’ll want at least an Intel Core i5 or AMD Ryzen 5 processor, with 16GB of RAM. More RAM is always better, especially if you plan on working with large projects or using sample-intensive virtual instruments. A solid-state drive (SSD) is non-negotiable; it drastically speeds up loading times and overall performance.
Next, the DAW. This is the software where you’ll record, edit, and mix your music. We’ll cover specific DAWs in the next section, but the key is to choose one that fits your workflow and musical style. The audio interface is your bridge between the analog world (microphones, instruments) and your computer. Look for an interface with at least two inputs, allowing you to record stereo sources or multiple instruments simultaneously. Focusrite Scarlett interfaces are consistently popular choices, and for good reason.
The microphone is arguably the most important piece of gear. A large-diaphragm condenser microphone is a versatile option for vocals and instruments. Consider a microphone with switchable polar patterns – cardioid is great for isolating sound sources, while omnidirectional can be useful for capturing room ambience. Audio-Technica AT2020 and Rode NT-USB+ are good starting points.
Budget versus high-end is a constant question. While expensive gear can offer subtle improvements, it won’t magically make you a better producer. Start with solid, mid-range equipment and upgrade as needed. I’ve personally found that investing in a good audio interface and microphone yields the biggest returns, while you can often get by with a less powerful computer initially. Don't get caught up in the hype; focus on gear that solves your specific problems.
- Computer: Intel Core i5/AMD Ryzen 5 or better, 16GB+ RAM, SSD
- DAW: Ableton Live, Logic Pro X, Pro Tools, FL Studio, Studio One
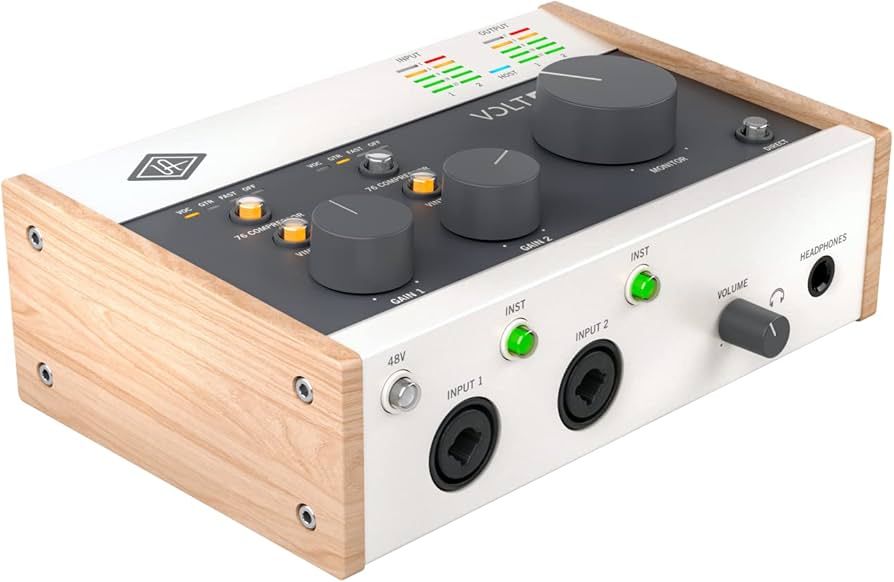
- Audio Interface: Focusrite Scarlett series, PreSonus AudioBox, Universal Audio Volt
- Microphone: Audio-Technica AT2020, Rode NT-USB+, Shure SM58
Essential Home Recording Studio Gear for Aspiring Producers

Two high-quality microphone preamps · High-fidelity audio conversion · Includes essential recording software
This interface provides a professional and user-friendly entry point for capturing high-quality audio, serving as the core of your recording setup.
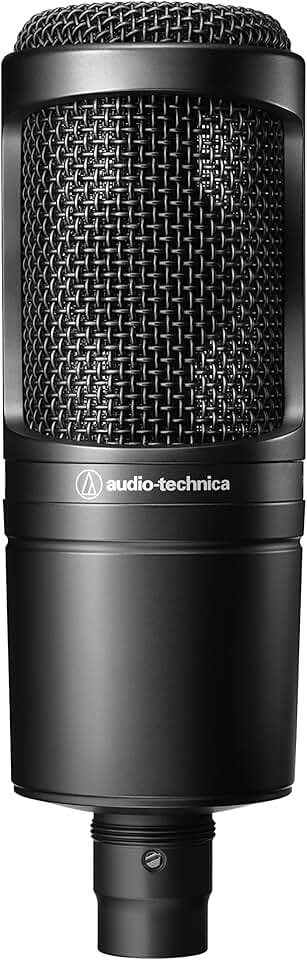
Cardioid polar pattern for focused sound capture · Wide frequency response for detailed audio · Durable construction for reliable use
This microphone delivers clear and accurate sound capture, making it a reliable choice for recording vocals and instruments with professional results.
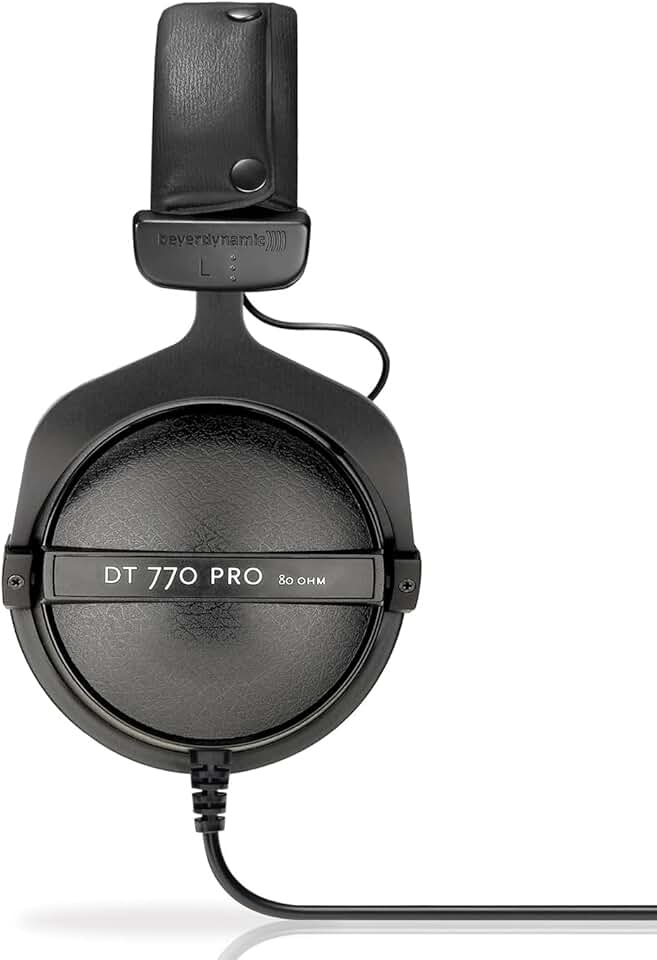
Enclosed design for excellent isolation · Accurate sound reproduction for critical listening · Comfortable over-ear design for extended use
These headphones offer superior sound isolation and detailed audio reproduction, crucial for monitoring your recordings accurately without external interference.

Adjustable height and boom arm for optimal mic placement · Heavy-duty tripod base for stability · Includes necessary adapters and mic clips
This stand provides a stable and adjustable platform for your microphone, ensuring optimal positioning for clear and consistent audio capture.

Dual-layer mesh for effective plosive reduction · Flexible 360° gooseneck for precise positioning · Easy clip-on attachment for most microphones
This pop filter is an inexpensive yet essential accessory for improving vocal recordings by effectively minimizing unwanted popping sounds.
As an Amazon Associate I earn from qualifying purchases. Prices may vary.
DAWs in 2026: Choosing Your Software
Choosing a DAW is a deeply personal decision. Ableton Live remains a favorite among electronic music producers, known for its intuitive workflow and powerful looping capabilities. Its Session View is fantastic for experimentation and live performance. Logic Pro X, exclusive to macOS, offers a comprehensive suite of instruments and effects at a competitive price.
Pro Tools continues to be the industry standard in professional recording studios, praised for its robust editing features and stability. However, it can have a steeper learning curve and is generally more expensive. FL Studio, formerly FruityLoops, is popular in hip-hop and electronic music circles, known for its pattern-based sequencing and creative tools. Studio One is a rising star, offering a streamlined workflow and a clean interface.
AI-powered features are changing DAWs. Many DAWs now include tools for automatic mixing, mastering, and melody generation. These features can be helpful for beginners, but understand how they work and don't rely on them blindly. AI assistance is becoming integrated into more subtle workflow enhancements, like intelligent track labeling and automatic gain staging.
Workflow is key. Download demos of several DAWs and experiment. Consider what genres you’ll be working in and what features are most important to you. Don’t just look at features lists; think about how you’ll actually use the software in your day-to-day workflow. The best DAW is the one you feel most comfortable with.
- Ableton Live: Intuitive, looping, electronic music
- Logic Pro X: Comprehensive, macOS exclusive, good value
- Pro Tools: Industry standard, robust editing, complex
- FL Studio: Pattern-based, hip-hop, electronic
- Studio One: Streamlined, clean interface, rising popularity
DAW Comparison: Key Features for Home Producers (2026)
| DAW | Learning Curve | Genre Focus | Key Strengths | AI Integration |
|---|---|---|---|---|
| Ableton Live | Moderate to Steep | Electronic Music, Live Performance | Session View for non-linear composition, powerful warping capabilities, strong instrument library. | Growing integration with Max for Live for custom AI tools; expanding native AI-assisted features. |
| Logic Pro | Moderate | Pop, Rock, Singer-Songwriter | Comprehensive suite of instruments, effects, and loops; excellent value for the price; strong MIDI editing. | Apple’s continued investment in machine learning is likely to enhance Logic’s features, but current AI capabilities are more foundational. |
| Pro Tools | Steep | Professional Recording, Post-Production, Rock/Pop | Industry standard for recording, editing, and mixing; unparalleled audio editing precision; robust for large projects. | Limited native AI features currently; relies more on third-party plugins for AI-powered tools. |
| FL Studio | Beginner-Friendly to Moderate | Electronic Music, Hip-Hop | Pattern-based sequencing; intuitive workflow for beatmaking; lifetime free updates. | Increasing focus on AI-driven composition and mixing tools; integration with third-party AI plugins is common. |
| Studio One | Moderate | Rock, Pop, Indie | Drag-and-drop workflow; powerful mastering suite; excellent for mixing. | Native AI features are emerging, particularly in mixing and mastering assistance; actively developing AI-powered tools. |
Qualitative comparison based on the article research brief. Confirm current product details in the official docs before making implementation choices.
Acoustic Treatment: Beyond Foam Panels
Acoustic treatment is often overlooked, but it's important for achieving accurate recordings. The goal isn’t to make your room sound "dead", but to control reflections and resonances that can muddy your sound. Sound absorption reduces reverberation in a room, while diffusion scatters sound waves, creating a more natural and spacious sound.
Bass trapping is important, as low frequencies tend to build up in corners. DIY solutions can be effective. Building your own absorption panels using mineral wool or fiberglass is a cost-effective option. Commercial options, like acoustic foam panels and bass traps, are also available, but can be more expensive.
Identify problem areas by clapping your hands and listening for echoes or flutter. Pay attention to how different frequencies sound in different parts of the room. Common mistakes include over-treating a room, which can sound unnatural, and neglecting low-frequency issues. A balanced approach is key.
Furniture impacts sound. Rugs, curtains, and bookshelves can help absorb sound and reduce reflections. Experiment with placement to find what works best for your space. Create a sonic environment that allows you to hear your recordings accurately and make informed mixing decisions.
- Absorption: Reduces reverberation (foam panels, mineral wool)
- Diffusion: Scatters sound waves (diffusers, bookshelves)
- Bass Trapping: Controls low-frequency buildup (corner traps)
Microphone Techniques: Capturing Great Sound
A good microphone is only half the battle; knowing how to use it effectively is important. Microphone placement matters. For vocals, experiment with different distances and angles to find the sweet spot. A pop filter is essential for reducing plosives (bursts of air from "p’ and ‘b" sounds).
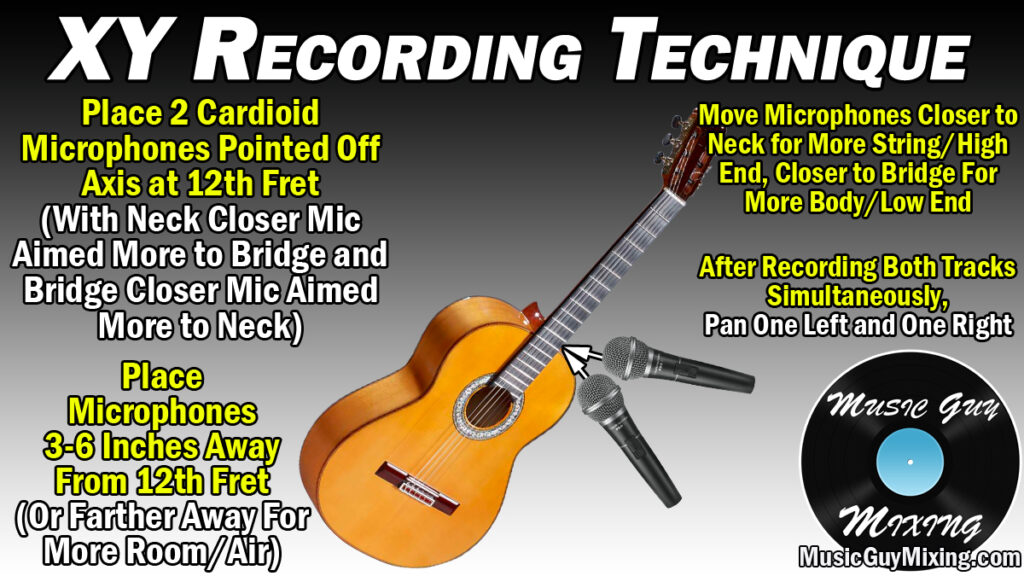
For guitars, point the microphone at the 12th fret for a balanced tone. For acoustic drums, experiment with different microphone configurations to capture the full kit. Understanding polar patterns is key. Cardioid microphones reject sound from the sides and rear, making them ideal for isolating sound sources. Omnidirectional microphones pick up sound from all directions, creating a more natural and spacious sound.
Gain staging sets the input level of your microphone to avoid clipping (distortion). Aim for a healthy signal level without peaking. Use headphones to monitor your recording and ensure the sound is clean and clear. A windscreen can reduce wind noise when recording outdoors.
Subtle adjustments in microphone placement can make a huge difference. Experiment and listen carefully. Working with different vocalists, each voice requires a slightly different approach. Be adaptable and find what works best for each individual source.
Mixing and Mastering: Polishing Your Tracks
Mixing blends all the individual tracks in your recording to create a cohesive sound. Techniques include EQ (equalization), which shapes the tonal balance of each track; compression, which controls dynamic range; reverb, which adds space and ambience; and panning, which positions sounds in the stereo field.
Mastering prepares your tracks for distribution. It involves making subtle adjustments to the overall level, EQ, and compression to ensure your tracks sound good on a variety of playback systems. There’s debate about LUFS (Loudness Units Relative to Full Scale) and true peak levels. Most streaming services have specific loudness targets, so be aware of these.
Plugins are available for mixing and mastering. Popular options include FabFilter Pro-Q 3 for EQ, Waves CLA-2A for compression, and ValhallaRoom for reverb. Deciding whether to mix and master yourself or hire a professional depends on your skills and budget. A professional mastering engineer can bring a fresh perspective and polish to your tracks.
Getting a second opinion on your mixes is recommended. Fresh ears can identify problems you might have missed. Online mastering services offer affordable options, but research their reputation and listen to samples of their work. Mastering is a subtle art, and a good engineer can make a significant difference.
- EQ: Shaping tonal balance
- Compression: Controlling dynamic range
- Reverb: Adding space and ambience
- Panning: Positioning sounds in stereo
Budget Studio Upgrades: Where to Spend Next
undefined monitors will give you a more realistic representation of your mix. KRK Rokit series and Yamaha HS series are popular choices.
Adding another microphone can expand your recording possibilities. A dynamic microphone, like a Shure SM57, is versatile for recording drums, guitars, and vocals. A dedicated preamp can also improve the sound quality of your recordings, especially with dynamic microphones. Focusrite ISA One is a good option.
More advanced acoustic treatment can further refine your room’s acoustics. Adding more bass traps and diffusion panels can help control low-frequency buildup and create a more balanced sound. Software upgrades, like new virtual instruments or effects plugins, can also expand your creative palette.
I've found that investing in a good pair of monitors and a dedicated preamp provides the biggest improvement for the cost. Don’t fall into the trap of chasing diminishing returns. Focus on upgrades that address your specific needs and help you achieve your sonic goals. Prioritize quality over quantity.
- Monitor Speakers: KRK Rokit, Yamaha HS series
- Additional Microphone: Shure SM57
- Preamplifier: Focusrite ISA One
- Advanced Acoustic Treatment: Bass traps, diffusers
Essential Gear for Your 2026 Home Recording Studio

8-inch woofer and 1-inch tweeter for accurate sound reproduction · Bi-amplified design with dedicated amps for low and high frequencies · Room control and high trim response controls for sound tailoring
These carefully selected upgrades provide a solid foundation for professional-sounding home recordings, offering reliable performance and industry-standard quality for producers in 2026.
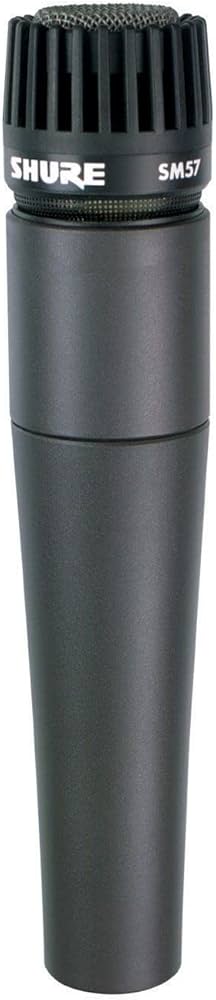
Industry-standard dynamic microphone for versatile instrument and vocal recording · Durable construction for reliable performance in various environments · Cardioid pickup pattern minimizes background noise
These carefully selected upgrades provide a solid foundation for professional-sounding home recordings, offering reliable performance and industry-standard quality for producers in 2026.
Class-A microphone preamplifier with vintage analog sound · 1176-style FET compressor for vocal and instrument enhancement · High-impedance instrument input for guitars and basses
These carefully selected upgrades provide a solid foundation for professional-sounding home recordings, offering reliable performance and industry-standard quality for producers in 2026.

2-in/2-out USB audio interface for recording · Cardioid condenser microphone with included pop filter and shockmount · Studio headphones and isolation shield for focused monitoring and recording
These carefully selected upgrades provide a solid foundation for professional-sounding home recordings, offering reliable performance and industry-standard quality for producers in 2026.
As an Amazon Associate I earn from qualifying purchases. Prices may vary.

No comments yet. Be the first to share your thoughts!