
Pick the right microphone first
Your microphone is the single most important piece of gear in any podcast setup. It captures your voice, and no amount of editing can fix a poor recording. Choosing between USB and XLR microphones comes down to two factors: your technical comfort level and your audio quality goals.
USB Microphones: Plug and Play
USB microphones are the ideal starting point for beginners. They contain a built-in analog-to-digital converter, meaning you can plug them directly into your laptop or desktop and start recording immediately. There is no need to buy separate interfaces, mixers, or cables.
The Samson Q2U is a standout choice here. It is a dynamic microphone that rejects background noise well, making it suitable for untreated rooms. Because it offers both USB and XLR outputs, you can start with USB and switch to XLR later if you decide to upgrade your setup without buying a new mic.
XLR Microphones: Professional Longevity
XLR microphones require an audio interface to connect to your computer. While this adds an upfront cost and a learning curve, it provides superior audio fidelity and flexibility. XLR mics are the standard for professional studios because they allow you to connect multiple microphones and adjust gain levels precisely.
The Shure SM7B is the industry workhorse for broadcast-quality audio. It requires a strong preamp (like the Rodecaster Pro II or a dedicated cloudlifter) to drive its signal, but the result is a rich, warm voice that sounds like it belongs on major radio stations. If you plan to produce high-end content or host guests with multiple mics, XLR is the only way to go.
Recommended Microphones


As an Amazon Associate, we may earn from qualifying purchases.
Quick Comparison
| Connection | Ease of Setup | Audio Quality | Upgrade Path |
|---|---|---|---|
| USB | Instant | Good | Limited |
| XLR | Requires Interface | Excellent | Full System Control |
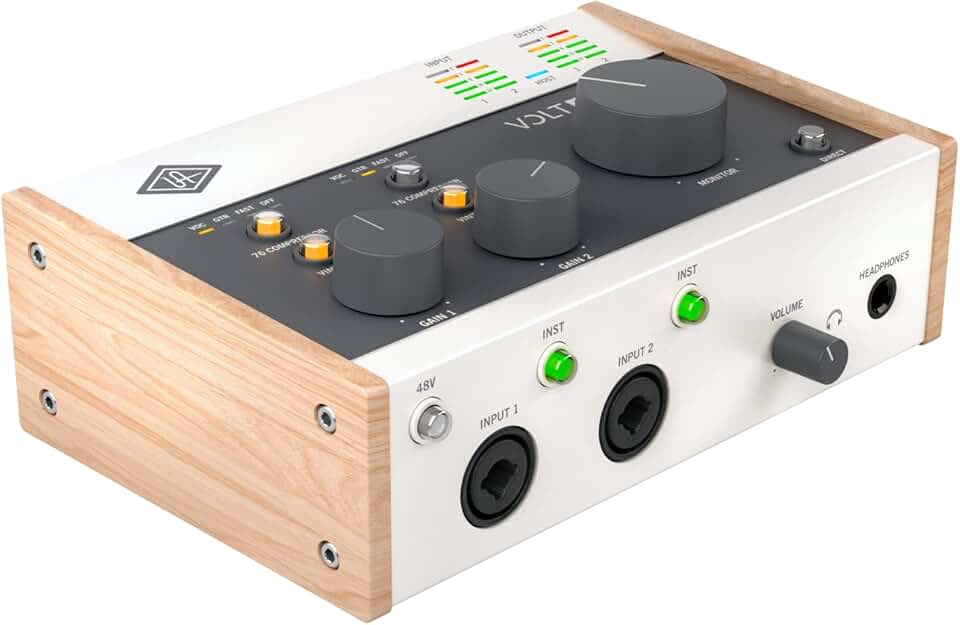
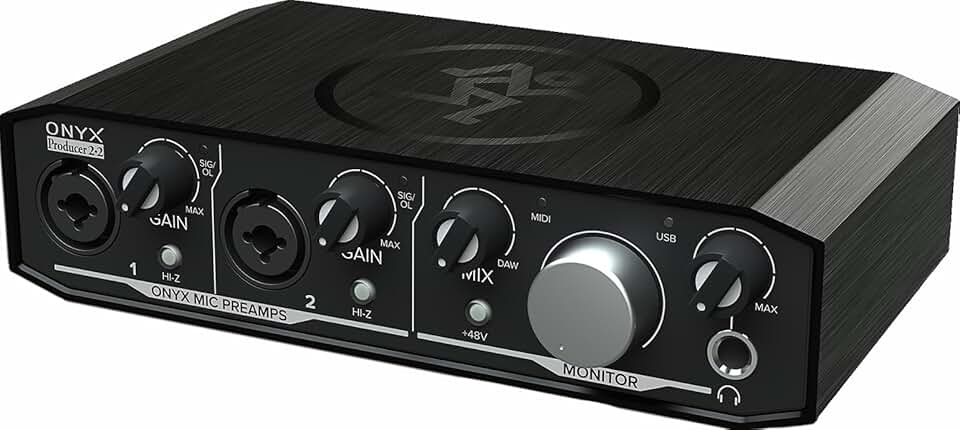
Connect via an audio interface
If you are building a professional-grade podcast setup around XLR microphones, an audio interface is the essential bridge between your voice and your computer. Unlike USB mics that process sound internally, XLR mics send raw analog signals that require external hardware to convert into digital data your recording software can understand. This hardware also provides the clean, powerful preamps needed to drive dynamic and condenser microphones properly.
The interface serves as the command center for your studio. It handles gain control, allowing you to adjust input levels precisely to avoid distortion or quiet recordings. More importantly, it provides dedicated monitoring outputs. This feature lets you plug in studio headphones to hear yourself in real-time with zero latency, which is critical for timing and performance during recording sessions.
Choosing the right interface depends on your budget and whether you plan to expand your setup with more microphones or instruments later. Look for models with high-quality preamps and clear headphone amplifiers. Below are some of the most reliable audio interfaces for podcasting available on Amazon, ranging from compact two-channel units to more robust multi-input options.

As an Amazon Associate, we may earn from qualifying purchases.
Monitor audio with closed-back headphones
When you are building a podcast setup, monitoring your audio in real-time is just as important as the microphone itself. Closed-back headphones are the standard for recording because they provide two critical functions: isolation and accurate sound reproduction.
Without closed-back designs, sound from your speakers or your co-host’s microphone can leak into your own mic. This bleed creates a muddy recording that is difficult to clean up in post-production. Closed-back cups create a physical seal around your ears, blocking external noise and preventing your headphone audio from escaping. Think of them as a quiet booth for your ears, ensuring that only your voice is captured.
Accurate monitoring also helps you catch issues like plosives, background hum, or uneven volume levels as you speak. If you cannot hear your own voice clearly and cleanly, you cannot adjust your performance effectively.
Here are reliable closed-back headphones often recommended for podcast monitoring:


As an Amazon Associate, we may earn from qualifying purchases.
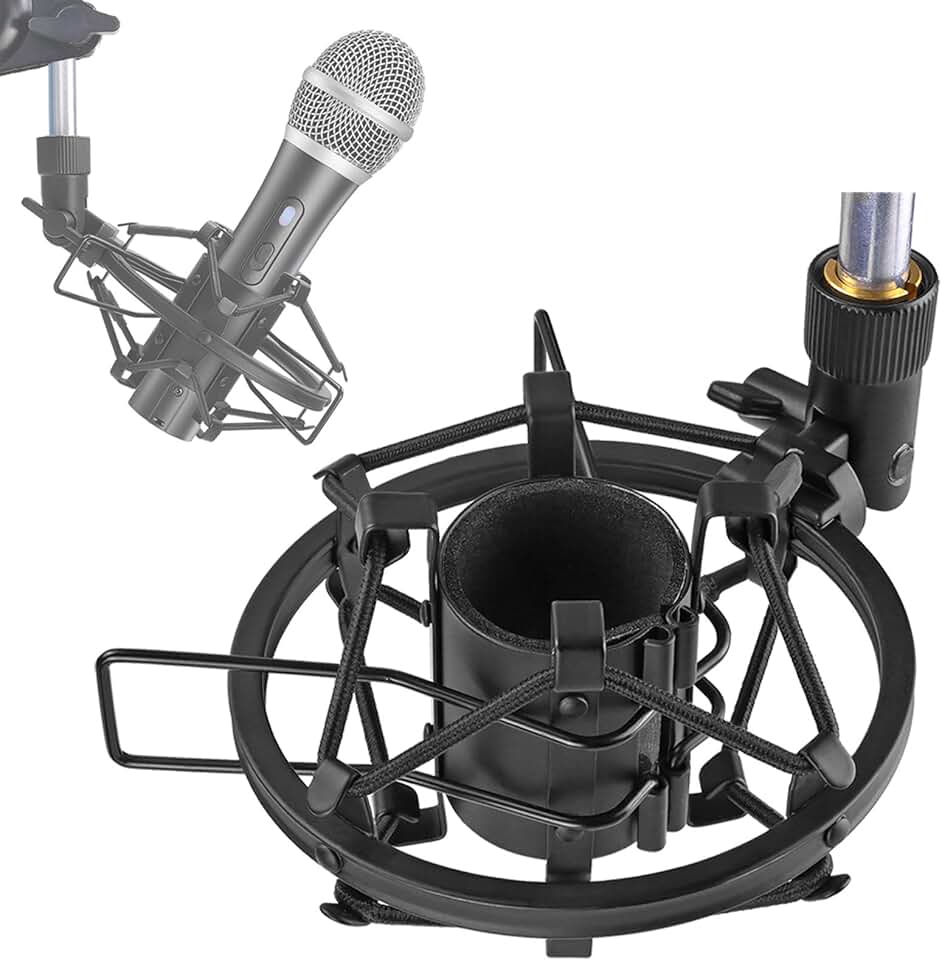
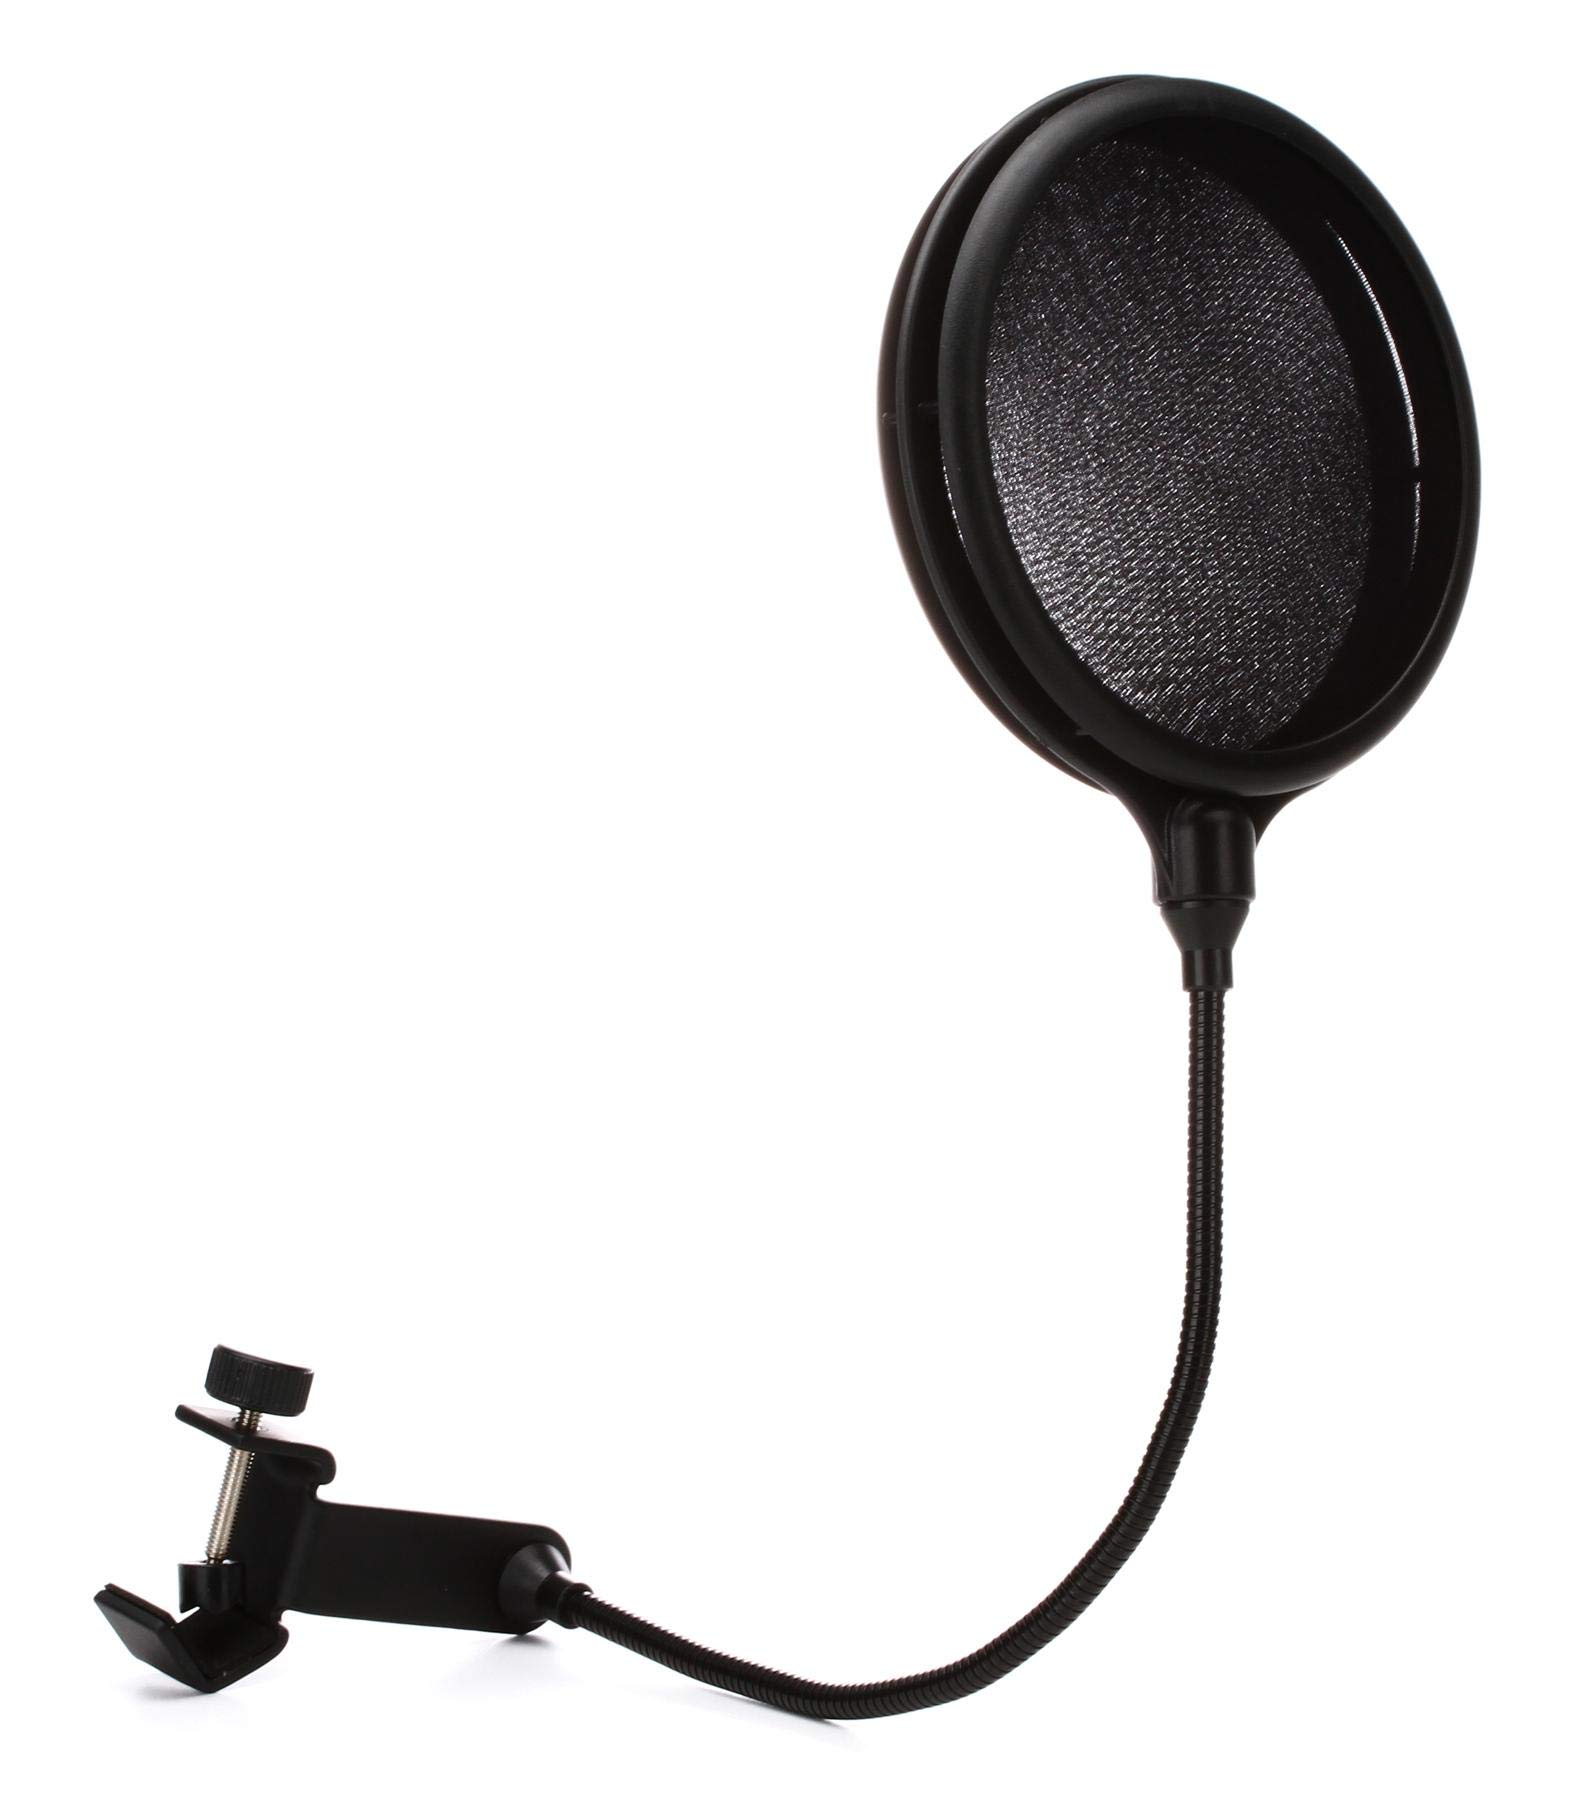
Stabilize with a boom arm and pop filter
A stable microphone position and clean audio signal are the foundation of any professional podcast setup. Without proper support, desk vibrations travel directly into your recording, creating low-frequency rumbles that are nearly impossible to remove in post-production. A boom arm lifts the microphone off the desk, isolating it from keyboard clicks and mouse bumps, while a pop filter diffuses the burst of air from plosive sounds like "p" and "b," preventing harsh distortion in your vocal track.
When selecting a boom arm, prioritize build quality and range of motion. The Rode PSA1 is a standard choice for its gas-spring mechanism, which holds the microphone firmly in place without sagging over time. For those needing more flexibility, the Elgato Wave Arm offers a sleek design with easy height adjustment. If you prefer a more compact solution, the Heil Sound PL-2T provides excellent rigidity for heavier broadcast-style microphones. The goal is to position the mic at mouth level without straining your neck or the mount.
The pop filter is equally critical for vocal clarity. A dual-layer nylon mesh filter, such as the Rode PS1, sits a few inches in front of the mic to break up airflow without adding a metallic ring to the sound. For a more minimalist aesthetic, the Heil Sound PF-4 offers a sturdy metal frame with a fine mesh that is less visible on camera. These accessories are small investments that significantly elevate the perceived quality of your podcast setup.


As an Amazon Associate, we may earn from qualifying purchases.
Finalize your podcast setup checklist
Before you hit record, ensure your podcast setup includes every essential component. A complete system prevents mid-recording interruptions and guarantees professional audio quality from day one.
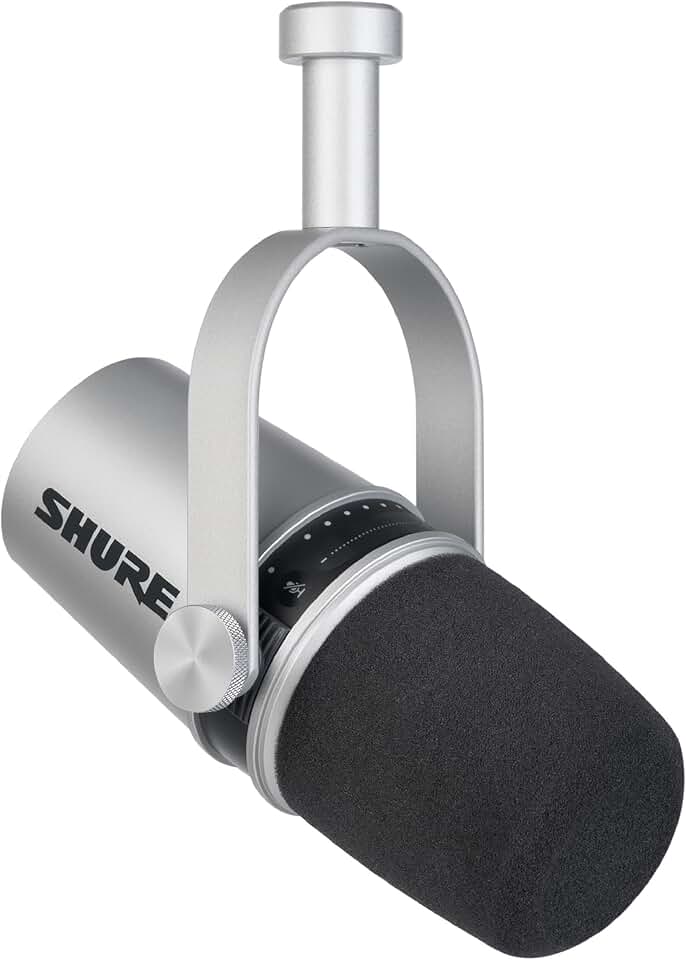
Every host needs a dedicated microphone. For solo shows, the Shure MV7 provides versatile USB and XLR connectivity. Multi-host podcasts require individual mics to isolate voices and reduce bleed, ensuring clean separation in post-production.
XLR microphones require an interface to connect to your computer. The Focusrite Scarlett 2i2 offers two inputs, making it ideal for duos. It handles phantom power for condenser mics and provides clean preamps for clear signal capture.

Monitoring your audio is critical. Closed-back headphones like the Sony MDR-7506 prevent sound from leaking into the microphone. They allow you to hear exactly what the audience will hear, helping you catch plosives or background noise in real time.
Don’t overlook the basics. Ensure you have the correct XLR cables for your interface and a sturdy boom arm or desk stand. A stable microphone position reduces handling noise and keeps your recording environment consistent.


As an Amazon Associate, we may earn from qualifying purchases.
Common podcast setup: what to check next
Building a podcast setup is often about balancing budget with quality, but the real questions usually center on what happens after you hit publish. Understanding the financial potential and technical requirements early on helps you choose the right gear without overspending on features you won't use.
How much does a podcast with 10,000 listeners make?
Monetization scales directly with audience size and engagement. A podcast with 10,000 consistent listeners per episode typically falls into the mid-size category, earning between $5,000 and $20,000 monthly through ads and sponsorships. Smaller shows with 1,000–5,000 listeners might earn $100–$1,000, while top-tier shows with 50,000+ listeners can exceed $100,000 a month. Your podcast setup gear should support the quality expected at your current growth stage, not just your ambition.
What is the $1 to $1 million podcast?
The "$1 to $1 Million" podcast is a specific show focused on cryptocurrency trends, covering Bitcoin, Ethereum, DeFi, and NFTs. It serves as an example of how niche expertise can drive high-value sponsorships. If your podcast setup targets a similar financial or tech audience, prioritize clear audio that can handle complex technical discussions, ensuring your interface and mic capture every detail without distortion.
Do I need expensive gear to start?
You do not need a professional studio to launch. Many successful podcasts start with a single USB microphone like the Blue Yeti or a simple smartphone setup using apps like Zencastr for remote guests. As your audience grows, you can upgrade to XLR microphones and audio interfaces. The key is consistent audio quality; listeners will tolerate average video or editing but will abandon a show with poor sound immediately.
What software do I need for my podcast setup?
Beyond hardware, you need recording and editing software. For beginners, free tools like Audacity or GarageBand work well. If you are recording remote guests, platforms like Zencastr or Riverside.fm offer high-quality remote recording capabilities that integrate with your setup. Choose software that matches your technical comfort level and allows you to focus on content rather than troubleshooting.
No comments yet. Be the first to share your thoughts!