
The reality of remote recording in 2026
Remote podcasting has changed. We used to settle for thin audio and dropped calls because we had to. Now, the tech has caught up to the reality of distributed teams. You don't need to be in the same room to sound like you are.
The biggest challenges teams face now aren’t necessarily technical impossibility, but the subtleties of creating a connection when you’re not physically together. Listeners can tell when a podcast feels stilted or unnatural, and poor audio quality exacerbates that. 2026’s solutions focus on minimizing latency, maximizing audio fidelity, and providing tools that make remote collaboration feel seamless. We're seeing more platforms emphasize features like virtual sound stages and real-time audio processing.
This guide isn’t about finding the cheapest way to get a podcast online. It's about building a setup that produces consistently high-quality audio, regardless of where your team members are located. We’ll cover everything from microphone selection to post-production workflows, with a focus on the tools and techniques that will be essential in 2026. Expect to invest in reliable equipment and software – the return in audience engagement is well worth it.
The industry is moving toward solutions that abstract away much of the technical complexity. However, understanding the fundamentals remains important. A solid foundation will allow you to troubleshoot issues effectively and adapt to new technologies as they emerge. We'll try to give you that foundation.
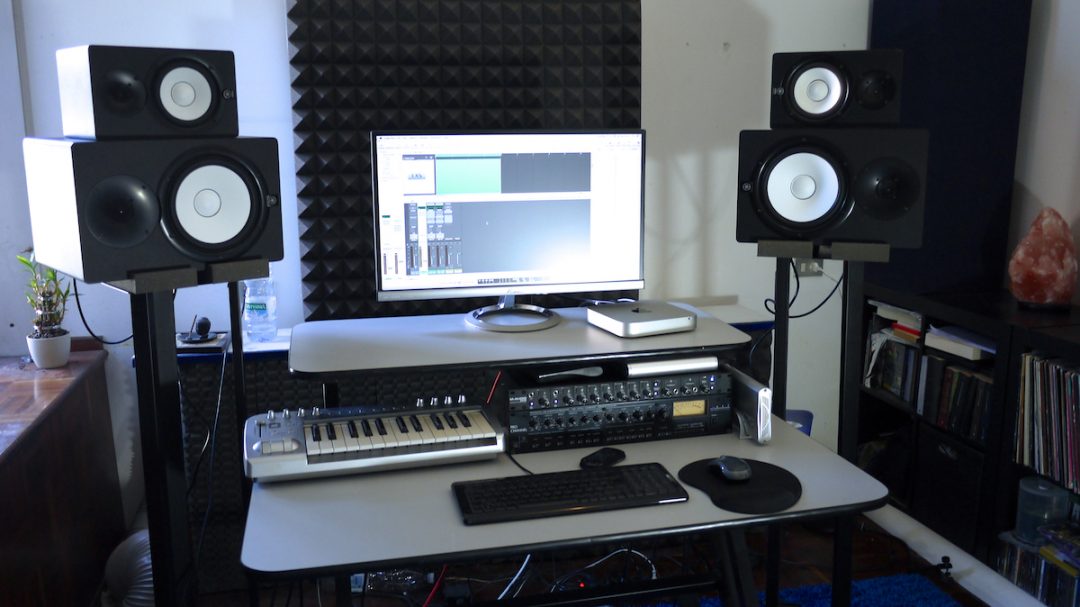
Microphones for distributed hosts
Choosing the right microphone is the first, and arguably most important, step in building a great remote podcast setup. For distributed hosts, the goal is to capture clear, consistent audio while minimizing background noise. Cardioid polar patterns are almost always the best choice. They focus on sound directly in front of the microphone, rejecting noise from the sides and rear, which is crucial in less-than-ideal recording environments.
The age-old debate: USB versus XLR. USB microphones are simpler to set up – plug and play – and are often more affordable. However, XLR microphones offer greater flexibility and potential for higher audio quality. They require an audio interface (more on that in the next section) but allow you to use professional-grade microphones and control more aspects of your sound. A good $200 USB mic like the Rode NT-USB+ can sound excellent, but an XLR setup opens up a world of possibilities.
Dynamic microphones are known for their durability and ability to handle loud sounds, making them a good choice for hosts who are prone to popping their "p"s or have noisy environments. Condenser microphones are more sensitive and capture more detail, but they also require phantom power (supplied by an audio interface or mixer) and are more susceptible to picking up background noise. The Shure SM58 is a classic dynamic option, while the Rode NT1-A is a popular condenser choice.
I expect more microphones to bake noise cancellation directly into the hardware. Krisp already does this with software, but having it in the mic itself saves CPU cycles and setup time. The Blue Yeti X is a start, but future models will likely handle room echo without extra plugins.
- Rode NT-USB+ is a reliable plug-and-play option that handles internal processing well.
- Shure SM58 remains the standard for hosts in noisy rooms because it ignores off-axis sound.
- Rode NT1-A: Popular condenser microphone, known for its clarity and detail.
- Blue Yeti X: USB microphone with built-in noise reduction and customizable settings.
USB vs. XLR Microphone Setups for Remote Podcasting
| Cost | Audio Quality | Ease of Use | Scalability | Future-Proofing |
|---|---|---|---|---|
| Generally Lower | Good, improving with technology | Very Easy | Limited without additional interfaces | Moderate - dependent on USB standards |
| Higher Initial Investment | Potentially Superior | Requires more technical knowledge | Highly Scalable with mixers and interfaces | Better - industry standard with long-term support |
Qualitative comparison based on the article research brief. Confirm current product details in the official docs before making implementation choices.
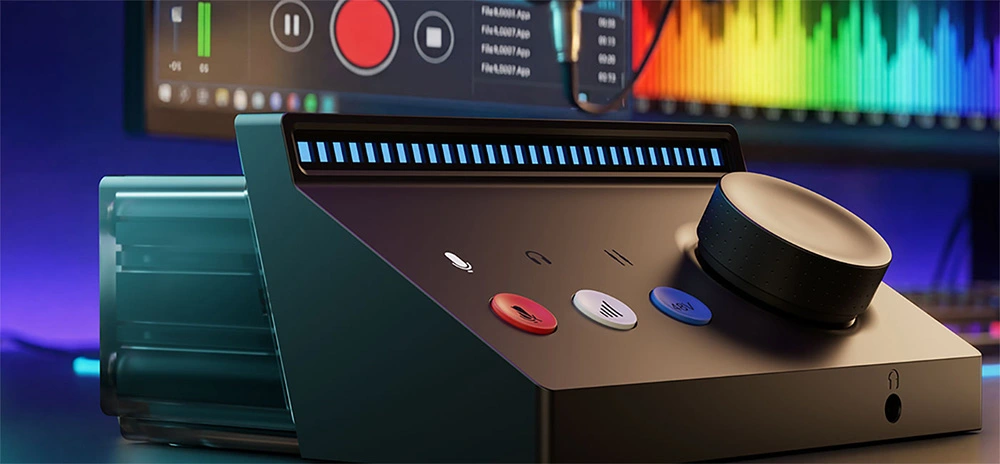
Audio Interfaces and Digital Mixers
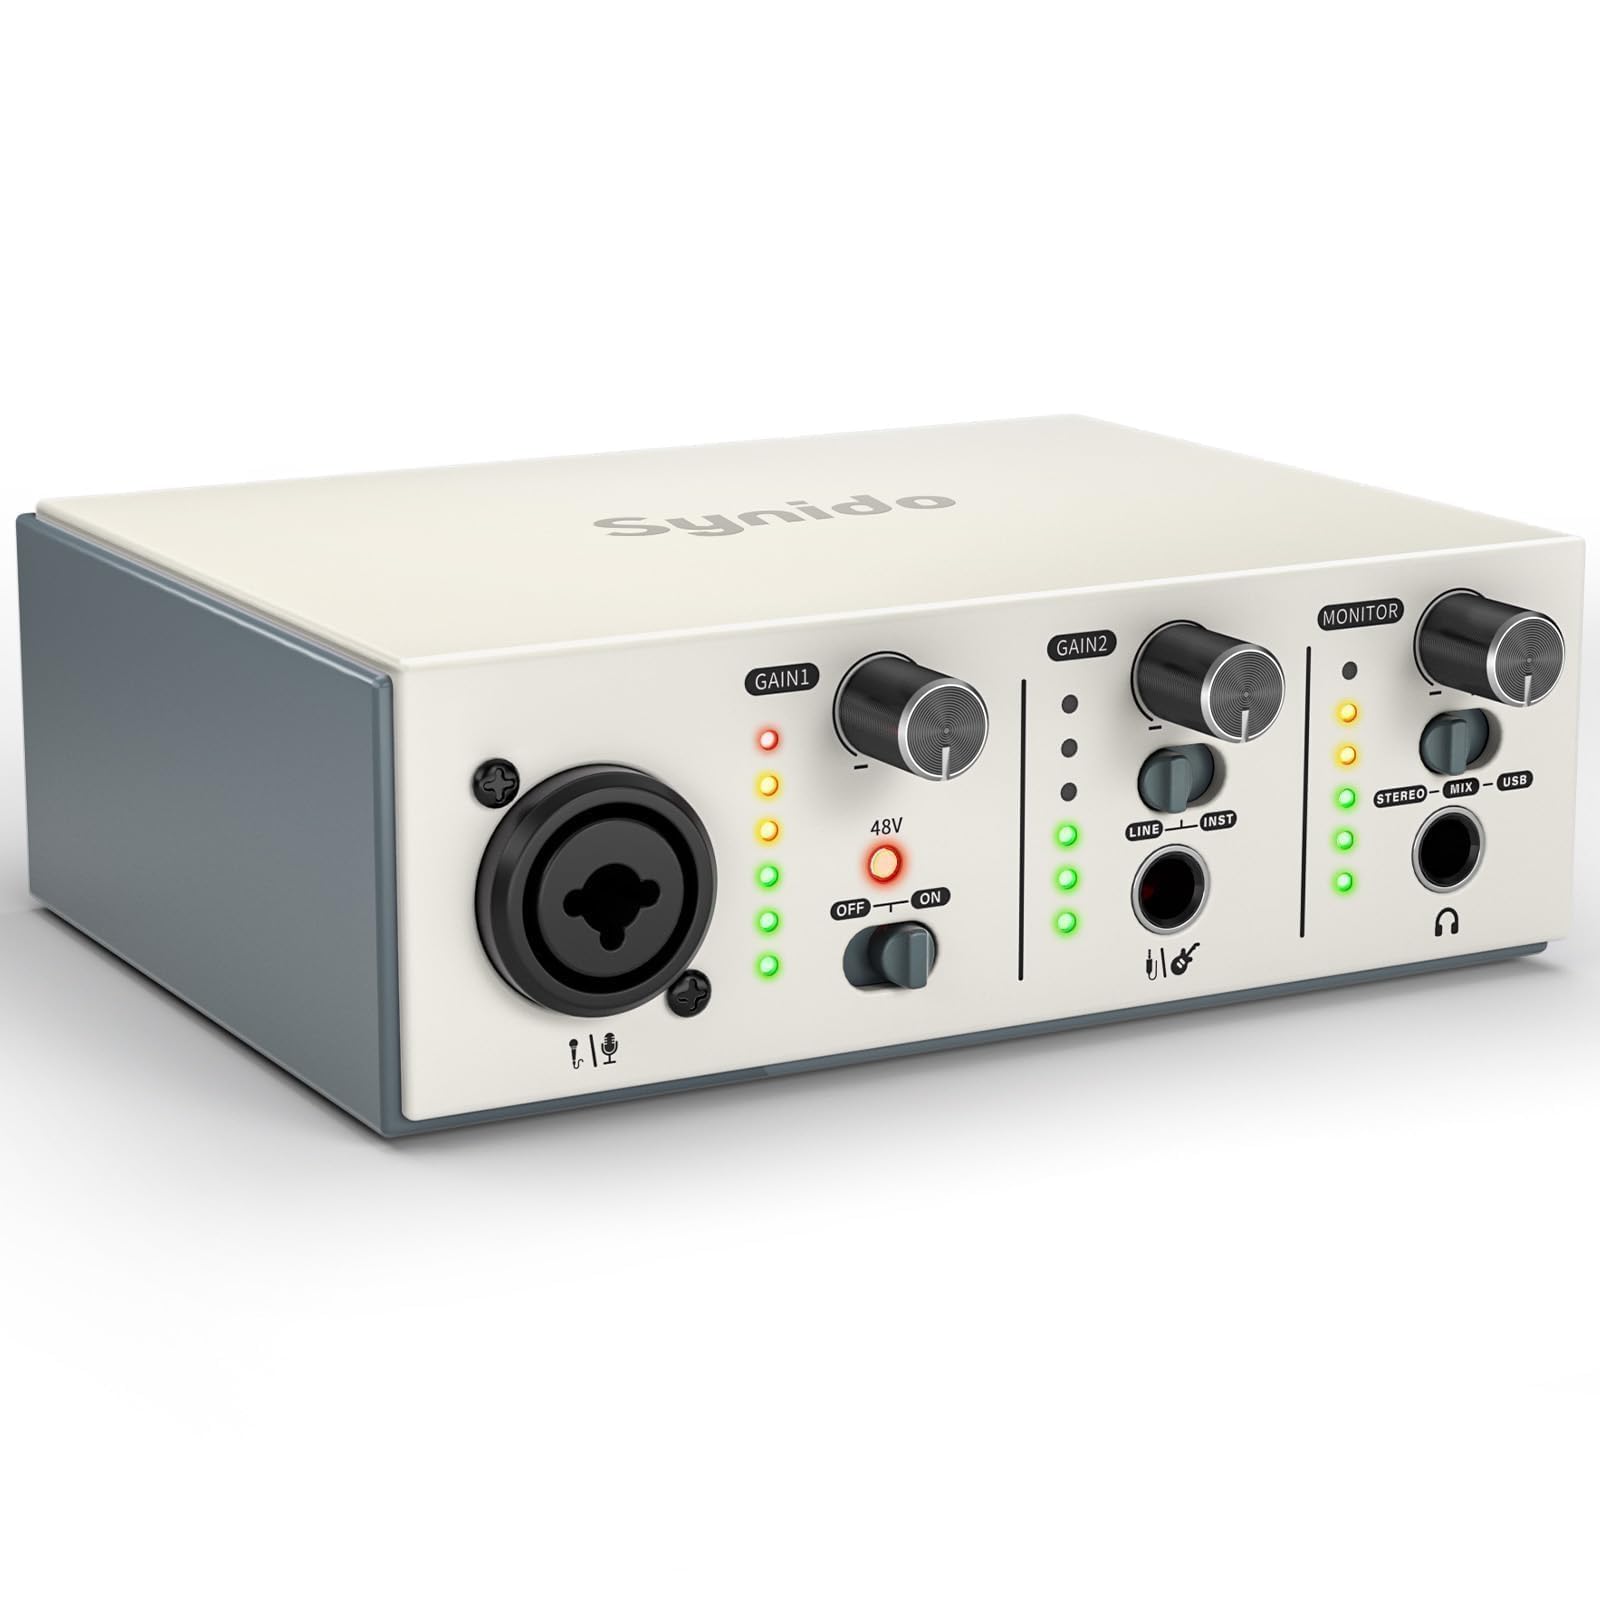
If you’re opting for XLR microphones, an audio interface is essential. It converts the analog signal from the microphone into a digital signal that your computer can understand. It also provides phantom power for condenser microphones and allows you to control gain levels. Focus on interfaces with low latency and good preamps – the quality of the preamps significantly impacts the sound of your recordings.
Digital mixers offer even more control and flexibility, especially when recording with multiple remote participants. They allow you to adjust levels, EQ, and compression in real-time, and many mixers can also function as audio interfaces. A mixer can simplify your setup and give you more control over your overall sound.
On macOS, you’ll likely need to create an aggregate device in Audio MIDI Setup to combine multiple audio interfaces. On Windows, ASIO drivers are crucial for minimizing latency. These drivers allow your computer to communicate with the audio interface more efficiently. Getting these drivers configured correctly is often the biggest hurdle for Windows users.
I’ve had good experiences with Focusrite Scarlett interfaces and the RodeCaster Pro II digital mixer. The Scarlett Solo is a great entry-level option, while the RodeCaster Pro II is a powerful all-in-one solution with built-in mixing, processing, and sound pads. The key is to choose an interface or mixer that meets your specific needs and budget.
- Focusrite Scarlett Solo: Affordable and reliable audio interface.
- RodeCaster Pro II is a physical board that handles the mixing and recording so your computer doesn't have to.
- Universal Audio Apollo Twin X: High-end audio interface with excellent sound quality.
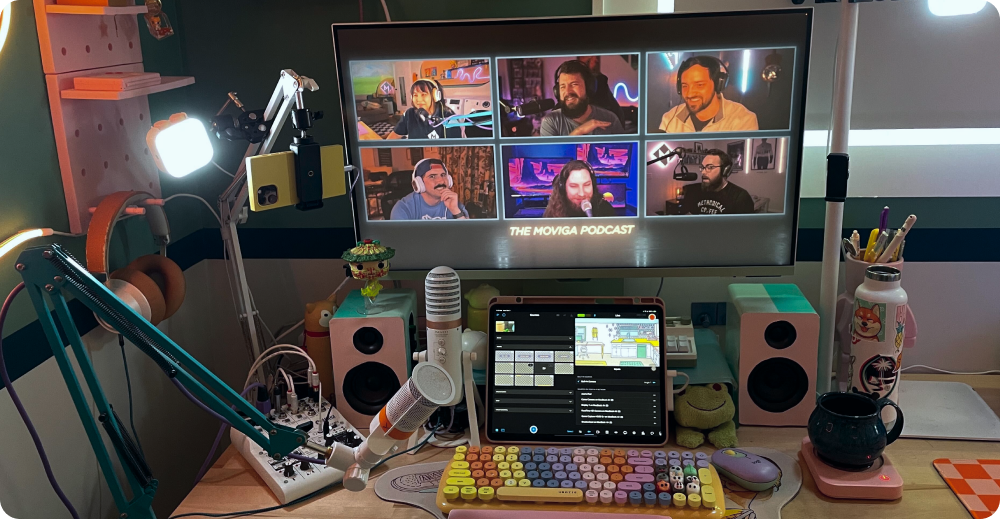
Remote recording platforms
The remote recording platform is the heart of your distributed podcast setup. Several options are available today, each with its own strengths and weaknesses. Riverside.fm, SquadCast, and Zencastr are all popular choices, offering separate track recording (meaning each participant’s audio is recorded individually), which is essential for high-quality editing. Zoom, while not specifically designed for podcasting, can be used in a pinch, but the audio quality is often inferior.
By 2026, I anticipate that these platforms will become even more sophisticated, with deeper integration of AI-powered noise reduction and audio enhancement features. We’re already seeing this trend with features like automatic level adjustment and background noise suppression. I expect to see more platforms offering real-time audio processing, allowing you to adjust EQ and compression on the fly.
I'm particularly interested in the potential for platforms that focus on asynchronous recording. This would allow guests to record their audio locally in a controlled environment and then upload it for syncing. This could significantly improve audio quality and reduce the risk of technical issues during the recording session. The challenge, of course, is ensuring accurate synchronization and managing the file transfer process.
Recording locally and syncing in post-production is another viable option, but it requires more technical expertise and careful organization. Tools like PluralEyes can automate the syncing process, but you still need to ensure that all recordings are properly labeled and timecoded. The benefit is that you have complete control over the audio quality and editing process.
- Riverside.fm: High-quality remote recording with separate track recording.
- SquadCast: Similar to Riverside.fm, with a focus on ease of use.
- Zencastr: Another popular option for remote podcast recording.
- Zoom: Widely used video conferencing platform that can be used for podcasting (with limitations).
Network Considerations & Latency
Latency is the biggest enemy of a smooth remote recording session. It’s the delay between when someone speaks and when their audio is heard by others. Factors contributing to latency include internet speed, distance between participants, and Wi-Fi congestion. The further apart you are, the more latency you’re likely to experience.
Practical advice for minimizing latency: always use wired Ethernet connections whenever possible. Wi-Fi is convenient, but it’s also more prone to interference and dropouts. Close unnecessary applications that are consuming bandwidth. Ask your guests to do the same. Even seemingly innocuous background tasks can contribute to latency.
Different platforms use different codecs (compression algorithms) to transmit audio. Some codecs prioritize audio quality, while others prioritize low latency. Experiment with different settings to find the optimal balance for your setup. Generally, lower bitrates result in lower latency, but also lower audio quality.
I’ve learned the hard way that troubleshooting network issues is often a process of elimination. Run a speed test to check your internet connection. Try restarting your router and modem. If you’re still experiencing problems, contact your internet service provider. Sometimes, the issue isn’t on your end.
Post-Production Workflow for Remote Recordings
Once you’ve recorded your audio, the real work begins: post-production. Editing software options abound, ranging from free and open-source (Audacity) to professional-grade (Adobe Audition, Descript). The choice depends on your budget and technical skills. Descript is particularly popular with podcasters because it allows you to edit audio by editing the transcript.
Noise reduction is crucial for remote recordings, as you’re likely to encounter more background noise than in a studio environment. Leveling ensures that all participants are at a consistent volume. EQ (equalization) allows you to shape the sound of each track, making it more clear and balanced. These steps are essential for creating a polished, professional sound.
Removing filler words (“um,” “ah,” “you know”) and awkward pauses can significantly improve the flow of your podcast. This can be a tedious process, but it’s worth the effort. I prefer to use a combination of manual editing and automated tools like Auphonic to streamline this process.
My preferred workflow involves importing the separate tracks into Adobe Audition, applying noise reduction and leveling, then using EQ to fine-tune the sound of each track. I then export a stereo mixdown and upload it to my hosting provider. AI-powered editing tools are becoming increasingly popular, and I expect to see them play a bigger role in post-production in the coming years.
- Audacity: Free and open-source audio editing software.
- Adobe Audition: Professional-grade audio editing software.
- Descript: Audio and video editing software that allows you to edit by editing the transcript.
- Auphonic: Automated audio post-production service.
Essential Podcast Editing Plugins
- iZotope RX 10 - Industry-leading audio repair software. Excels at removing background noise, clicks, hums, and other imperfections, crucial for cleaning up remote recordings.
- Waves CLA-2A - A digital recreation of the classic Level-A compressor. Provides smooth, musical compression, helping to even out vocal dynamics and create a more polished sound.
- FabFilter Pro-Q 3 - A versatile parametric EQ plugin. Allows precise control over frequencies, enabling you to shape the tone of your voice, remove muddiness, or enhance clarity.
- Adobe Audition's Spectral Frequency Display - While not a plugin *per se*, Audition’s built-in spectral editor allows for surgical noise reduction and audio cleanup, visually identifying and removing unwanted sounds.
- Landr - An automated mastering service. Quickly and easily adds a final polish to your podcast, optimizing loudness and ensuring consistent audio levels across episodes.
- Auphonic - A web-based audio post-production tool. Automatically levels audio, reduces noise, and enhances speech intelligibility, especially useful for multi-track remote recordings.
- Waves H-Comp Hybrid Compressor - Offers a blend of vintage and modern compression styles. Useful for adding punch and presence to vocals without sounding overly compressed.
What is the biggest challenge your remote podcast team faces when recording across multiple locations?
We are putting together resources to help remote podcasting teams streamline their workflow. Your input helps us focus on the issues that matter most. Vote below!
No comments yet. Be the first to share your thoughts!