
Sound Quality Doesn't Need to Be Expensive
For years, the idea of a professional-sounding recording felt out of reach for many musicians. It meant expensive studio time, seasoned engineers, and a hefty bill. That’s simply not the case anymore. The tools for creating high-quality music are more accessible than ever, and the barriers to entry are falling.
The democratization of music production means that anyone with a computer and a small investment can start recording. There’s a real creative boom happening because of this, and it’s exciting to see what people can do with these new opportunities. You don’t need a fancy studio to make something great.
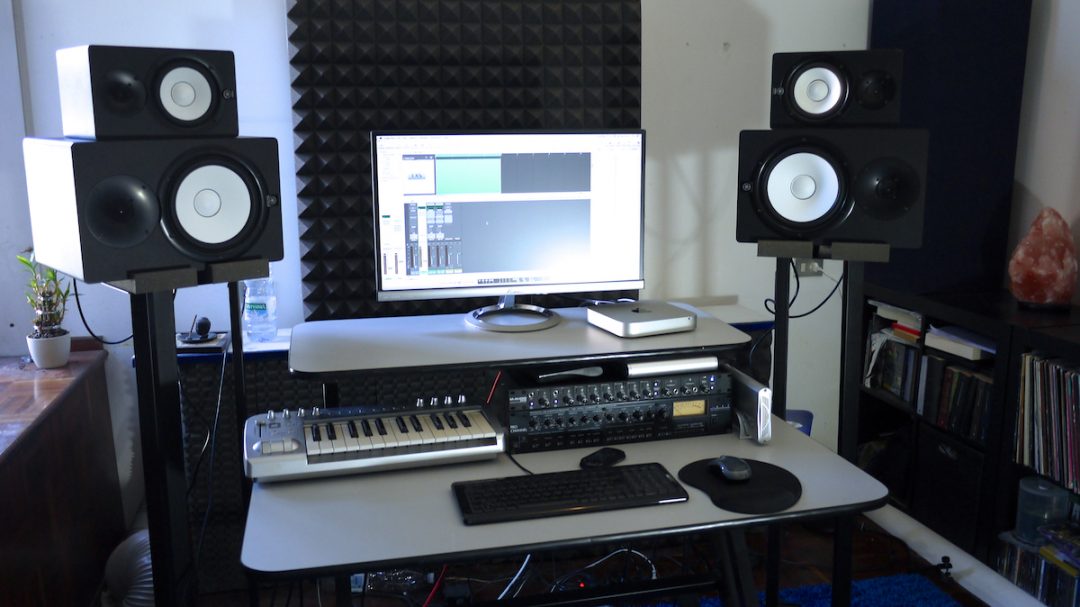
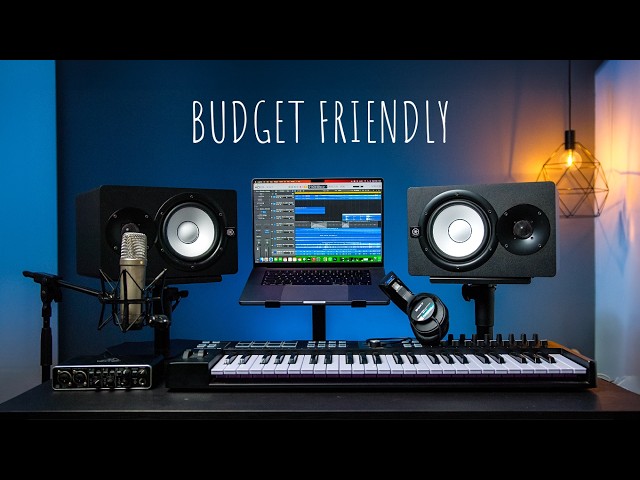
We’re going to show you how to build a capable home recording studio for under $500 in 2026. This isn't about compromise, it’s about smart choices. While $500 won't get you a top-of-the-line setup, it will get you something that can produce recordings you’ll be proud of. We're aiming for a setup that’s functional, reliable, and capable of capturing good performances.
Core Equipment: The $500 Breakdown
Let’s get down to the specifics. Building a home studio is about allocating your resources wisely. Here’s how we’ll break down that $500 budget, keeping in mind that prices are always subject to change. This is an estimate based on 2026 pricing trends, so be prepared to shop around.
The bulk of your budget should go towards the audio interface and microphone – these are the foundation of your sound. We’ll allocate around $150-200 for the audio interface, which converts analog signals (from your mic and instruments) into a digital format your computer can understand. A good microphone will run you $100-150, capturing the raw sound source.
Headphones are essential for monitoring your recordings without feedback, and we’re budgeting $75-100 for a decent pair. Next, you'll need Digital Audio Workstation (DAW) software to record, edit, and mix your music. Luckily, there are excellent free options available, but you might consider a paid option like Reaper for around $60. That leaves $50-100 for cables, accessories, and potentially some basic acoustic treatment.
Don’t underestimate the importance of cables and accessories. You’ll need XLR cables for your microphone, potentially an adapter for your headphones, and a basic mic stand. And while it’s tempting to skip acoustic treatment, even a few strategically placed blankets can make a noticeable difference in your recordings.
Audio Interfaces: Your Sound's Gateway
Think of an audio interface as the translator between your instruments or voice and your computer. It takes the analog signal from your microphone or instrument and converts it into a digital signal your computer can record. It also sends the audio back to your headphones or speakers. A quality interface is key to a clean, clear recording.
When choosing an interface, consider the number of inputs and outputs you need. For a simple home studio, two inputs (one for a microphone and one for an instrument) are usually sufficient. Phantom power is crucial if you plan on using a condenser microphone, which requires external power. USB connectivity is standard and generally the easiest to set up.
Two solid options in the $150-200 range are the Focusrite Scarlett Solo and the PreSonus AudioBox USB 96. The Scarlett Solo is known for its ease of use and clear preamps, while the AudioBox USB 96 offers a slightly more versatile feature set. Both are reliable and will provide a good starting point for your home studio.
- Focusrite Scarlett Solo: Known for its ease of use and clear preamps.
- PreSonus AudioBox USB 96: Offers a slightly more versatile feature set.
Featured Products

Two high-quality microphone preamps with "Air" mode for enhanced vocal clarity · High-fidelity audio conversion for studio-quality recordings · Included software bundle for immediate music creation and production
The Focusrite Scarlett 2i2 4th Gen provides exceptional sound quality and a comprehensive software suite, making it a top choice for serious home studio enthusiasts.

Two combo XLR/TRS inputs for microphones and instruments · High-resolution 24-bit/96 kHz audio recording · Bundled with Studio One Artist DAW for professional music production
The PreSonus AudioBox 96 offers a robust and reliable recording solution with included professional software at an accessible price point.

Two combination XLR/TRS inputs with high-gain preamps · Ultra-low latency monitoring for seamless performance · Clear, detailed audio capture for vocals and instruments
The MOTU M2 delivers pristine audio quality and low latency, providing a professional recording experience for musicians and creators.

Two versatile inputs with mic/line/instrument settings · Vintage "1176" mic preamp emulation for classic sound · High-quality audio conversion for clear, detailed recordings
The Universal Audio Volt 2 offers professional sound shaping tools and excellent audio fidelity, bringing a touch of vintage studio magic to your home setup.
As an Amazon Associate I earn from qualifying purchases. Prices may vary.
Microphones: Capturing Your Voice
The microphone is arguably the most important piece of equipment in your studio. It’s what actually captures the sound. There are two main types: dynamic and condenser. Dynamic microphones are robust, less sensitive, and don't require phantom power. Condenser microphones are more sensitive and offer a wider frequency response, but they do need phantom power from your audio interface.
For a budget setup, a dynamic microphone is generally the more practical choice. They’re less prone to picking up background noise and are more forgiving in less-than-ideal recording environments. You can always upgrade to a condenser microphone later on.
The Shure SM58 is a legendary dynamic microphone for a reason. It’s incredibly durable, sounds great on a variety of sources, and is widely available for around $100. Alternatives to consider include the Audio-Technica AT2020 (dynamic version) and the Sennheiser e835. Regardless of which you choose, a cardioid polar pattern is ideal for home recording, as it picks up sound primarily from the front, minimizing unwanted noise.
- Shure SM58: A durable, versatile dynamic microphone around $100.

Shure SM58-LC Dynamic Vocal Microphone – Professional Handheld Cardioid XLR Mic for Singing, Live Performance, Studio Recording, Podcast & Broadcast, Black
- Legendary durability and reliability
- Cardioid pickup pattern minimizes background noise
- Smooth frequency response tailored for vocals
The Shure SM58-LC is a workhorse microphone, renowned for its rugged build and clear vocal reproduction, making it an indispensable and budget-friendly choice for any aspiring home studio.
View on Amazon →As an Amazon Associate I earn from qualifying purchases.
Headphones: Monitoring Your Mix
Headphones are essential for monitoring your recordings and mixing your tracks. Crucially, you want closed-back headphones. Open-back headphones are great for mixing in a treated studio environment, but they leak sound, which can bleed into your microphone during recording. Closed-back headphones isolate the sound, preventing feedback and ensuring a clean recording.
Comfort is also a major factor, as you’ll likely be wearing them for extended periods. Accuracy is important too, but don’t get caught up in chasing the most “studio-grade” headphones. A comfortable pair that accurately represents the sound is far more valuable than a fancy brand name.
The Audio-Technica ATH-M20x are a great option in the $75-100 range. They offer a good balance of comfort, accuracy, and affordability. The Samson SR850 are another popular choice, known for their clear sound and comfortable fit.
- Audio-Technica ATH-M20x: Offer a good balance of comfort, accuracy, and affordability.
- Samson SR850: Known for their clear sound and comfortable fit.
Popular Studio Headphones for Budget Setups (2026)
| Price (USD) | Closed-Back? | Comfort (1-5, 5 is best) | Frequency Response | Impedance |
|---|---|---|---|---|
| Around $50 | Yes | 3 | 20 Hz – 20 kHz | 32 Ohms |
| Around $100 | Yes | 4 | 20 Hz – 20 kHz | 32 Ohms |
| Around $100 | Yes | 3.5 | 18 Hz – 28 kHz | 32 Ohms |
| Around $70 | Yes | 3 | 15 Hz – 22 kHz | 32 Ohms |
| Around $150 | Yes | 4.5 | 10 Hz – 25 kHz | 32 Ohms |
Illustrative comparison based on the article research brief. Verify current pricing, limits, and product details in the official docs before relying on it.
DAW Software: The Digital Studio
A Digital Audio Workstation (DAW) is the software you’ll use to record, edit, mix, and master your music. It’s the heart of your digital studio. Fortunately, there are a number of excellent options available, ranging from free to very expensive.
GarageBand (for macOS) is a surprisingly powerful and user-friendly DAW that comes free with Apple computers. Cakewalk by BandLab is another excellent free option for Windows users, offering a full suite of recording and editing tools. Both are great starting points and can handle most basic recording tasks.
If you’re willing to spend a little money, Reaper is an incredibly affordable and versatile DAW. At around $60, it offers a professional feature set and a highly customizable interface. It has a generous trial period, so you can test it out before committing to a purchase.
- GarageBand: A powerful and user-friendly DAW that comes free with Apple computers.
- Cakewalk by BandLab:
- Reaper:
Cables, Accessories, and Acoustic Treatment
Don’t overlook the small stuff! You’ll need at least one XLR cable to connect your microphone to your audio interface. A headphone adapter might be necessary depending on your headphone jack size. A basic microphone stand is also essential for proper mic placement. Budget around $20-30 for these basics.
Acoustic treatment is often overlooked, but it can make a surprisingly big difference in your recordings. Even simple things like hanging blankets on the walls or using foam panels can help absorb sound reflections and reduce unwanted reverb. You don't need to build a professional acoustic studio, but addressing some of the basic reflections will improve your sound.
Allocate the remaining $50-70 of your budget for these accessories and basic acoustic treatment. Remember, it’s better to invest in the core components (interface, microphone, headphones) first, and then gradually improve your setup with accessories and acoustic treatment as your budget allows.
- XLR Cable
- Headphone Adapter (if needed)
- Microphone Stand
- Acoustic Foam Panels or Blankets
Beyond $500: Smart Upgrades
Once you’ve got a basic home studio setup, there are plenty of ways to improve it over time. A better microphone is always a good investment, allowing you to capture more detail and nuance in your recordings. Adding more inputs to your audio interface will allow you to record multiple instruments simultaneously.
Studio monitors offer a more accurate and detailed listening experience than headphones, but they’re not essential for beginners. Proper acoustic treatment is also a significant upgrade, as it will dramatically improve the sound of your recordings and mixes. Consider bass traps and diffusers to address low-frequency buildup and flutter echoes.
Don’t rush into upgrades. Focus on mastering your existing equipment and developing your recording and mixing skills before spending more money. A great recording made with inexpensive equipment is far more valuable than a mediocre recording made with expensive gear.

No comments yet. Be the first to share your thoughts!