
The shift from stereo to spatial
Stereo has been the standard for decades, but spatial audio is moving sound into a 3D field. Formats like Dolby Atmos and Sony 360 Reality Audio allow you to place sounds above and behind the listener rather than just panning between two speakers.
The difference isn’t subtle. Traditional surround sound adds rear channels, but spatial audio goes further, using object-based mixing to place sounds in a three-dimensional space. This means a vocal can appear to be coming from directly in front of you, a guitar from slightly to your left, and a subtle reverb tail enveloping you from all sides. It’s a fundamentally different way of experiencing music, and the impact is significant.
Consumer adoption is growing, and that’s a major reason why musicians and producers are taking notice. Apple Music, Tidal, and Amazon Music all offer spatial audio content, and headphone sales supporting these formats are climbing. While it may have felt like a niche technology a few years ago, spatial audio is rapidly becoming a mainstream expectation. It’s not just a trend; it's a shift in how people want to hear music, and it’s one that’s here to stay.
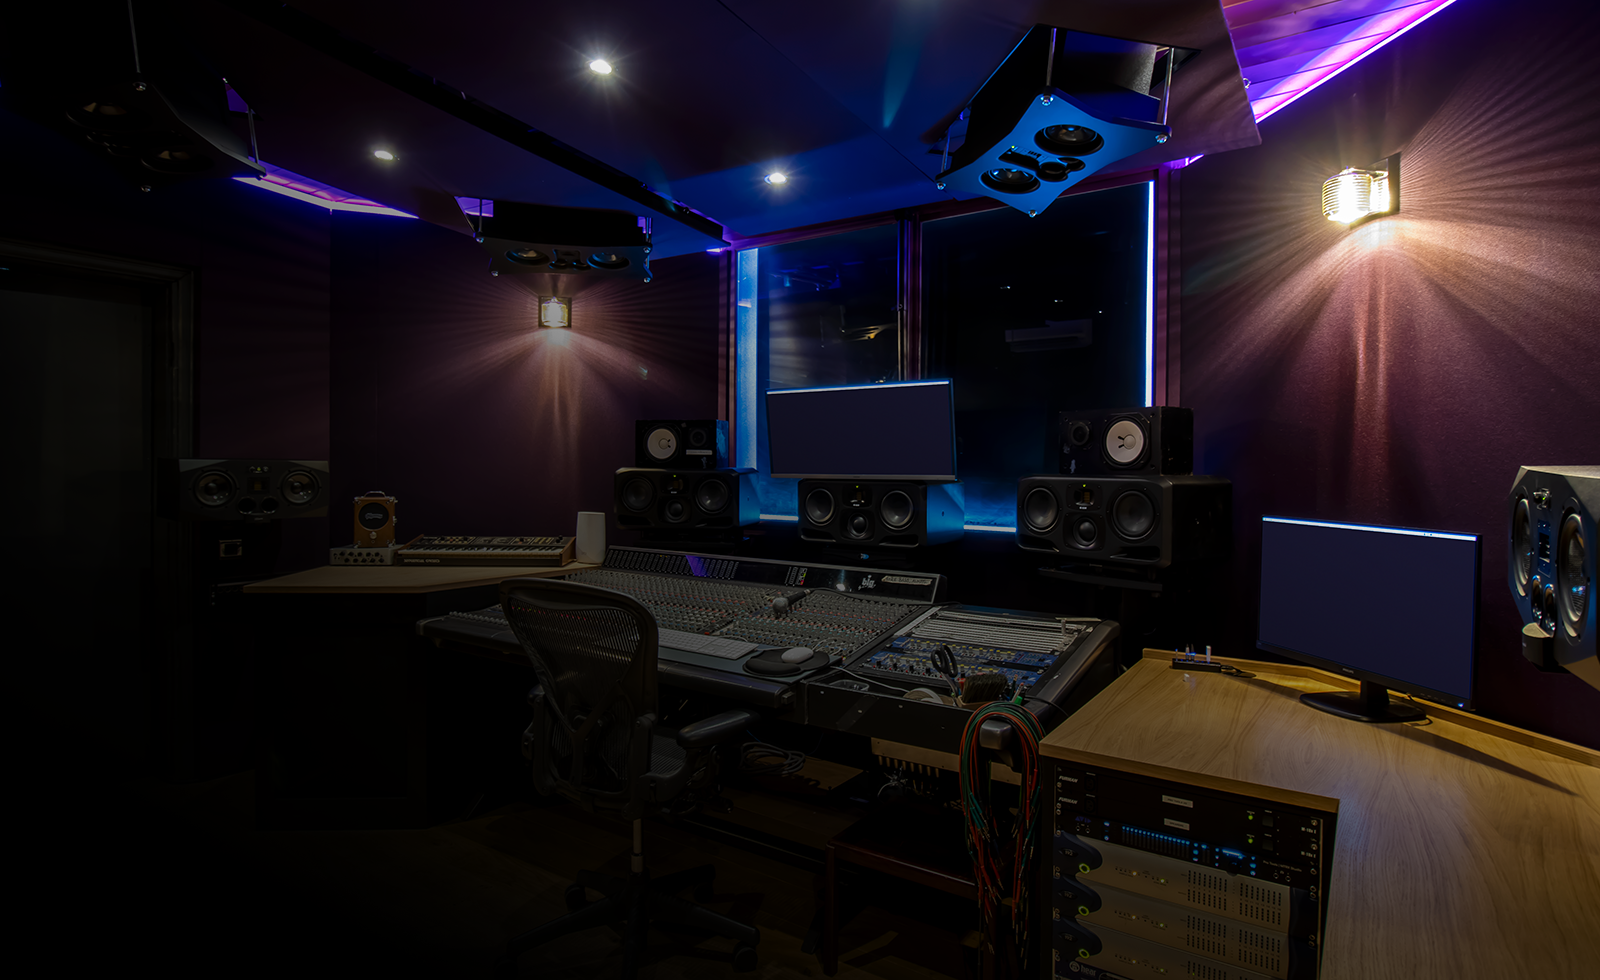
Acoustic treatment for home setups
You need an accurate environment for spatial mixing, but you don't need a professional studio. If you mix on headphones, your room acoustics matter less, but they still affect how you hear your monitors during tracking.
Reflections, standing waves, and flutter echoes can all muddy the waters, creating inaccurate stereo imaging and masking subtle spatial cues. Identifying reflection points – where sound bounces off walls, ceilings, and floors – is a good starting point. You can do this with a mirror: have someone move a mirror along the walls while you sit in your listening position; wherever you can see your speakers in the mirror, you have a reflection point.
Thankfully, effective acoustic treatment doesn’t have to be expensive. DIY bass traps made from rockwool or fiberglass can tame low-frequency buildup in corners. Acoustic panels, even those made from fabric-wrapped insulation, can absorb reflections. Diffusers scatter sound, preventing harsh reflections without deadening the room. Don't underestimate the power of strategically placed furniture and rugs to absorb unwanted sound.
Microphone techniques
Moving beyond traditional stereo miking opens up new possibilities for capturing spatial information. The standard spaced pair technique – using two cardioid microphones a few feet apart – is a good starting point for capturing a sense of width. XY, ORTF, and Blumlein Pair are other options, each offering a slightly different sonic character and stereo image.
ORTF, for example, uses two cardioid microphones angled at 110 degrees and spaced 17cm apart, creating a wide and natural-sounding stereo image. Blumlein Pair, with two figure-8 microphones angled at 90 degrees, captures a very accurate and detailed stereo field, but requires a quieter recording environment. Experimenting with microphone placement is key to finding what works best for your source material.
Ambisonics and binaural recording are more advanced techniques. Ambisonics uses multiple microphones to capture a full 360-degree soundfield, while binaural recording uses a dummy head with microphones in the ears to simulate human hearing. While intriguing, these techniques can be complex and require specialized equipment and software, making them less accessible for most home studios. They’re certainly worth exploring if you're serious about spatial audio, but don’t feel pressured to jump in right away.
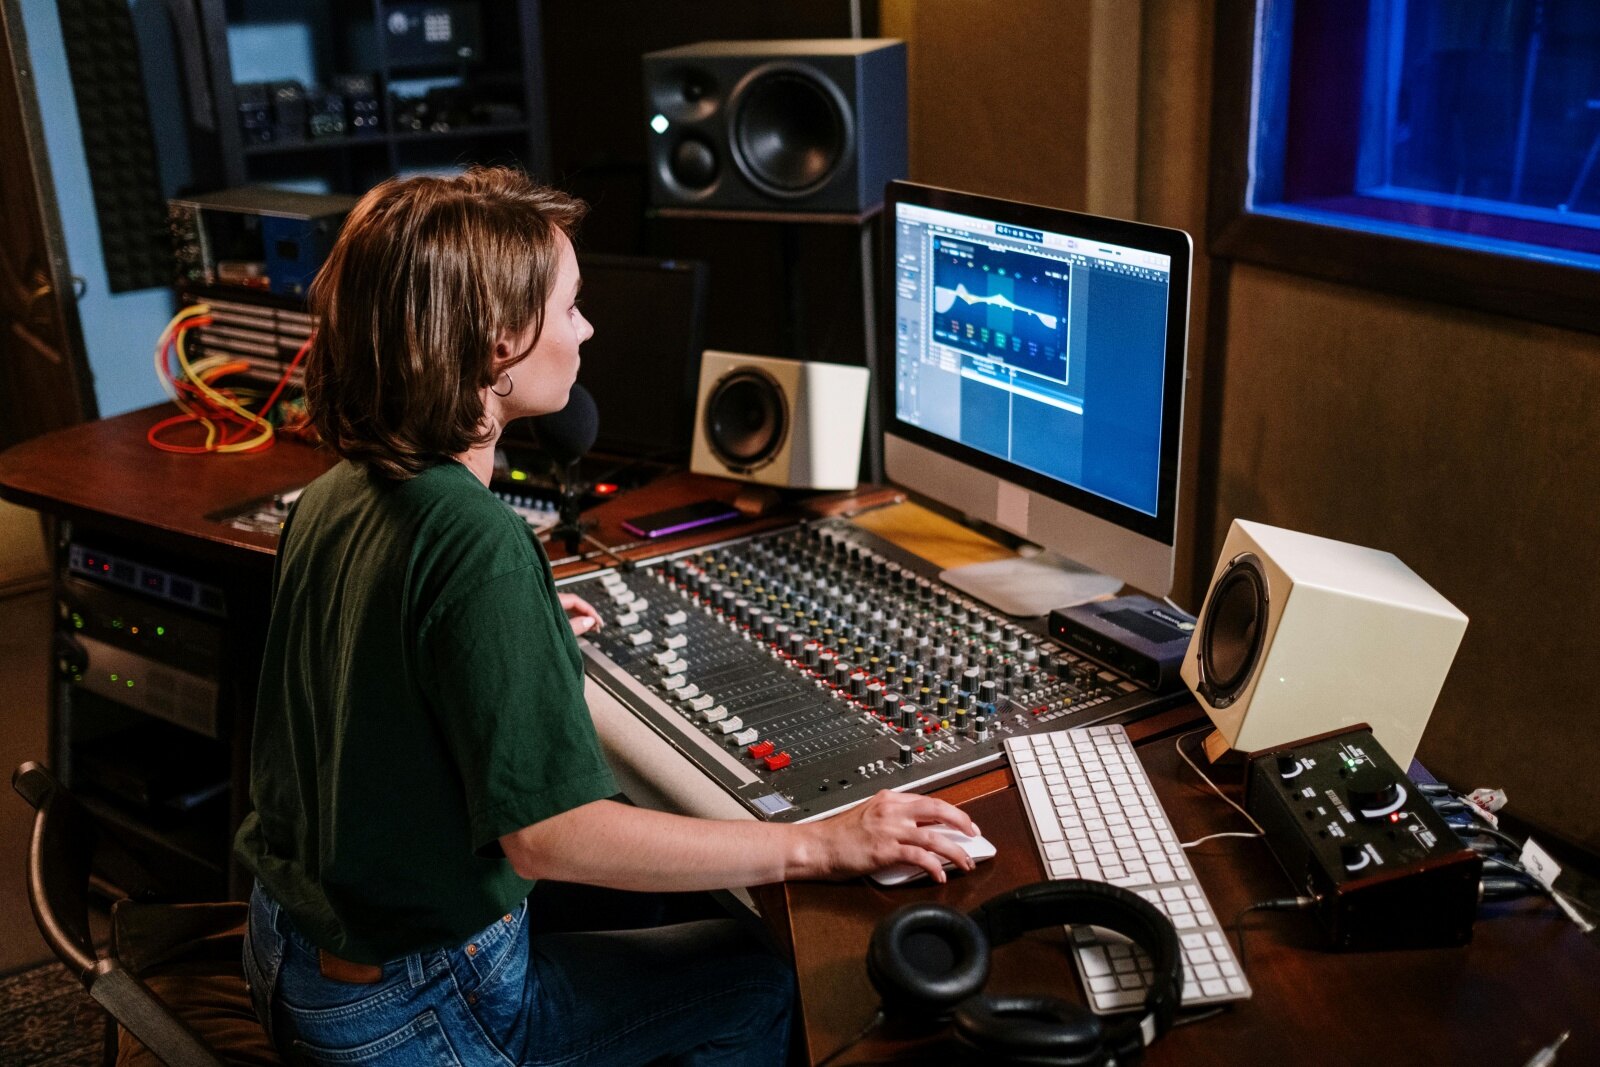
DAW Setup & Spatial Mixing
Your Digital Audio Workstation (DAW) is the central hub for spatial audio production. Fortunately, many popular DAWs now offer native support or plugins for working with spatial audio formats. Logic Pro X has excellent Dolby Atmos integration, while Ableton Live, Pro Tools, and Reaper can all be used with third-party plugins.
Plugins like Waves Nx and the Dolby Atmos Renderer let you place sounds in a 3D grid. The main shift is moving from channel-based mixing, where audio is sent to specific speakers, to object-based mixing, where the audio exists as a coordinate in space.
Spatial mixing involves manipulating panning, elevation, and width controls to create a sense of immersion. A basic setup involves routing your audio tracks to a spatial audio bus within your DAW, then using the plugin to position each sound. Start by experimenting with subtle placements, gradually building up the spatial image. Don't overdo it – the goal is to enhance the listening experience, not to create a disorienting effect.
- Create a new spatial audio track or bus in your DAW.
- Route your audio tracks to this bus.
- Add a spatial plugin like Waves Nx or the Dolby Atmos Renderer.
- Begin positioning sounds in the 3D space using the plugin’s controls.
Headphone Calibration & Monitoring
Because much spatial audio mixing is done on headphones, accurate monitoring is essential. The frequency response of your headphones significantly impacts how you perceive spatial cues. A headphone with a hyped bass response, for instance, can mask subtle details and make it difficult to create a balanced mix.
Headphone calibration tools like Sonarworks SoundID Reference and AutoEQ can help correct for frequency response irregularities. These tools measure your headphones’ frequency response and apply a correction curve, resulting in a more neutral and accurate sound. Using reference tracks – commercially released songs with similar sonic characteristics to your project – is also crucial for ensuring consistency.
However, headphone monitoring does have limitations. Headphones can't fully replicate the experience of listening to music in a room. Occasional checks on speakers are still recommended to verify your mix translates well to different listening environments. Remember that spatial audio is designed to be heard in a 3D space, and headphones can only simulate that experience.
Gear options for different budgets
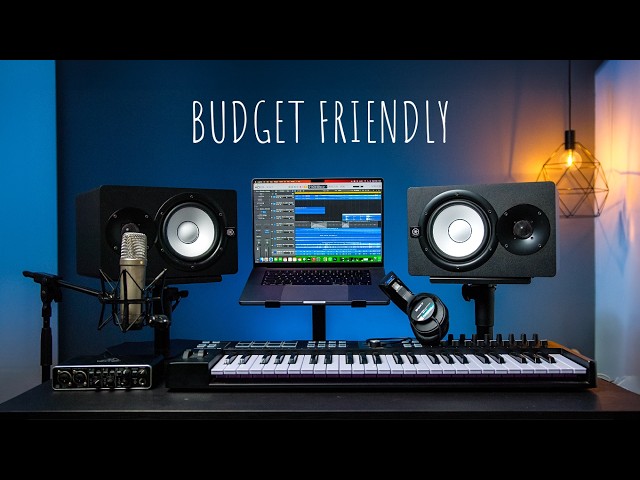
Getting started with spatial audio doesn’t require a fortune, but some investment is necessary. Here's a breakdown of essential gear, categorized by budget. Keep in mind, 'budget' is relative, and you can always upgrade components over time.
Budget ($500 - $1000): This gets you a decent USB audio interface (Focusrite Scarlett 2i2, $160), a pair of neutral-sounding headphones (Beyerdynamic DT 770 Pro, $150), and a DAW like Reaper ($60). You’ll likely be relying on free or affordable plugins for spatial mixing.
Mid-Range ($1000 - $2500): This allows for a more capable audio interface (Universal Audio Volt 476, $370), higher-quality headphones (Sennheiser HD 600, $400), a subscription to a DAW like Ableton Live ($299/year), and a basic spatial audio plugin (Waves Nx, $99). You can also start investing in some acoustic treatment.
Pro ($2500+): This unlocks professional-grade audio interfaces (Apollo Twin X Duo, $1300), top-tier headphones (Audeze LCD-X, $1200), a comprehensive DAW like Pro Tools Ultimate ($29.99/month), and advanced spatial audio tools (Dolby Atmos Renderer, $399).
Microphone Options for Spatial Audio Recording
| Price Range | Microphone Type | Polar Pattern | Key Features | Suitable Instruments/Vocals |
|---|---|---|---|---|
| Under $200 | Condenser Microphone | Cardioid | Generally provides a clear and focused sound. Often USB-powered for ease of use. | Acoustic guitar, vocals (solo), podcasting, voiceover |
| Under $200 | Stereo Pair (Matched Condensers) | XY or ORTF | Captures a wider stereo image than a single microphone. Requires an audio interface. | Acoustic instruments, room ambience, overhead drum recording |
| $200-$500 | Small Diaphragm Condenser Microphone | Omnidirectional | Accurate transient response, often used for capturing room tone and detailed soundscapes. | Room ambience, percussion, acoustic instruments, backing vocals |
| $200-$500 | Large Diaphragm Condenser Microphone | Multi-Pattern (Cardioid, Omnidirectional, Figure-8) | Versatile for various sources, offering different tonal characteristics based on the selected polar pattern. | Lead vocals, piano, electric guitar, bass |
| Over $500 | Binaural Microphone | Figure-8 (two mics) | Designed to mimic human hearing, creating a highly immersive spatial experience. Requires careful positioning. | Ambience, sound effects, ASMR, immersive vocal recordings |
| Over $500 | Ambisonic Microphone | Tetrahedral or Octahedral | Captures sound from all directions, allowing for full 360-degree spatial audio reconstruction. Requires specialized processing. | Immersive field recordings, VR/AR audio, spatial sound design |
| $200-$500 | Dynamic Microphone | Cardioid | Rugged and handles high sound pressure levels well. Less sensitive than condensers. | Loud instruments (snare drum, guitar amps), vocals in noisy environments |
Illustrative comparison based on the article research brief. Verify current pricing, limits, and product details in the official docs before relying on it.

No comments yet. Be the first to share your thoughts!