
Studio Dreams: $500 is Enough
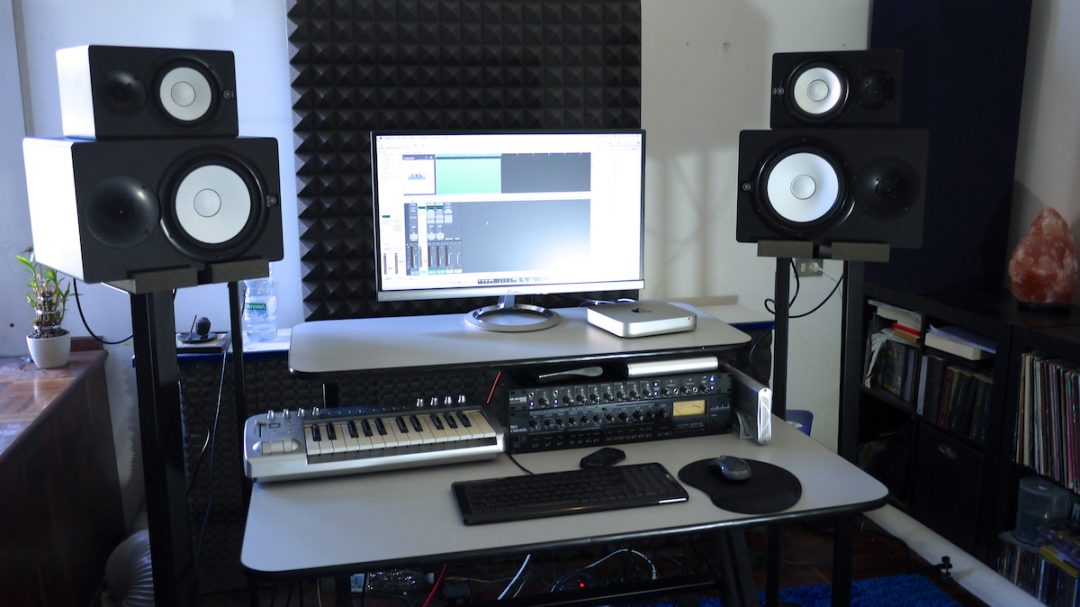
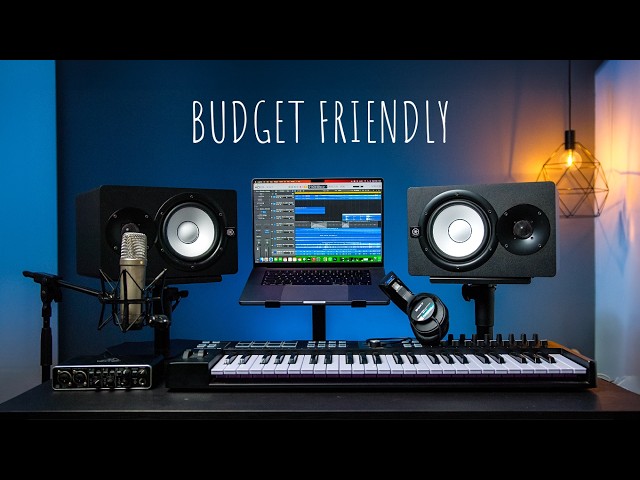
Starting a home recording studio can feel daunting. The images that come to mind often involve sprawling rooms filled with expensive gear. But the truth is, building a capable home studio doesn't require a huge investment anymore. In 2026, a surprisingly good quality setup is absolutely achievable for under $500.
Over the past few years, things have changed dramatically. USB microphones have improved significantly, audio interfaces have become more affordable, and free recording software is more powerful than ever. This means you can get up and running with a setup that sounds professional without breaking the bank.
This guide focuses on realistic expectations. We aren’t building a commercially viable studio here, but a fantastic space for learning, demoing songs, recording podcasts, and capturing good-quality audio. It’s a starting point, and a very solid one at that. Think of it as a launchpad for your creative endeavors.
The $500 Studio Lineup: 10 Options
Here are ten home recording studio setups under $500, each with a slightly different focus for vocals, guitar, podcasting, or general use. Prices are approximate and can fluctuate.
1. Audio-Technica AT2020USB+ Microphone + Behringer UMC22 Interface Setup ($299): This is a solid all-rounder. The AT2020USB+ is a well-respected cardioid condenser microphone, and the UMC22 provides two inputs and phantom power. It's great for vocals and acoustic instruments, but lacks extensive routing options.
2. Focusrite Scarlett Solo Studio Pack with CM25 Microphone ($249): Focusrite is a trusted name, and the Scarlett Solo is a popular interface. The included CM25 microphone is decent for starting out, though not as refined as some others. It's a very easy setup, ideal for beginners.
3. PreSonus AudioBox USB 96 Studio Bundle with M7 Microphone ($199): This is arguably the most budget-friendly complete package. The M7 microphone is basic, but paired with the AudioBox interface and PreSonus Studio One Artist software, it's a functional starting point. Don’t expect studio-quality recordings, but it gets the job done.
4. Behringer U-Phoria UM2 + Audio-Technica ATH-M40x + SM48 Microphone Setup ($189): This setup prioritizes value. The UM2 is a very affordable interface, the ATH-M40x headphones are known for their accuracy, and the Shure SM48 is a rugged dynamic microphone suitable for vocals and instruments. It’s a bit more DIY, but incredibly cost-effective.
5. Zoom PodTrak P4 + Samson Q2U Dynamic Microphone Setup ($229): Perfect for podcasting, the PodTrak P4 is a dedicated podcast recorder with four microphone inputs. The Samson Q2U is a USB dynamic microphone that’s easy to use and sounds good. It’s less versatile for music recording, but fantastic for spoken word.
6. Mackie Onyx Producer 2-2 + Audio-Technica AT2005USB Setup ($279): The Mackie Onyx Producer 2-2 is a step up in interface quality, offering better preamps and more features. The AT2005USB is a dynamic USB microphone that is very forgiving and handles loud sources well. A good choice for recording drums or amplified instruments.
7. Tascam US-2x2HR Interface + Shure SM58 + Sony MDR-7506 Headphones ($349): This is a classic combination. The Shure SM58 is an industry-standard vocal microphone, the Sony MDR-7506 headphones are renowned for their clarity, and the Tascam US-2x2HR is a reliable interface. It's a workhorse setup for vocals and instruments.
8. Native Instruments Komplete Audio 1 + Rode PodMic Setup ($289): This setup is geared towards vocal recording and podcasting. The Rode PodMic is a broadcast-quality dynamic microphone, and the Komplete Audio 1 provides a clean signal path. It's a simple, effective setup for capturing clear vocals.
9. Steinberg UR12 + Audio-Technica AT4040 Condenser Microphone Setup ($399): The Steinberg UR12 is a compact and capable USB audio interface. The Audio-Technica AT4040 is a condenser microphone known for its detailed sound. This setup is a good choice for vocals, acoustic instruments, and voiceovers.
10. M-Audio AIR 192|4 + AKG P120 + Audio-Technica ATH-M50x Setup ($449): This setup offers a balance of quality and features. The M-Audio AIR 192|4 is a versatile interface, the AKG P120 is a solid condenser microphone, and the Audio-Technica ATH-M50x headphones are widely respected for their sound quality. It’s a capable setup for a wide range of recording tasks.
Featured Products

Cardioid condenser USB microphone · Built-in headphone jack with volume control · Direct monitoring for zero-latency playback
This versatile USB microphone offers excellent sound quality and ease of use, making it ideal for beginners in podcasting and music production.

USB audio interface with high-quality preamps · Included condenser microphone and closed-back headphones · Auto Gain and Clip Safe features for optimal recording levels
This all-in-one bundle provides a professional entry point for vocalists and instrumentalists, featuring a reliable interface and essential accessories.
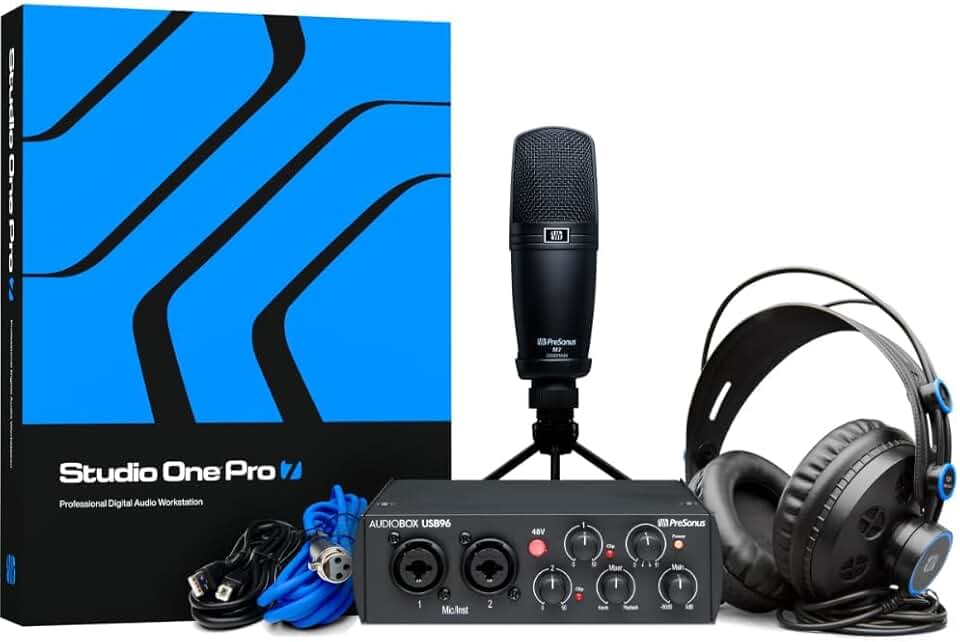
Compact USB audio interface · Includes a condenser microphone and headphones · Bundled with Studio One Artist recording software
Offering a complete package with a capable DAW, this setup is perfect for songwriters looking to capture their ideas with ease.

Portable podcast recorder with 4 XLR mic inputs · 4 independent headphone outputs · USB audio interface functionality and sound pads
The PodTrak P4 is a standout choice for podcasters, offering robust features for multi-person recordings and remote interviews at an accessible price.

Durable dynamic vocal microphone · Cardioid pickup pattern minimizes background noise · Industry-standard for live vocals and studio recording
A legendary microphone known for its ruggedness and clear vocal reproduction, the SM58 is a reliable workhorse for any budget-conscious setup.
As an Amazon Associate I earn from qualifying purchases. Prices may vary.
Microphone Matters: Picking Your Voice
Choosing the right microphone is crucial. There are two main types: dynamic and condenser. Dynamic microphones, like the Shure SM58, are rugged and handle loud sounds well, making them ideal for live performance and recording drums or guitar amps. They don’t require phantom power.
Condenser microphones, like the Audio-Technica AT2020, are more sensitive and capture more detail, making them better for vocals, acoustic instruments, and quieter sources. They do require phantom power, which is supplied by your audio interface.
Polar patterns determine how a microphone picks up sound. Cardioid patterns pick up sound primarily from the front, rejecting sound from the sides and rear—ideal for isolating a vocal performance. Omnidirectional patterns pick up sound from all directions, useful for recording a room ambience. Understanding these patterns is key to getting a clean recording.
Interface Insights: Connecting It All
An audio interface is the bridge between your microphone and your computer. It converts analog audio signals into digital signals that your computer can understand. It also provides phantom power for condenser microphones and often includes headphone outputs and gain controls.
Key features to consider include the number of inputs and outputs, which determines how many sources you can record simultaneously. Latency, the delay between playing a sound and hearing it back, is also important. Lower latency is crucial for real-time monitoring. Interfaces like the Focusrite Scarlett series consistently offer low latency.
Using a dedicated audio interface is almost always better than relying on your computer’s built-in sound card. Built-in sound cards generally have lower audio quality and higher latency. On Windows, you’ll likely need to install ASIO drivers for low-latency performance; Macs use Core Audio natively.
Headphones & Monitoring: Hear Yourself Clearly
Closed-back headphones are essential for recording. They prevent sound from leaking out and being picked up by the microphone, which can cause feedback or unwanted noise. Open-back headphones offer a more natural soundstage, but are not suitable for recording.
Good budget options include the Audio-Technica ATH-M40x and the Sony MDR-7506. These headphones offer a flat frequency response, allowing you to hear your recordings accurately. While studio monitors provide the most accurate sound, they’re often beyond the $500 budget. A decent pair of bookshelf speakers can serve as a temporary monitoring solution.
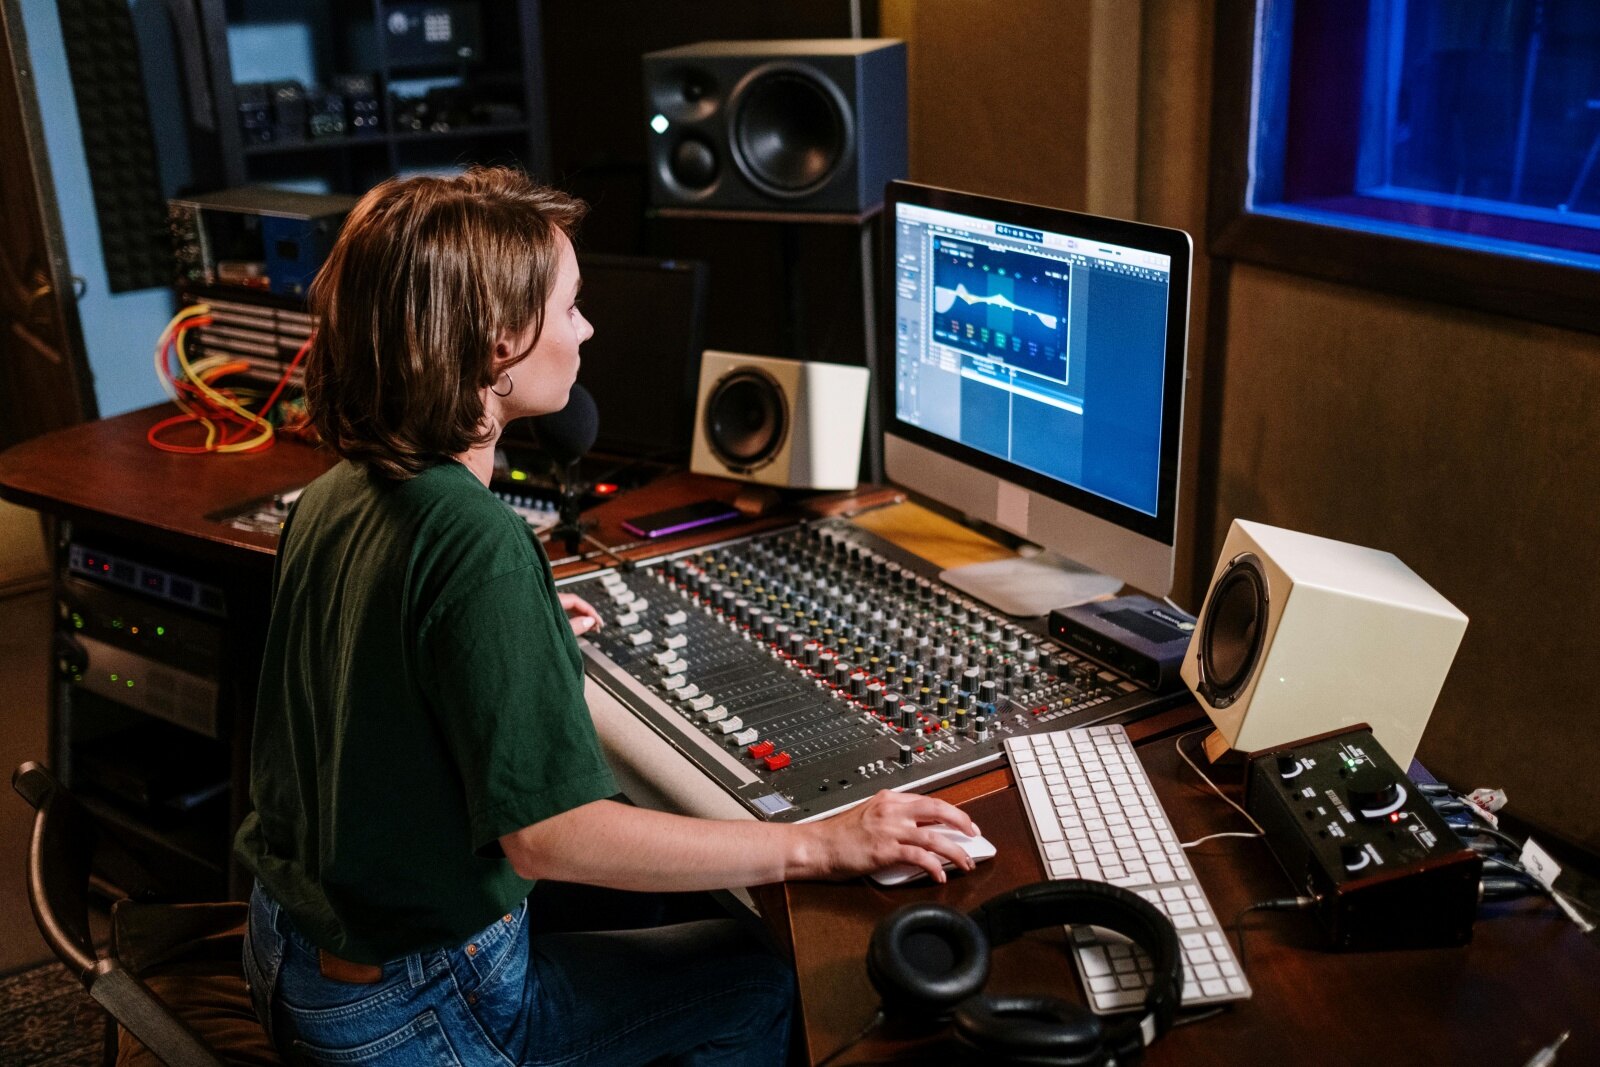
Accurate monitoring is vital for making informed mixing decisions. You need to hear exactly what you're recording to ensure a professional-sounding result.
DAW Decisions: Software to Record
A Digital Audio Workstation (DAW) is the software you’ll use to record, edit, mix, and master your audio. Fortunately, there are several excellent free or very affordable options available. GarageBand, which comes pre-installed on Macs, is a surprisingly powerful DAW.
Cakewalk by BandLab is a fully-featured DAW that’s available for free on Windows. Tracktion Waveform Free is another excellent free option with a modern interface. If you’re willing to spend a little money, Reaper offers a generous trial period and a very affordable license.
DAWs can seem complex at first, but the basics are relatively straightforward. Most DAWs allow you to record audio, edit waveforms, add effects, and mix multiple tracks together. There are countless online tutorials and resources available to help you learn.
Acoustic Treatment: Taming Your Room
Room acoustics play a surprisingly large role in recording quality. Reflections and standing waves can cause unwanted coloration and muddiness in your recordings. Even on a tight budget, you can take steps to improve your room’s acoustics.
Simple DIY solutions include hanging blankets or thick curtains on walls, placing pillows in corners, and strategically arranging furniture. These materials absorb sound, reducing reflections. You can also purchase affordable acoustic panels and bass traps online.
Don't underestimate the impact of even small improvements. Reducing reflections and taming standing waves can significantly improve the clarity and accuracy of your recordings. It’s a worthwhile investment, even if you’re just starting out.
Standout Setups: Worth a Second Look
Let's take a closer look at a couple of setups that really shine within the $500 budget. First, the Tascam US-2x2HR Interface + Shure SM58 + Sony MDR-7506 Headphones ($349) is a fantastic choice for anyone focused on vocal recording. The SM58 is a legendary microphone for a reason – it’s durable, reliable, and sounds great on a wide range of voices.
The Tascam interface provides clean preamps and low latency, while the Sony headphones offer exceptional clarity for monitoring. This setup is a workhorse that will serve you well for years to come. It's easily expandable, too - you could add a pop filter and a microphone stand for a more professional setup.
Another compelling option is the Zoom PodTrak P4 + Samson Q2U Dynamic Microphone Setup ($229). If podcasting is your primary goal, this setup is hard to beat. The PodTrak P4 is a dedicated podcast recorder with built-in features like sound pads and automatic mixing. The Samson Q2U is a USB dynamic microphone that’s easy to use and sounds surprisingly good for its price. It’s a streamlined, efficient solution for creating high-quality podcasts.

No comments yet. Be the first to share your thoughts!