
Choosing your first interface
The audio interface is the bridge between your analog world and your digital audio workstation. It converts the signal from your microphone or instrument into data your computer can process. For a home recording studio, this is the most critical piece of hardware you will buy. A poor interface will bottleneck your sound quality no matter how good your microphone is.
Start by identifying your input needs. If you record vocals and acoustic guitar, a two-input interface is usually sufficient. You need enough preamps to handle your sources simultaneously. If you plan to record a full band or use external hardware synthesizers, you will need four or more inputs. Consider the type of preamps as well; clean, transparent preamps are generally preferred for modern home recording.
Budget is the next constraint. Entry-level interfaces often use bus power, drawing electricity from your computer’s USB port. This is convenient but can limit power for certain microphones. Mid-range options often include dedicated power supplies, offering cleaner signals and more headroom. Avoid interfaces that feel cheap or plastic; you will be using this daily.
The following table compares three reliable options across different price tiers. These models are widely recognized for their stability and sound quality in home studio environments.
| Model | Inputs | Preamp Type | Power Source | Best For |
|---|---|---|---|---|
| Focusrite Scarlett 2i2 | 2 | Focusrite | USB Bus | Vocals & Guitar |
| Universal Audio Volt 2 | 2 | Vintage-modeled | USB Bus | Warm Vocal Tones |
| Motu M2 | 2 | Low-noise | USB Bus | Low Latency Monitoring |
Best microphones for voice and instruments
Best Home Recording Studio Gear for works best as a clear sequence: define the constraint, compare the realistic options, test the tradeoff, and choose the path with the fewest hidden costs. That order keeps the advice usable instead of decorative. After each step, pause long enough to check whether the recommendation still fits the reader's actual situation. If it depends on perfect timing, unusual access, or a best-case budget, include a simpler fallback.
The simplest way to use this section is to write down the real constraint first, compare each option against it, and choose the path that still works outside ideal conditions.
Choosing the Right Monitoring Setup
Accurate monitoring is the foundation of a professional home recording studio. Without reliable speakers or headphones, your mixes will translate poorly to other systems, leaving you guessing about balance and frequency response. The goal is to hear the recording exactly as it is, without coloration or deception.
Near-Field Monitors for Primary Mixing
Near-field monitors sit close to your listening position, typically forming an equilateral triangle with your head. This placement minimizes the influence of room reflections, allowing you to hear the direct sound from the drivers. Look for speakers with a flat frequency response and low distortion. Brands like Yamaha, KRK, and Adam Audio offer reliable entry-level options that provide a clear window into your mix. Proper placement is critical; avoid corners and keep the tweeters at ear level to ensure an accurate stereo image.
Closed-Back Headphones for Late-Night Work
When you need to work late without disturbing neighbors, high-fidelity closed-back headphones become essential. Unlike open-back designs, closed-back models seal the ear canal, preventing sound leakage and blocking external noise. This isolation allows you to hear subtle details in your mix at lower volumes. Choose headphones with a neutral sound signature rather than those boosted for bass or treble. Models from Beyerdynamic, Audio-Technica, and Sennheiser are known for their accuracy and durability, making them suitable for critical listening sessions.
Combining Both for Best Results
Using both monitors and headphones provides a comprehensive view of your audio. Switching between the two helps you identify issues that might only appear in one medium. For example, a mix that sounds balanced on speakers might reveal excessive bass when checked on headphones. Regularly A/B testing between your primary monitors and headphones ensures your tracks sound good everywhere. This dual approach is a standard practice in professional studios and should be adopted by anyone serious about their home recording studio setup.
Essential accessories and cabling
A microphone and interface are only half the equation. The quality of your home recording studio often hinges on the supporting gear that keeps signals clean and instruments stable. Cheap cables introduce noise, unstable stands cause feedback, and missing accessories ruin takes. Investing in these small components pays off immediately in reliability and sound quality.
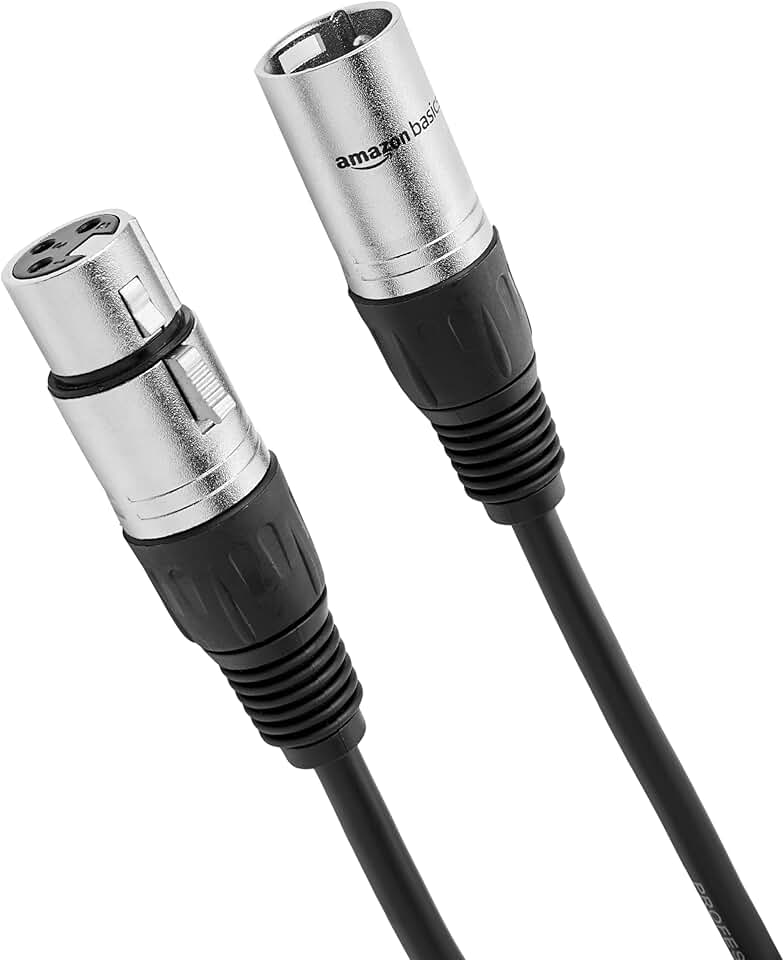
Cables and connectivity
Signal integrity starts with the cable. Look for cables with solid shielding to prevent radio frequency interference, especially in untreated rooms. XLR cables should have gold-plated connectors to resist corrosion over time. For instrument connections, high-quality instrument cables with low capacitance preserve the high-end frequencies of guitars and keyboards.
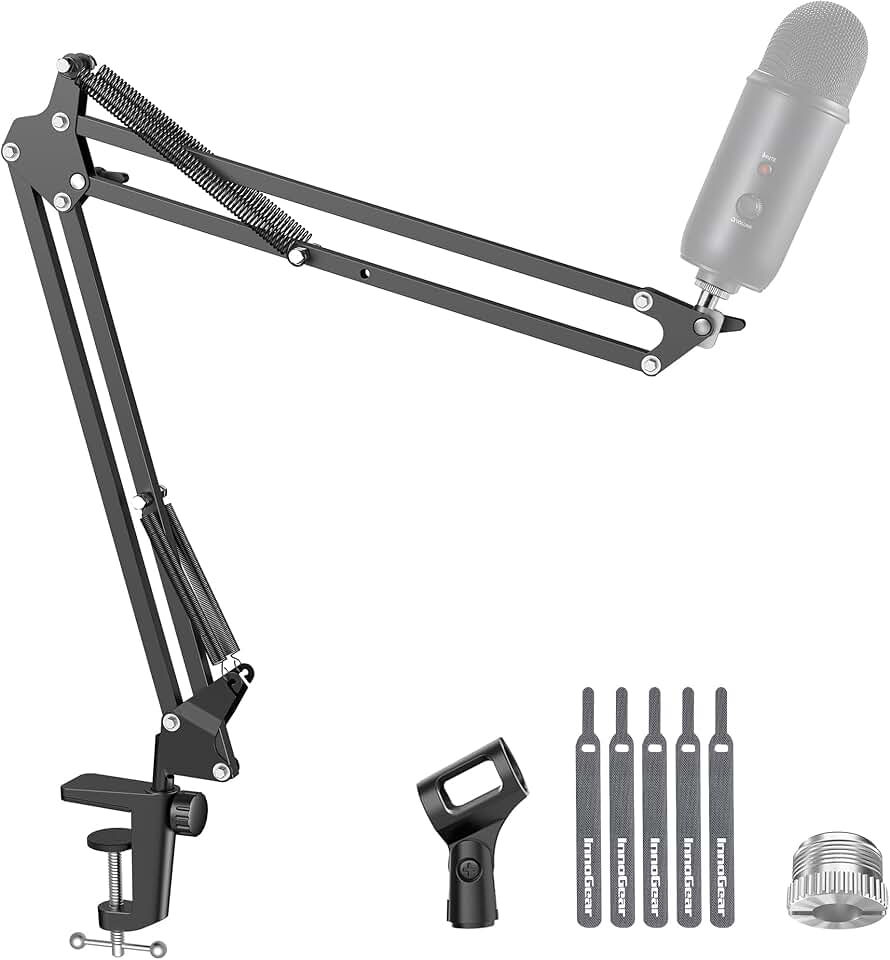
Stands and mounting
Microphone stability is non-negotiable for clean recordings. A sturdy boom stand with a reliable locking mechanism prevents the mic from drifting during long sessions. For monitors, isolation pads reduce the transfer of vibration from the desk to the speakers, resulting in a tighter bass response. Desk stands for keyboards or tablets should be weighted to prevent tipping.
Acoustic treatments and filters
Room acoustics and vocal clarity are managed with simple accessories. A pop filter reduces plosive sounds that overload the microphone capsule, while a reflection filter provides a degree of isolation in untreated spaces. These items are inexpensive compared to building a vocal booth but offer significant improvements to vocal tracks.

As an Amazon Associate, we may earn from qualifying purchases.
Set up your room acoustics
The walls of your home recording studio act like mirrors for sound. Hard surfaces reflect high frequencies, creating a harsh, boxy tone that plugins can’t fix. You don’t need a professional studio built with bass traps and diffusers to get clean audio. Strategic placement of basic absorption materials makes a bigger difference than expensive, scattered foam panels.
Sit in your primary mixing position and have a friend slide a mirror along the side walls. Wherever you can see your studio monitors in the mirror, that is a first reflection point. Place broadband absorption panels there to stop early echoes from muddying your stereo image. This single step often improves clarity more than any software EQ.
Bass frequencies accumulate in room corners, causing a booming or muddy low end. Use thick bass traps or heavy moving blankets in the vertical corners of your room. If you are on a budget, placing bookshelves filled with books in corners acts as a natural diffuser and absorber for low frequencies.

Your desk vibrates when the speakers play, transferring energy into the wood and coloring the sound. Use isolation pads or stands to decouple your monitors from the desk surface. This allows the speakers to move freely, revealing the true bass response and high-frequency detail of your recordings.
Focus on these foundational steps before buying expensive gear. A well-treated room ensures that what you hear is what you record, saving you hours of mixing time later.
No comments yet. Be the first to share your thoughts!