
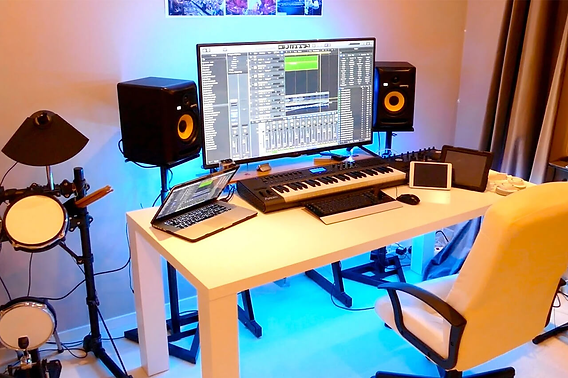
Start with the right room
Before buying gear, evaluate your space. The room is the first instrument in your chain; a poor room colors every recording, no matter how expensive your equipment is.
Pick a small, rectangular space
Avoid corners, bathrooms, and large living rooms. Corners trap bass frequencies, creating a muddy boom that is hard to fix in mixing. Bathrooms have hard, parallel surfaces that cause harsh reflections. A small, empty bedroom is often better than a large, furnished space because it has fewer surfaces to bounce sound around.
Tip: Avoid corners and bathrooms. A small, empty bedroom often yields better results than a large, furnished living room.
Orient your desk correctly
Face a wall, not a window. Windows are large, flat surfaces that reflect sound directly back at your ears, confusing your stereo imaging. If you must face a window, hang heavy curtains to break up the reflection. Position your speakers in an equilateral triangle with your head. This means the distance from your left ear to the left speaker equals the distance from your right ear to the right speaker, and both equal the distance between the two speakers.
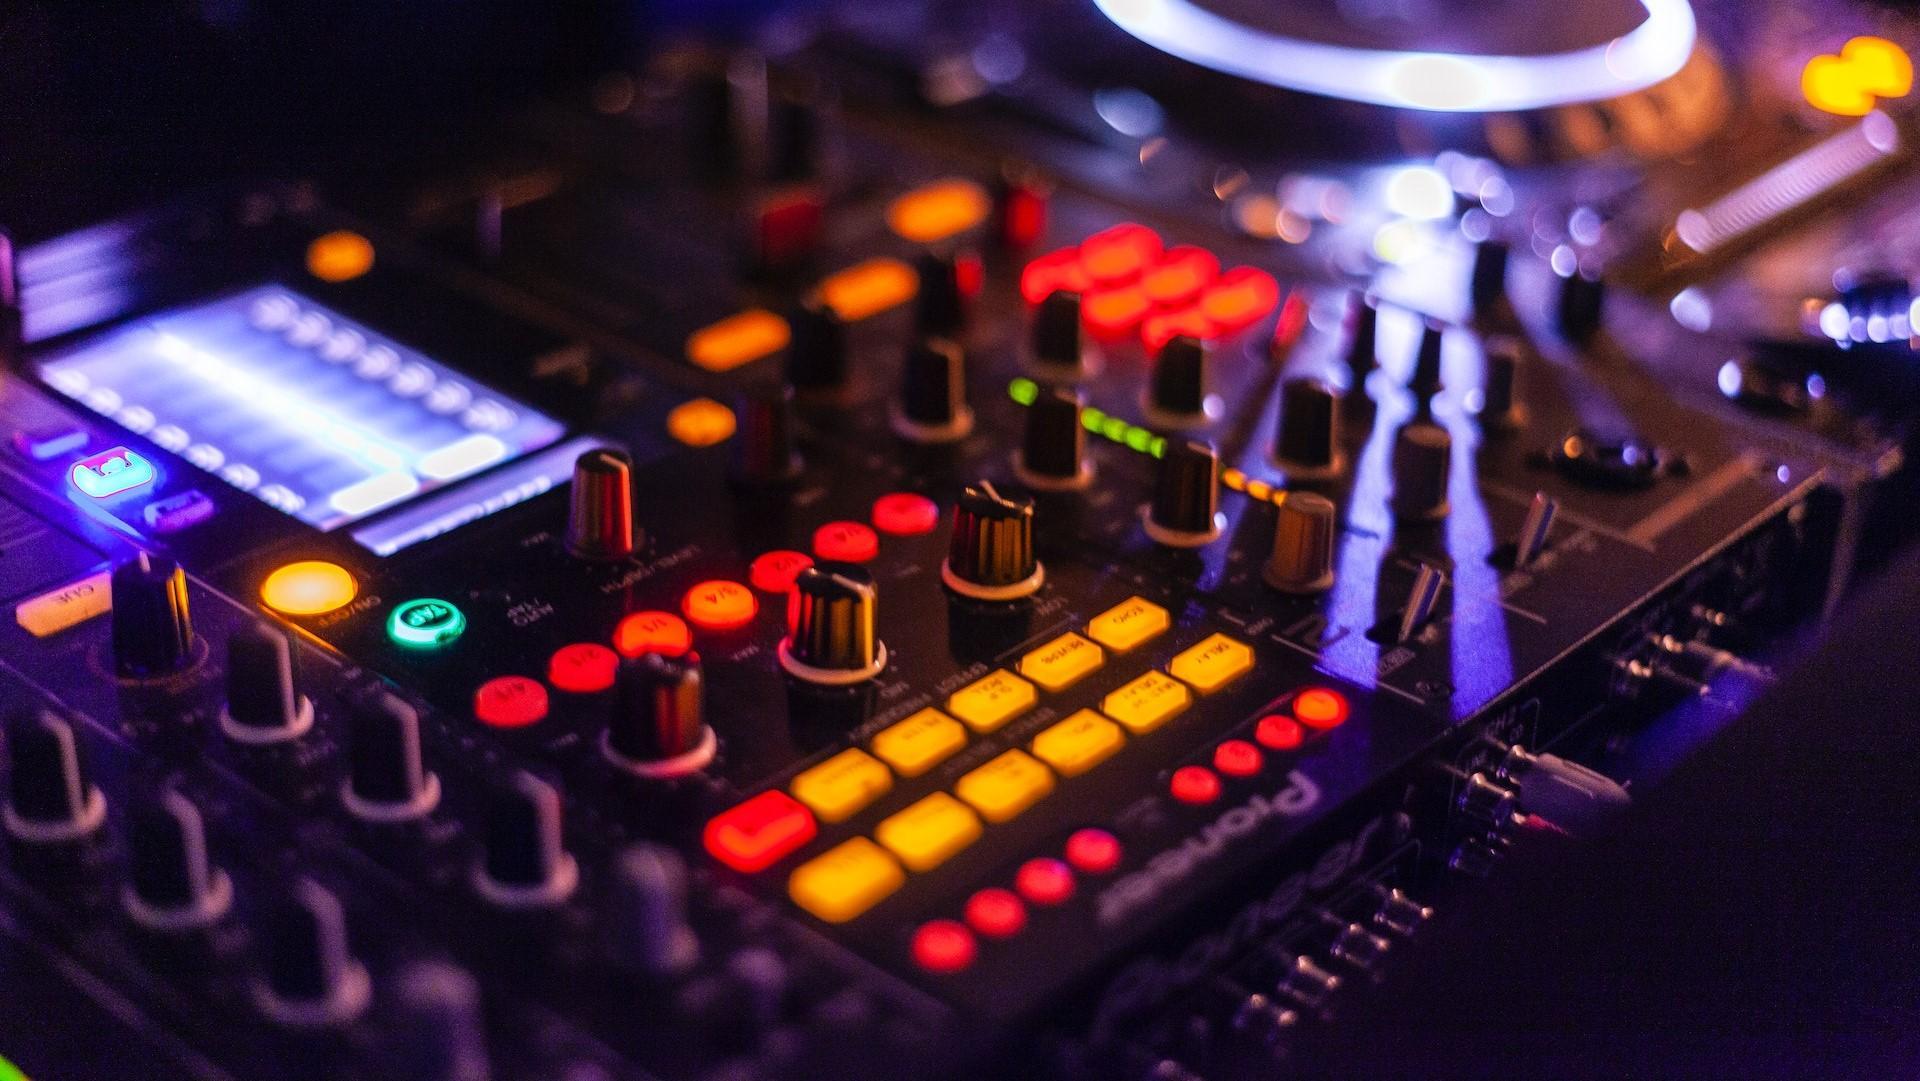
Choose your core audio interface
An audio interface bridges your analog world and your computer, converting microphone signals into digital data. Without it, you cannot record high-quality audio directly into your Digital Audio Workstation (DAW).
On a budget, you do not need a complex rack of hardware. A simple, reliable interface with one or two inputs is enough to start. Look for a device with clean preamps and low latency monitoring. The goal is to capture your performance accurately without introducing noise or distortion.
Here are three reliable entry-level options that balance price and performance for beginners:
| Model | Inputs | Price Range | Software Bundle |
|---|---|---|---|
| Focusrite Scarlett Solo | 1 mic, 1 instrument | $120–$150 | Ableton Live Lite, Plug-ins |
| Universal Audio Volt 2 | 2 mics/instruments | $180–$200 | Studio One Prime, Amps |
| Motu M2 | 1 mic, 1 instrument | $190–$220 | Cubase AI, Plug-ins |
Ensure your computer has the required ports. Most modern interfaces use USB-C, which may require a simple adapter if you only have USB-A ports. Verify that your operating system is up to date to avoid driver conflicts.
Download the official drivers from the manufacturer’s website. Installing these drivers is critical for low-latency monitoring. Without them, you will hear a noticeable delay between playing a note and hearing it through your headphones.
Plug your XLR microphone into Input 1 and set the gain knob to about 75% before starting. Put on your headphones and speak or sing into the mic while watching the input level meter. Adjust the gain until the peaks hit the green or yellow zone, never red.
Pick a microphone for your voice
The microphone is the most critical link in your recording chain. It captures your voice and turns it into digital data. Choosing the wrong type will make a good recording sound muddy or distant. The choice comes down to two main technologies: dynamic and condenser.
Dynamic microphones
Dynamic mics are the workhorses of the recording world. They are built like tanks and are forgiving of imperfect room acoustics. If you record in a bedroom with bare walls, a dynamic microphone rejects background noise like air conditioning or traffic better than almost anything else. They are also generally more affordable, making them the best first purchase for a beginner.
Look for a dynamic mic if you want to record vocals, podcasts, or instruments in a non-treated room. They handle high sound pressure levels well, so you don’t have to worry about peaking the audio if you get too close. Think of a dynamic mic as a shield; it focuses on the sound right in front of it and ignores the chaos behind it.
Condenser microphones
Condenser microphones are more sensitive and detailed. They capture the subtle breaths and nuances of a vocal performance that a dynamic mic might smooth over. However, this sensitivity is a double-edged sword. A condenser will pick up every echo, hum, and creak in your room.
You should choose a condenser only if you have a quiet, treated space. If you can’t afford acoustic treatment yet, stick with a dynamic mic. When used in the right environment, a condenser provides that professional, "in-your-face" studio sound that defines modern pop and spoken word.
Quick comparison
| Feature | Dynamic | Condenser |
|---|---|---|
| Sensitivity | Low (rejects background noise) | High (captures detail and room tone) |
| Durability | Very high | Fragile |
| Power Required | None (passive) | Phantom Power (+48V) |
| Best For | Noisy rooms, live instruments | Quiet treated rooms, vocals |
Recommended picks
Start with a reliable dynamic microphone. The Shure SM58 or SM7B are industry standards that work for almost any voice type. If you decide to upgrade to a condenser later, look at the Audio-Technica AT2020 or Rode NT1 for clear, detailed recordings.


As an Amazon Associate, we may earn from qualifying purchases.
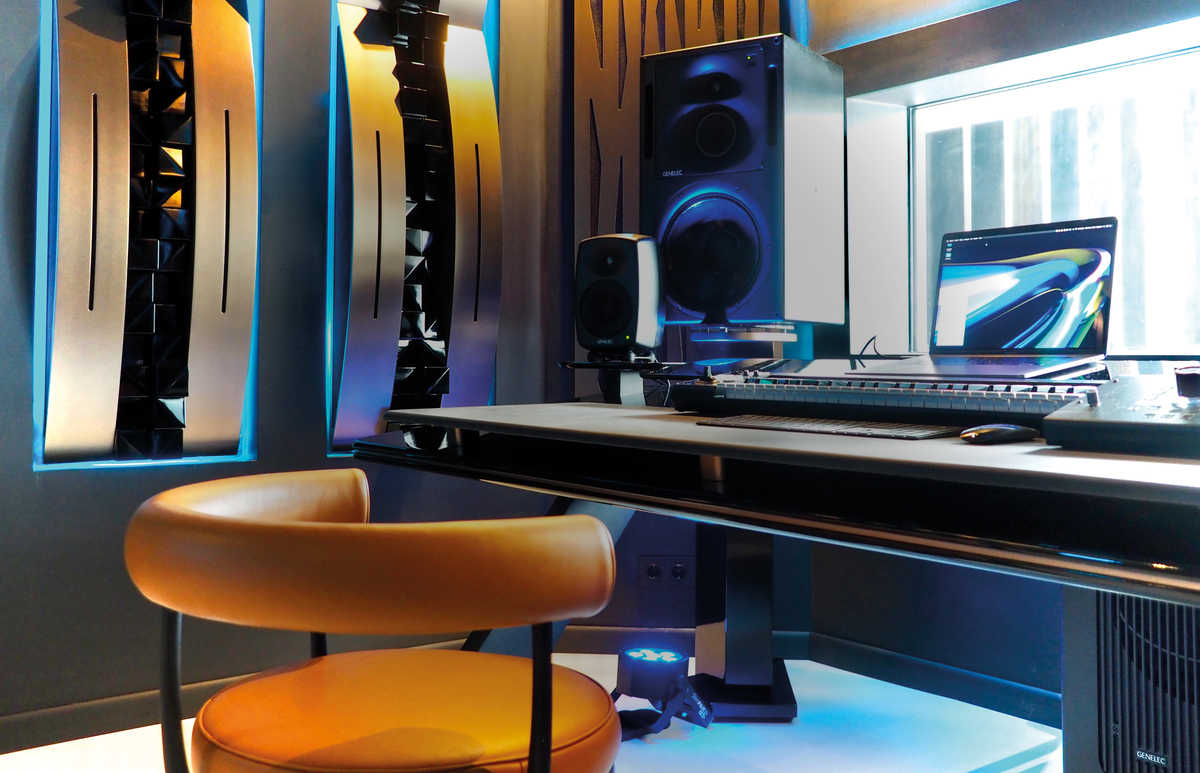
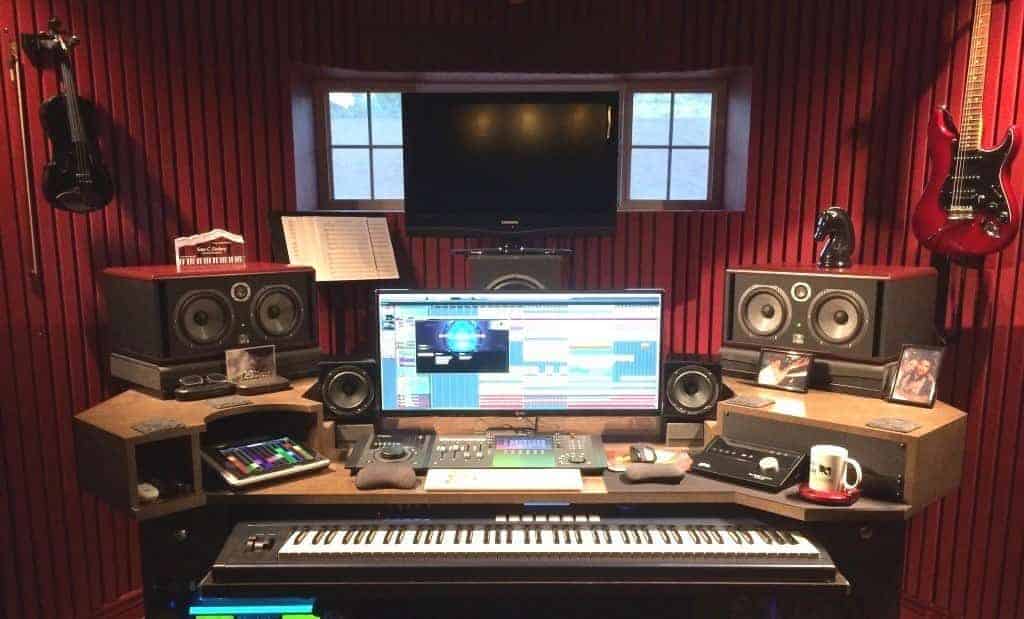
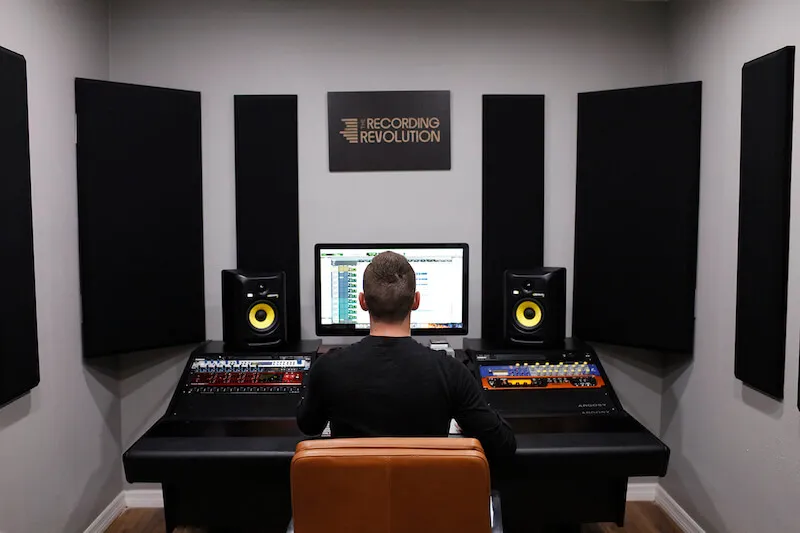
Choose Between Headphones and Speakers
Selecting your monitoring setup is the next key decision. You generally have two paths: studio monitors (speakers) or headphones. Both serve the same purpose—revealing the truth of your audio—but they behave differently in a physical space.
Studio monitors are ideal for mixing because they replicate how music sounds in the real world. However, they require a treated room to perform well. Without proper acoustic treatment, reflections and bass buildup can distort your mix, leading to decisions that don’t translate to other playback systems. For most beginners starting out in a bedroom or living room, the acoustic challenges often outweigh the benefits.
Headphones are the practical starting point. They bypass room acoustics entirely, allowing you to hear exactly what is being recorded or played back. This makes them perfect for tracking vocals or instruments where you need precise detail without worrying about sound leaking into the microphone.
For your first setup, prioritize closed-back headphones. The "closed" design creates a seal around your ears, preventing the audio from the headphones from bleeding into your microphone during recording. This isolation is critical for maintaining clean recordings. Open-back headphones, while excellent for mixing in a treated room, will let sound escape and compromise your tracks. Look for a pair with a flat frequency response to ensure you’re hearing an accurate representation of the sound, not a colored one designed for casual listening.
Install your digital audio workstation
Your digital audio workstation (DAW) is the central hub of your recording process. It is where you record, edit, mix, and arrange your audio. Think of it as your digital mixing board and tape machine combined. For a beginner, the best DAW is the one that feels intuitive and runs smoothly on your computer. You do not need to spend money to start; several excellent free options exist.
Start by selecting a DAW that matches your operating system and budget. Popular free choices include GarageBand for Mac users and Cakewalk for Windows. If you want a trial of professional software, most major brands like Ableton, Logic Pro, or Studio One offer 30-day free trials. This lets you test the interface before committing.
Visit the official website of your chosen DAW to download the installer. Avoid third-party download sites to prevent malware. Run the installer and follow the on-screen prompts. During installation, you may be asked to create an account or enter a license key. For free versions, skip the license entry. For trials, you will receive a temporary key via email.
Open the DAW and navigate to the audio preferences. Select your audio interface as both the input and output device. Set the buffer size to a lower value (e.g., 128 or 256 samples) while recording to minimize latency. Increase the buffer size (e.g., 1024 samples) when mixing to reduce CPU load. Save these settings so they load automatically next time.
Create a new project file and name it clearly. Add a new audio track and select your microphone as the input source. Arm the track for recording by clicking the red "R" button. Hit record and speak or play an instrument to test the signal. Check the level meters to ensure the audio is not clipping (hitting the red zone). Adjust your microphone gain if the signal is too quiet or distorted.
Once your DAW is installed and configured, you are ready to start recording. Take time to explore the basic transport controls and menu options. Most DAWs offer a "quick start" or "tutorial" mode that highlights essential features. Do not rush into complex mixing; focus on capturing clean audio first.
Test your setup with a practice recording
Before committing to a final take, run a short test to verify your signal chain. This step catches phase issues, clipping, and background noise before they ruin your project. Treat this like a dress rehearsal.
Speak or play your instrument at your loudest expected volume. Aim for peaks around -12dB to -6dB on your DAW’s meter. Avoid hitting 0dB, which causes digital clipping that cannot be fixed later.
Record ten seconds of silence with your room tone. Listen closely for hums, computer fan noise, or traffic. If you hear interference, move your microphone away from power cables or electronics.
Record a mono source and play it back. If the sound feels thin or hollow, check your microphone polarity or phase alignment. Ensure your stereo image is centered unless you intentionally want a wide effect.
Listen to your playback on headphones or studio monitors. Adjust your headphone mix so you can hear your dry signal clearly. This ensures you record with confidence, knowing exactly what you’re hearing.
Common recording mistakes
Even with a tight budget, a functional studio is possible if you avoid the traps that derail beginners. These errors often cost more time and money than the gear itself.
Poor gain staging
Recording too hot causes digital clipping, which distorts the audio beyond repair. Recording too quiet introduces noise floor issues that are hard to remove later. Set your input levels so the loudest peaks hit around -12dB to -6dB. This leaves headroom for mixing and ensures clean digital conversion.
Ignoring room acoustics
A $1,000 microphone will still sound bad in an untreated room. Hard surfaces create reflections that muddy your recordings. Start with basic treatment: bass traps in corners and absorption panels at first reflection points. You don't need a professional studio; a few well-placed foam panels or heavy blankets can make a significant difference.
Buying gear too soon
New producers often feel pressured to upgrade immediately. This is a waste of resources. Master your current interface and software first. Learn to use EQ, compression, and reverb effectively with what you have. Only upgrade when you hit a specific technical limitation, not just because a new product launched.
No comments yet. Be the first to share your thoughts!