
Start with the right microphone
Your microphone is the foundation of any podcast setup. It captures your voice, and no amount of editing can fix poor audio quality. For beginners, the choice usually comes down to two paths: USB microphones for simplicity or XLR microphones for long-term quality. Both work well, but they serve different workflows.
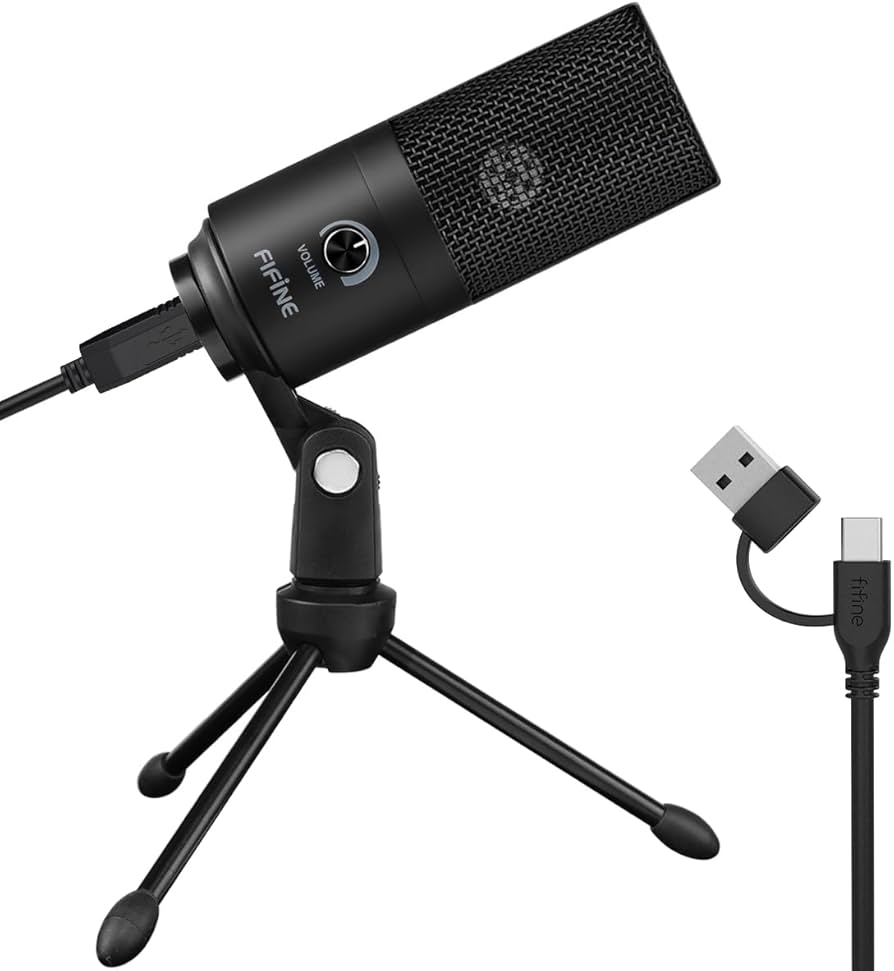
USB: The plug-and-play option
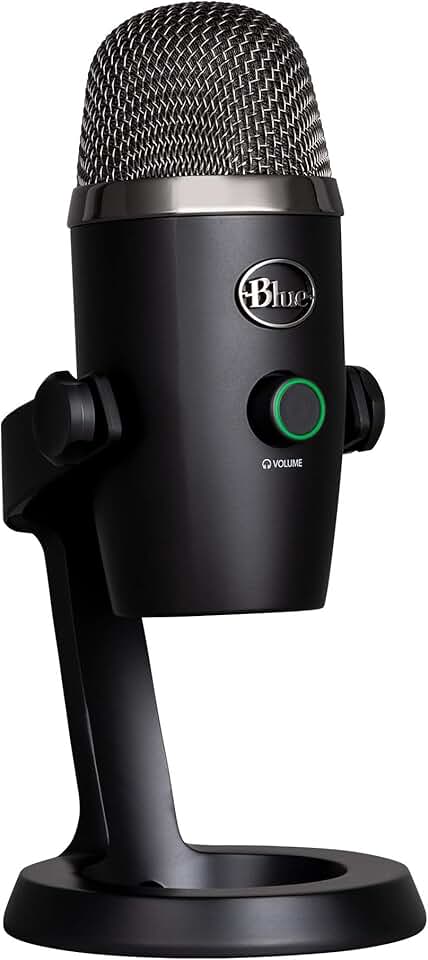
USB microphones connect directly to your computer via USB cable. They have built-in analog-to-digital converters, meaning you can start recording immediately without extra hardware. This makes them ideal for beginners who want to record quickly without dealing with audio interfaces or complex wiring. The Blue Yeti Nano is a popular choice here, offering solid sound quality in a compact form factor.
XLR: The professional route
XLR microphones require an audio interface to connect to your computer. While this adds cost and complexity, it offers better sound quality and flexibility. You can upgrade your microphone later without replacing the interface. The Samson Q2U is a favorite among beginners because it includes both USB and XLR outputs. This hybrid design lets you start with USB and switch to XLR as your setup grows.
What to look for
Regardless of the connection type, focus on a cardioid pickup pattern. This pattern captures sound from the front while rejecting noise from the sides and rear, which is perfect for solo recording. Avoid omnidirectional mics unless you’re recording group conversations in a treated room. Also, consider a built-in pop filter or use a separate one to reduce harsh plosive sounds like "p" and "b."

As an Amazon Associate, we may earn from qualifying purchases.
Choose headphones for monitoring
A clean podcast setup starts with how you hear yourself. When you monitor your voice through open-back headphones or speakers, sound leaks out and gets picked up by your microphone. This bleed ruins audio quality, forcing you to edit out echoes or re-record entire segments. Closed-back headphones solve this by creating a physical seal that contains the audio.
Think of closed-back headphones as a soundproof booth for your ears. They prevent the music or your own voice from escaping the earcups and entering the mic’s pickup pattern. This isolation ensures that only your voice is captured, resulting in a crisp, professional track right from the first take. Without this separation, even the best microphone will struggle to produce clean audio.
Wired headphones are the standard for recording because they eliminate latency and wireless interference. Bluetooth can introduce a slight delay between your voice and what you hear, throwing off your timing and flow. A simple wired pair keeps you in sync with your recording software.
You can start with reliable, affordable options like the Samson Q2U (which often comes with basic monitoring) or dedicated wired headphones like the Philips PH802. These provide the necessary isolation without breaking the bank.


As an Amazon Associate, we may earn from qualifying purchases.
Decide between a mixer or audio interface
When building a podcast setup, the choice between a USB microphone and an external audio interface often comes down to the number of people in your studio. If you are recording solo or with one guest using a single USB mic, you can skip the interface entirely. However, for multi-host productions, an interface becomes the central hub that connects every microphone, headphone, and instrument to your computer.
An audio interface acts like a traffic controller for your audio signals. It converts analog sound from your microphones into digital data your computer can process. This separation allows you to use high-quality XLR microphones and monitor your audio with zero latency. Without an interface, you are limited to the built-in preamps and inputs of your computer, which rarely support more than two clean audio sources simultaneously.
For beginners, the decision usually hinges on input count and budget. If you need to record two or more people, you will need an interface with at least two microphone preamps. Below, we compare popular entry-level options that balance price, connectivity, and recording quality for your podcast setup.
| Product | Mic Inputs | Phantom Power | Best For |
|---|---|---|---|
| Focusrite Scarlett 2i2 | 2 | Yes | Two-person interviews |
| Motu M2 | 2 | Yes | High-headroom recording |
| Behringer U-Phoria UMC22 | 1 | No | Solo podcasting |
| Rodecaster Pro II | 4 | Yes | Four-host live shows |
Add essential accessories
A complete podcast setup relies on more than just the microphone. Small accessories like stands and pop filters dramatically improve audio quality and workflow efficiency. These items are often overlooked by beginners but make a significant difference in the final sound.
A stable stand prevents handling noise and keeps the microphone at a consistent distance from your mouth. Adjustable boom arms are ideal for small desks, while desktop stands offer a simple, space-saving solution for beginners starting their podcast setup.
Pop filters reduce harsh plosive sounds caused by letters like "P" and "B." They also protect the microphone diaphragm from saliva and moisture. This simple addition ensures your recordings remain clean and professional without needing extensive post-production editing.


As an Amazon Associate, we may earn from qualifying purchases.
Investing in these foundational accessories ensures your podcast setup is ready for high-quality recordings from day one. They handle the physical aspects of audio capture so you can focus on your content.
Treat your room before buying gear
Your microphone captures everything, including the echo of an empty room. You can have a high-end Samson Q2U, but poor acoustics will make your podcast setup sound amateurish. Sound waves bounce off hard surfaces like walls, windows, and desks, creating a hollow, boxy tone that software cannot fully fix.
Start by clearing the space. Remove reflective objects like glass picture frames or bare drywall from behind and beside you. Fill the room with soft, absorptive materials. Thick rugs, heavy curtains, and upholstered furniture act as natural sound baffles. If you have a closet full of clothes, consider recording there; the fabric absorbs sound waves effectively.
For a more permanent solution, use acoustic foam panels or moving blankets. Place them at the first reflection points—where sound bounces directly from your speakers or mouth to the walls. You don’t need to build a professional studio. A few strategically placed panels or even a heavy duvet behind your chair can drastically reduce reverb.
Checklist for quick acoustic improvement:
- Add a thick rug to hard floors
- Hang heavy curtains over windows
- Place acoustic panels at ear level
- Soften the space behind the mic
Frequently asked: what to check next
Do I need an audio interface for podcasting?
If you are using a USB microphone like the Blue Yeti Nano or recording solo, you do not need an audio interface. However, if you plan to use XLR microphones like the Samson Q2U or record with multiple guests, an interface is necessary to connect the mics to your computer.
Can I record in an untreated room?
Yes, but the audio quality will suffer from echo and reverb. You can improve untreated rooms by adding soft furnishings like rugs, curtains, and clothes to absorb sound waves. Acoustic foam panels are also effective if placed at first reflection points.
What is the best beginner microphone?
The Samson Q2U is widely considered the best beginner microphone because it offers both USB and XLR connectivity. This allows you to start with a simple USB connection and upgrade to an XLR interface later as your podcast grows.
No comments yet. Be the first to share your thoughts!