
Home recording studio budget
The AI-Integrated Home Studio works best when the purchase path is explicit. Verify the source, compare the offer against real alternatives, check the total cost, and confirm what happens after payment before you decide. After each comparison, write down the one risk that would change your mind. If the seller, condition, support, warranty, shipping, or upkeep still feels uncertain, resolve that question before moving to checkout.
The simplest way to use this section is to verify the seller, compare the total cost, and resolve the biggest risk before you commit.
Shortlist real options
Choosing the right podcast equipment depends on your workflow, not just your budget. The best home recording studio for hybrid work balances audio quality with ease of use, allowing you to switch between recording and editing without fighting your gear. You don't need a mortgage for a professional setup, but you do need specific components that communicate reliably with your computer.
We compared the strongest home recording studio options currently available, focusing on interfaces and microphones that support modern hybrid workflows. These picks prioritize clear audio, straightforward connectivity, and durability for daily use.
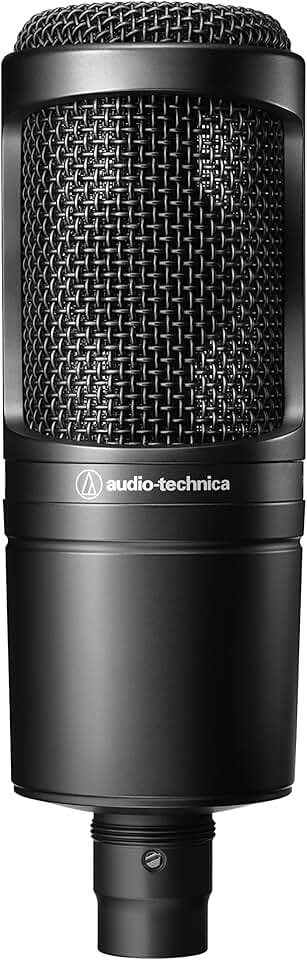
The budget entry point focuses on getting clean audio without complexity. Devices like the Focusrite Scarlett Solo offer a single high-quality preamp and a straightforward USB-C connection. They are ideal for solo podcasters who record into a DAW like Audacity or GarageBand and don't need multiple simultaneous inputs.
Mid-range options bridge the gap between simplicity and studio-grade control. The Universal Audio Volt 2 adds vintage-style preamp circuits and direct monitoring, which lets you hear yourself with zero latency. This is crucial for hybrid workflows where you might need to record voiceovers while listening to reference tracks in real time.
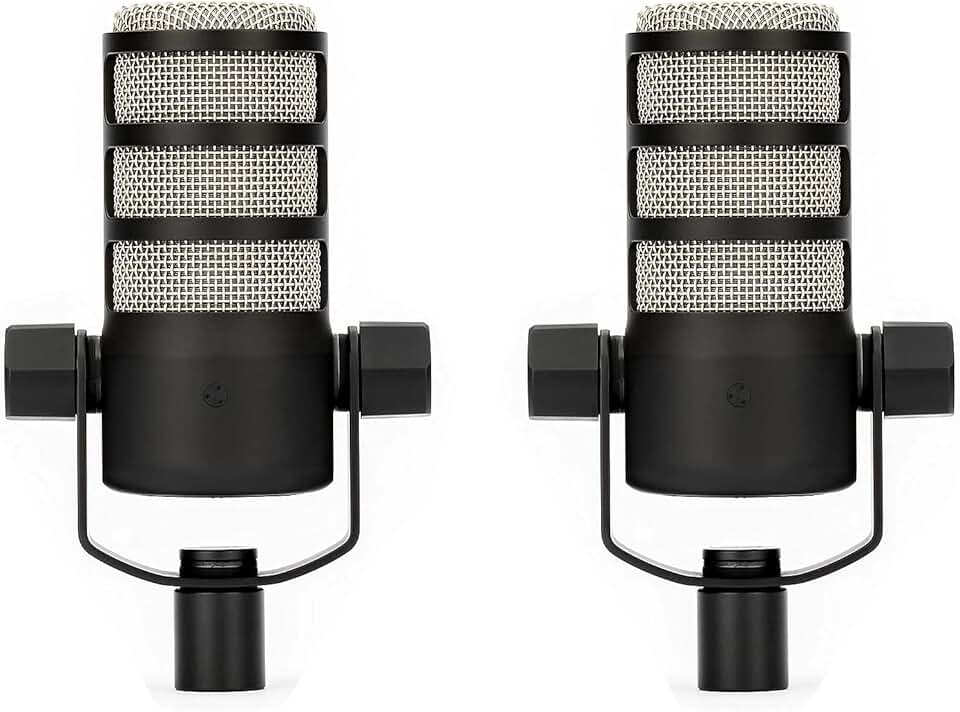
For those prioritizing speed, all-in-one workstations like the Rode RodeCaster Pro II remove the computer from the equation during recording. With built-in sound pads, loopback capabilities, and multiple XLR inputs, these units act as a mixing board and audio interface in one box. They are the best choice for hybrid creators who need to jump straight into recording without navigating software settings.
Check the expensive parts
When building an AI-integrated home studio, the budget usually collapses on two things: the audio chain and the compute rig. These are the expensive failure points. If the microphone or the GPU fails, the entire hybrid workflow stops. A practical inspection checklist helps you catch these issues before they become costly repairs or replacements.
The audio interface is the bridge between your voice and the digital domain. Check for warm noise floors or crackling inputs, which indicate failing preamps. Ensure all phantom power switches work correctly for condenser microphones. A noisy interface ruins even the best AI noise-reduction algorithms, so test every channel at high gain levels before finalizing the setup.
AI transcription and real-time noise suppression rely heavily on the GPU. Under heavy load, thermal throttling can cause stuttering in audio processing. Inspect the cooling fans for dust buildup and ensure the thermal paste is fresh. Monitor temperatures during a 30-minute recording session; if the GPU hits 85°C or higher, consider adding case fans or repasting the heatsink.
Cheap cables are the silent killers of audio quality. Inspect XLR and USB-C cables for fraying or loose connectors. A bad connection introduces intermittent dropouts that AI tools cannot fix. Swap out any cable that feels stiff or shows visible wear. Use shielded cables to minimize electromagnetic interference from nearby monitors or power supplies.
No amount of AI processing can fully remove standing waves or flutter echo. Inspect your room for bare parallel walls that reflect sound directly back into the microphone. Place bass traps in corners and acoustic panels at first reflection points. Ensure your microphone is positioned at least three feet from the nearest wall to minimize proximity effect and low-frequency buildup.

Power spikes can fry expensive audio interfaces and computers. Inspect your power strip for indicator lights and ensure it is a surge protector, not just an extension cord. Consider a dedicated circuit for your studio gear to avoid interference from other household appliances. A clean power supply reduces electrical noise in your audio signal chain.
Plan for ownership costs
The sticker price is only the first line item. A complete podcast setup involves recurring software fees, replacement cables, and hardware that eventually wears out. When you factor in these ongoing expenses, a budget entry-level mic might cost more over three years than a mid-tier model that lasts longer and sounds better.
Software subscriptions and cloud storage
Most modern recording workflows rely on cloud-based collaboration or AI-powered editing. Platforms like Descript, Riverside, or Zencastr charge monthly fees per user or per hour of processing. If you edit weekly, those fees add up to hundreds of dollars annually. Always check if the core editing features you need are included in the base plan or if they require an expensive upgrade.
Hardware maintenance and replacements
Cables fail. XLR connectors loosen. Headphone earpads crack after a year of daily use. A cheap interface might lack the build quality to survive frequent transport, leading to early replacement costs. Budget for a small maintenance fund—roughly 10-15% of your initial gear cost per year—to cover these inevitable fixes.
When cheap stops being cheap
A $50 microphone often lacks the durability and consistent performance of a $150 model. If it breaks in six months or forces you to buy expensive post-processing plugins to fix its flaws, the total cost of ownership exceeds the premium option. Invest in core gear that handles daily wear and tear, and save on cosmetic accessories.

As an Amazon Associate, we may earn from qualifying purchases.
Home recording studio: what to check next
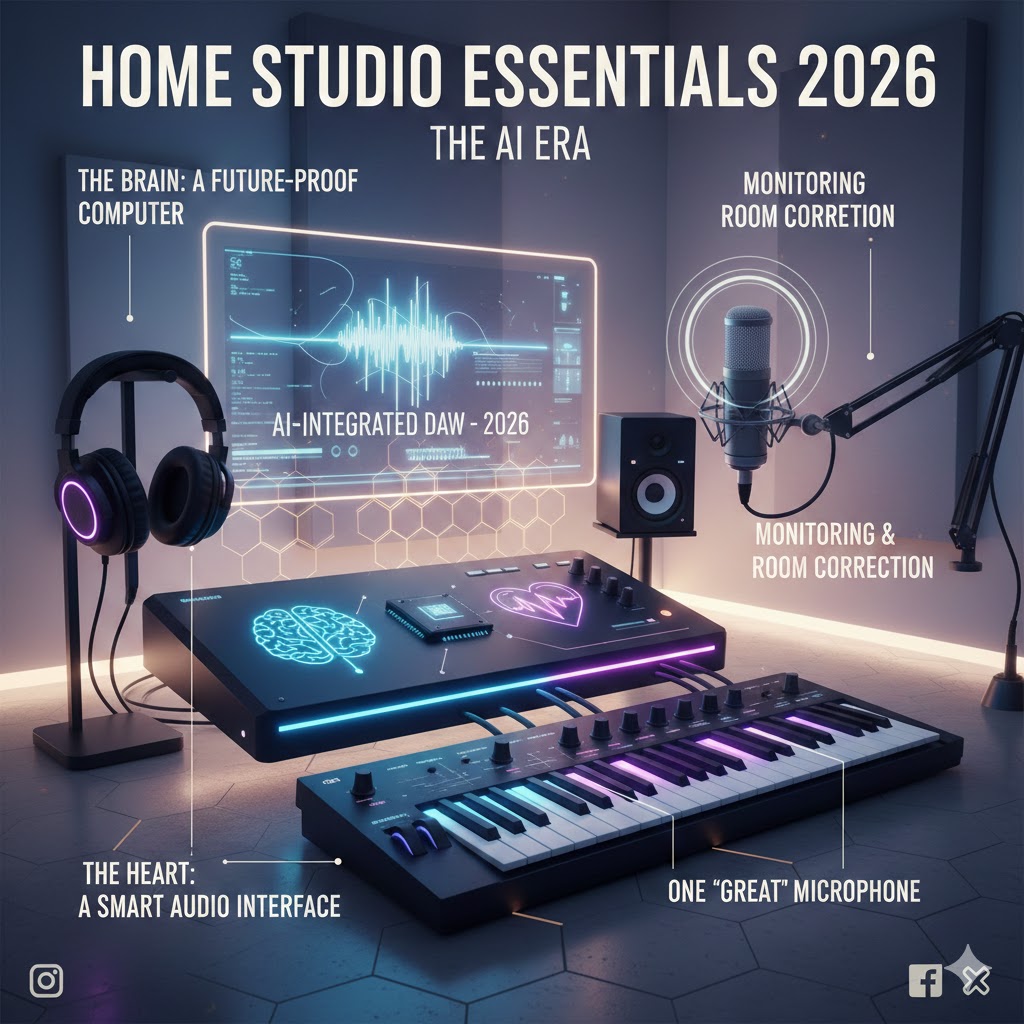
Building a hybrid AI-integrated studio doesn't require a mortgage, but it does demand smart prioritization. The 2026 landscape blends traditional audio hardware with software that handles noise reduction and mixing automatically. Here are the practical answers to the most common setup questions.
What is the absolute minimum gear I need to start?
You only need three core components: a computer, an audio interface, and a microphone. For podcasting, a dynamic mic like the Shure SM7B or RE20 is ideal because it rejects room noise better than condenser mics. Skip the expensive studio monitors at first; accurate headphones like the Sony MDR-7506 let you hear exactly what the AI tools are processing without coloration.
Do I need soundproofing for a home studio?
True soundproofing—stopping sound from leaving the room—is costly and complex. Instead, focus on acoustic treatment to improve the sound inside the room. Bass traps in corners and acoustic panels behind the microphone reduce reflections and echo. This makes the AI noise reduction tools more effective, as they have less ambient reverb to clean up, resulting in clearer audio with less processing artifact.
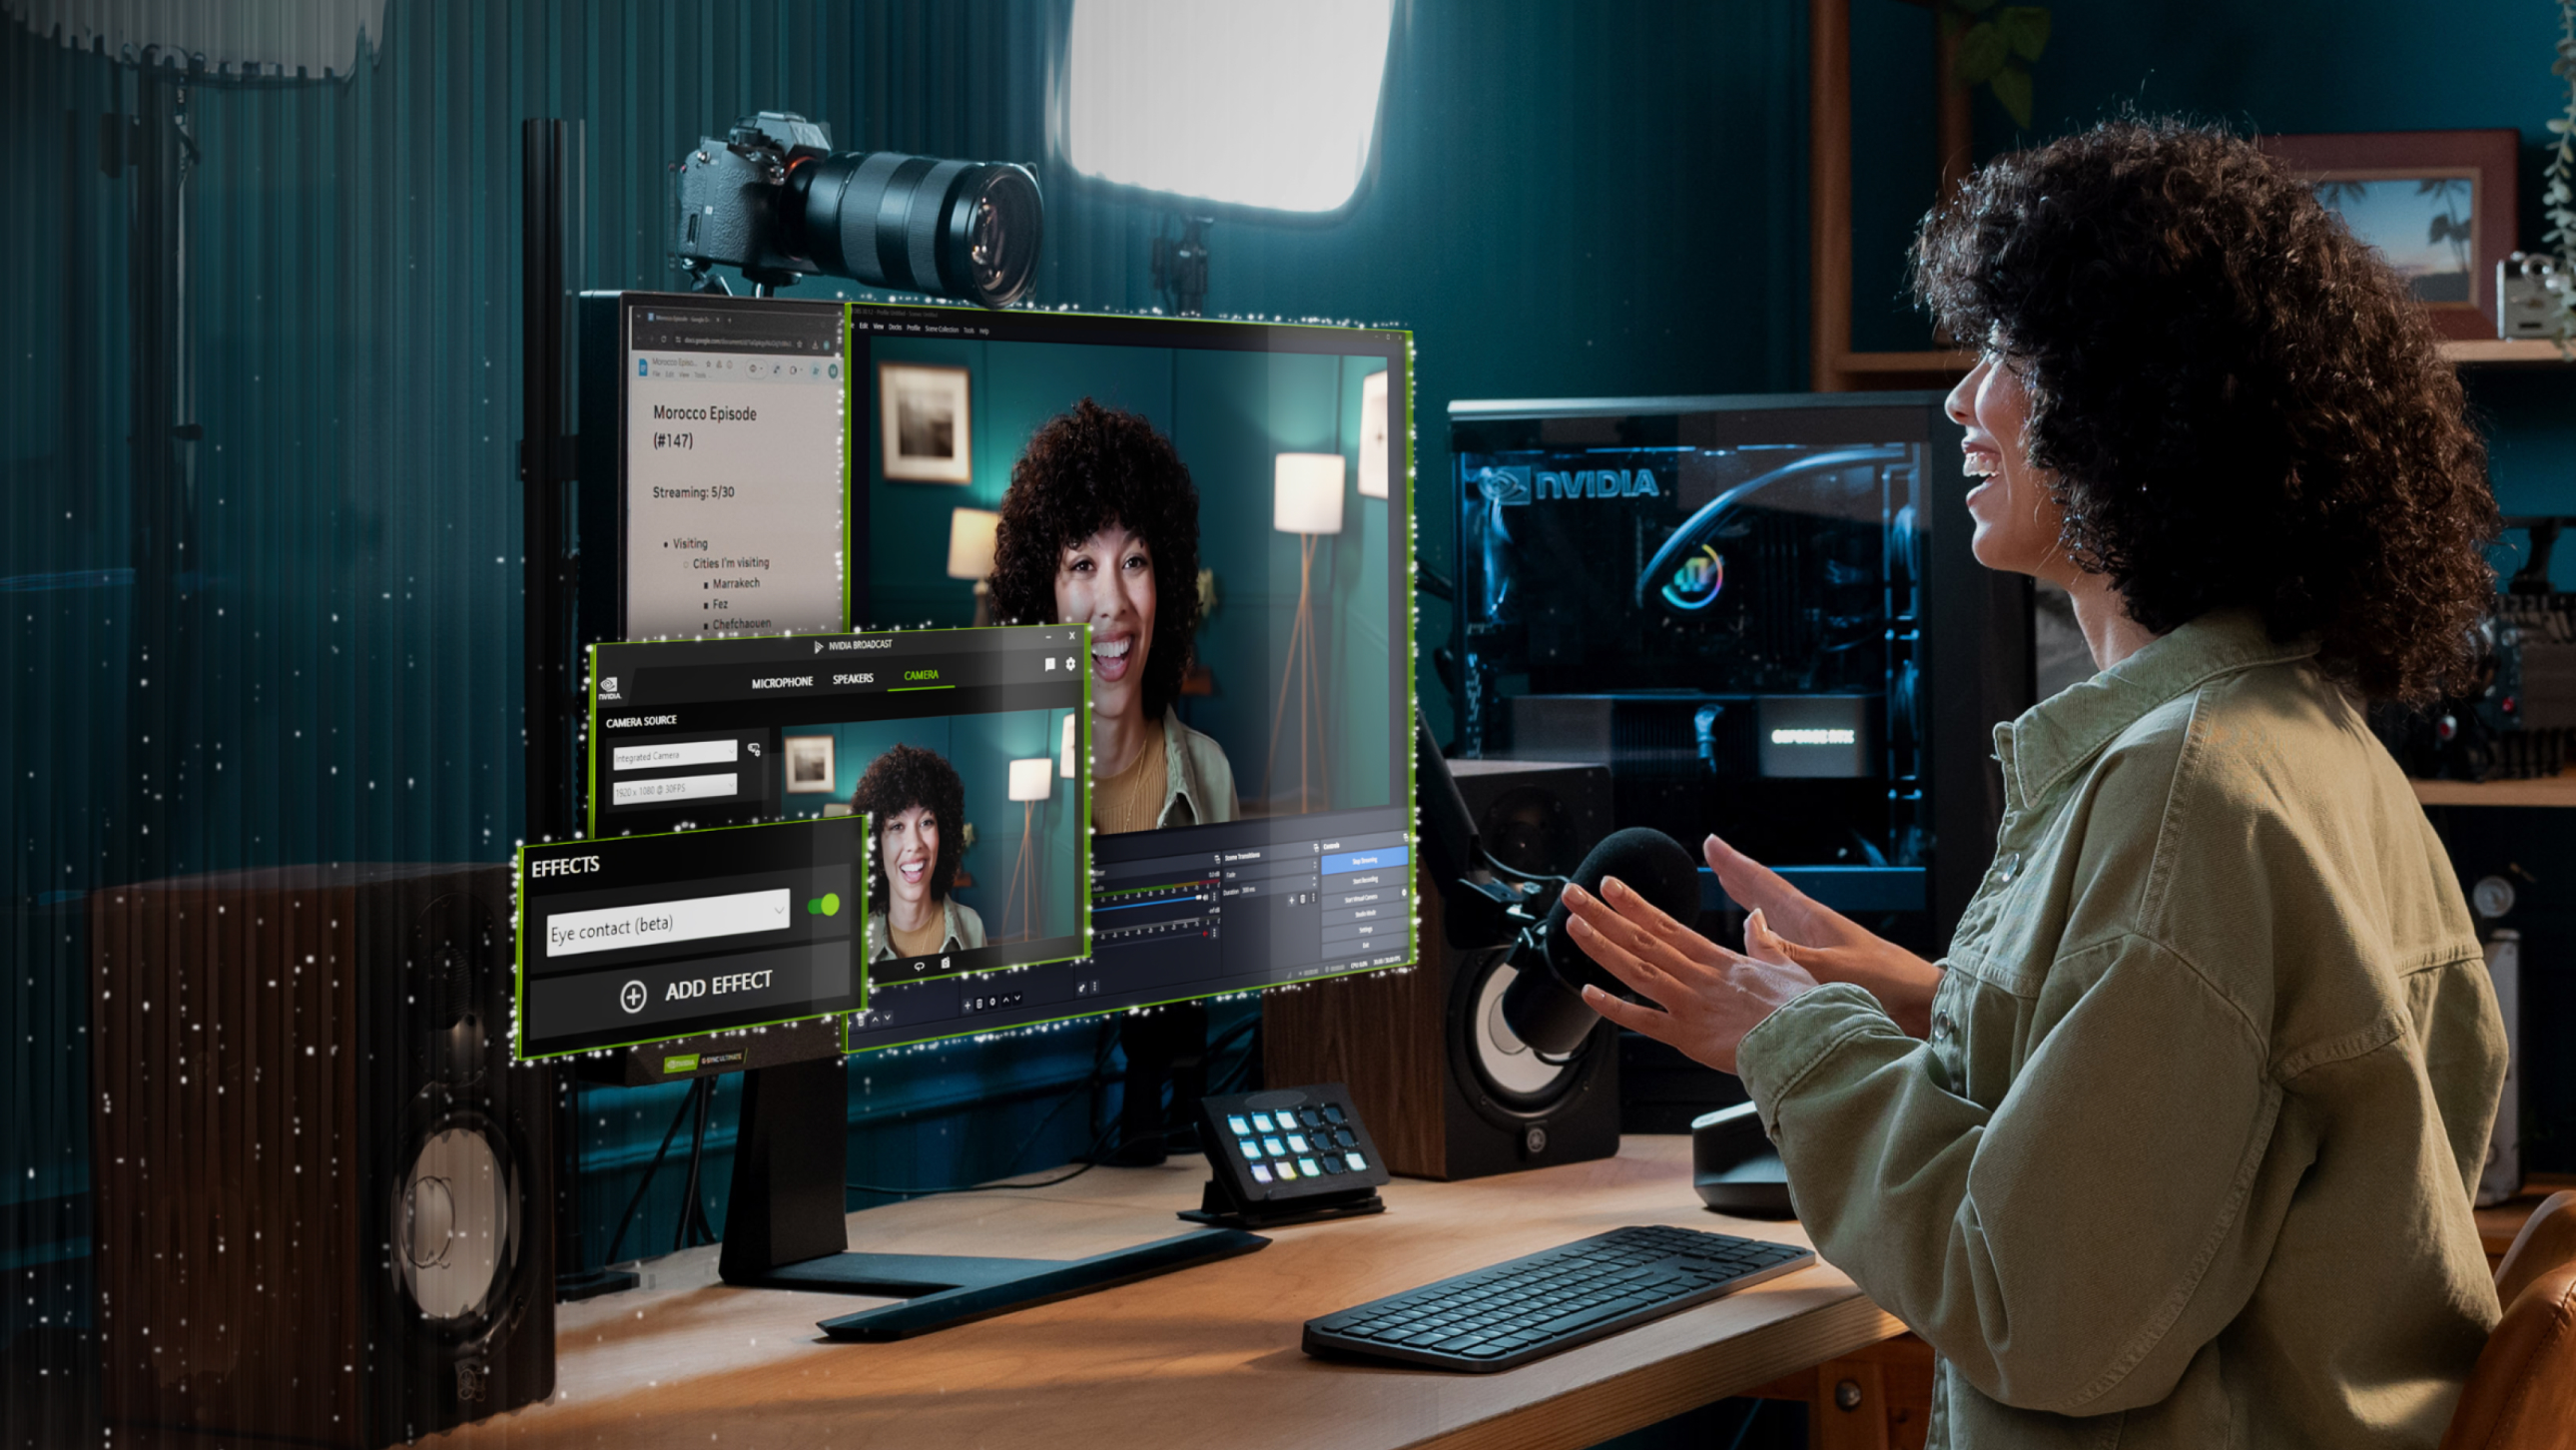
Can AI replace a human audio engineer?
AI handles the technical heavy lifting: noise suppression, leveling, and basic EQ. Tools like Auphonic or Descript can make a raw recording sound broadcast-ready with one click. However, AI struggles with creative nuance. It won't know when to duck the background music for emotional impact or how to balance voices for a conversational flow. Use AI for the cleanup, but keep a human ear on the final mix.
How do I integrate AI tools into my workflow?
The most efficient hybrid workflow uses your DAW (Digital Audio Workstation) for recording and separate AI plugins for post-production. Record your track, then run the audio through an AI noise remover before editing. This preserves the original file while allowing you to experiment with AI-enhanced versions. Keep your hardware simple—focus on a clean signal chain so the AI has high-quality audio to work with.
No comments yet. Be the first to share your thoughts!