
What makes a home recording studio work
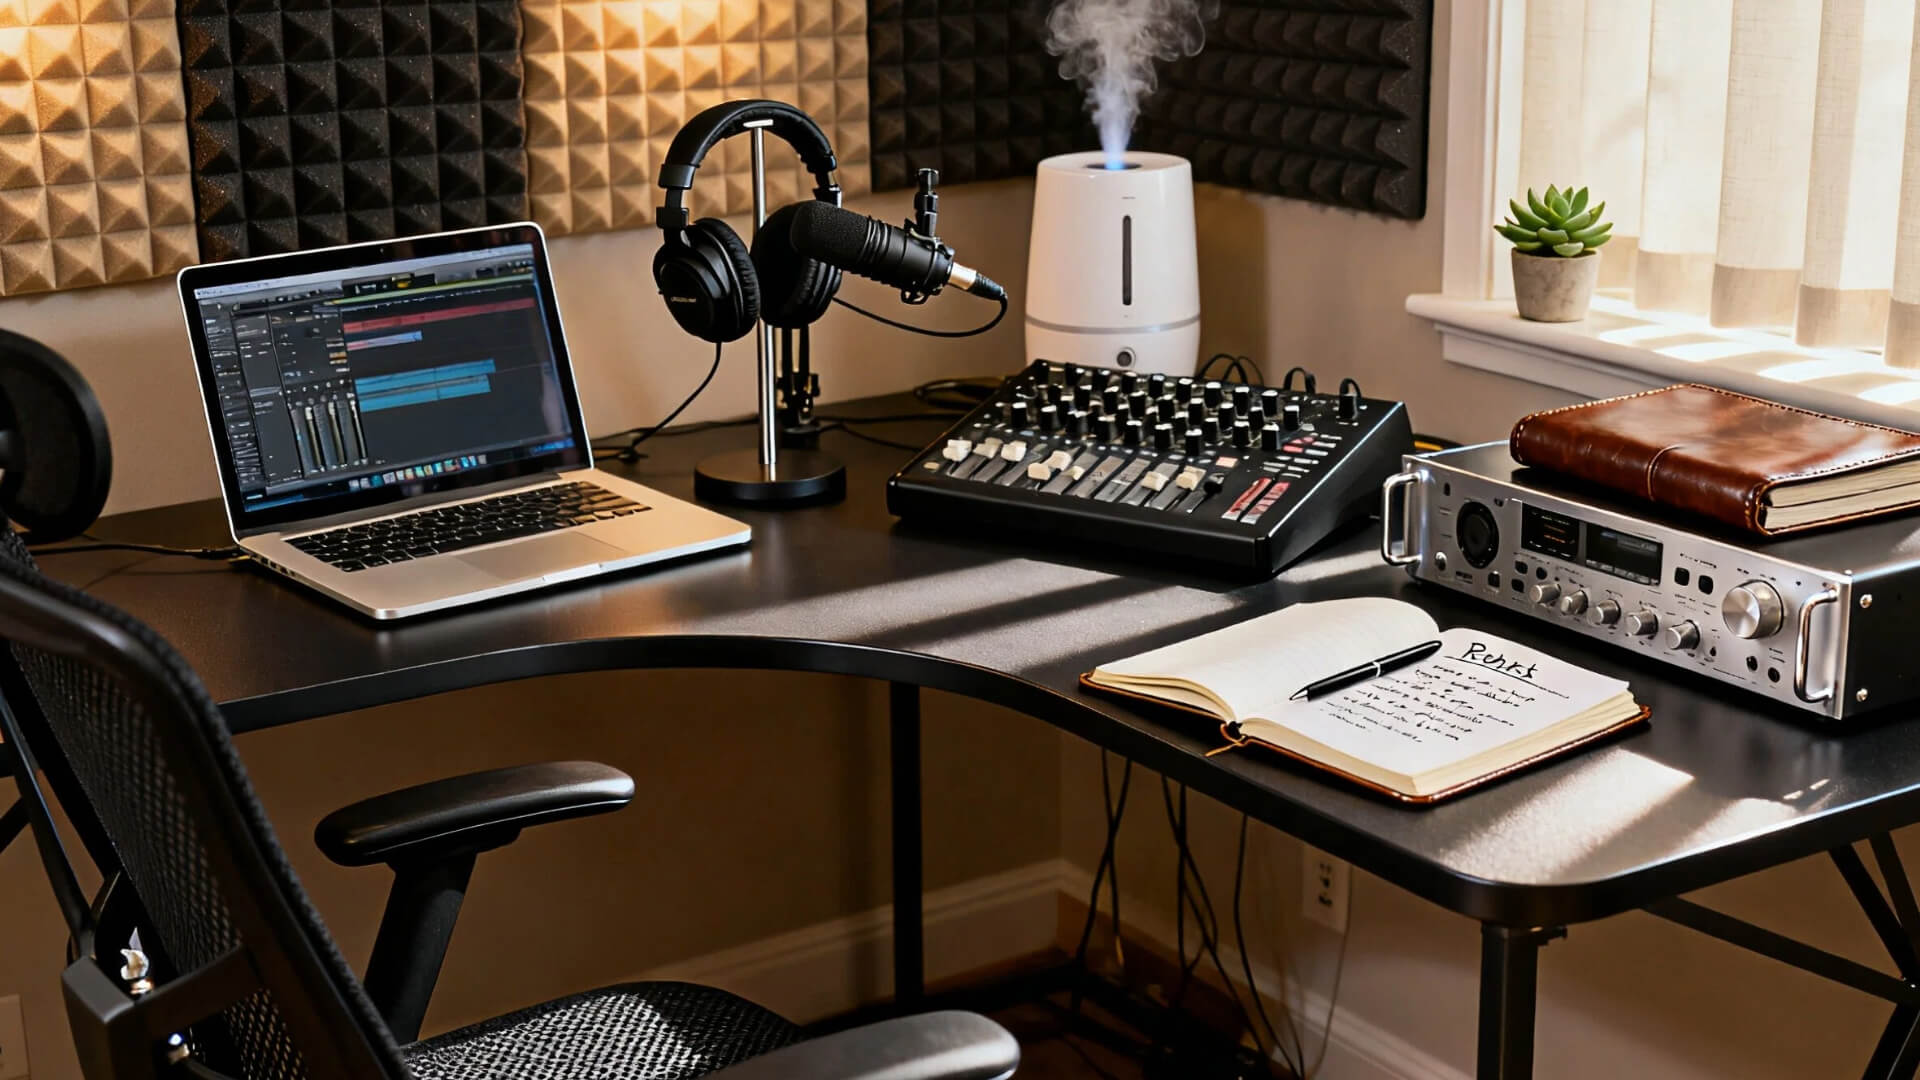
A functional home recording studio relies on a clean signal chain: source to microphone, interface, and DAW. Acoustic treatment matters, but good gear placement and proper gain staging matter more. You do not need a soundproofed room to capture professional audio; you need a focused workflow.
The microphone captures the sound wave. The audio interface converts that analog signal into digital data for your computer. Headphones or studio monitors let you hear the result without latency. This trio forms the backbone of any setup, from bedroom podcasting to hybrid music production.
Quality does not always mean expensive gear. A well-placed USB microphone like the Shure MV7 often outperforms a cheap condenser mic in untreated rooms because it rejects off-axis noise. For interface users, the Focusrite Scarlett Solo provides clean preamps that handle most dynamic and condenser mics without coloration. Pair these with closed-back headphones like the Audio-Technica ATH-M50x to monitor mixes without bleed.
When building your home recording studio, prioritize clarity over features. A simple two-input interface and one reliable microphone allow you to record vocals, instruments, and voiceovers with professional results. Start with this core setup, and expand to speakers or additional mics only after you have mastered your recording environment.
Best USB microphones for quick starts
USB microphones bridge the gap between a smartphone voice memo and a professional studio setup. They plug directly into your computer, handling the analog-to-digital conversion internally. This eliminates the need for external audio interfaces, phantom power supplies, or complex driver installations. For beginners, this simplicity means you can record clean vocals or instruments within minutes of unboxing.
The trade-off is flexibility. Since the microphone contains its own preamp and converter, you generally cannot swap out components or upgrade the signal chain later. However, for podcasting, voiceovers, and home recording, modern USB mics deliver sound quality that rivals entry-level XLR setups. You are buying a complete, self-contained recording solution.
Top picks for plug-and-play recording
These recommendations focus on proven hardware that requires zero configuration beyond plugging in a USB cable. Each option represents a distinct use case, from broadcast-style voice to versatile instrument capture.


As an Amazon Associate, we may earn from qualifying purchases.
Choosing the right audio interface
An audio interface is the bridge between your microphones and your computer. While USB microphones are convenient, they limit your ability to upgrade or switch mics for different sources. An audio interface gives you XLR inputs, allowing you to use professional dynamic and condenser microphones that capture more detail and offer greater flexibility.
When selecting an interface, focus on two main factors: channel count and preamp quality. The channel count determines how many microphones you can record simultaneously. A two-input interface is sufficient for most solo home studio projects, such as vocals or acoustic guitar. If you plan to record drum kits or band rehearsals, you will need an interface with four or more inputs.
Preamp quality directly affects the clarity and noise floor of your recordings. High-quality preamps provide clean gain without adding hiss or distortion. Look for interfaces from established brands like Focusrite, Universal Audio, or MOTU, which are known for reliable hardware and consistent sound.
The following comparison highlights key specifications for three popular interfaces suitable for home studios.
| Model | XLR Inputs | Max Sample Rate | Preamp Type |
|---|---|---|---|
| Focusrite Scarlett 2i2 | 2 | 192 kHz | Air Mode |
| Universal Audio Volt 2 | 2 | 192 kHz | Tube Drive |
| MOTU M2 | 2 | 192 kHz | Ultra-low noise |
Headphones for accurate monitoring
The right pair of studio headphones acts as your primary reference point in a room that likely lacks acoustic treatment. Unlike speakers, which interact with the physics of your space, headphones deliver sound directly to your ears, bypassing room reflections and bass buildup. This makes them an essential part of any home recording studio setup, especially when neighbors or family members are nearby.
Choosing between open-back and closed-back designs comes down to whether you are tracking vocals or mixing a finished track. Closed-back headphones seal the ear cups, providing isolation that prevents bleed during recording sessions. Open-back designs allow air to move freely, creating a wider, more natural soundstage that reveals details often hidden by the enclosed pressure of closed cans.
For tracking, isolation is non-negotiable. The Beyerdynamic DT 770 Pro is a staple in home studios because its high-impedance variants offer excellent passive noise isolation. Its firm, controlled bass response helps you capture clean vocal takes without the musician hearing the backing track bleed through. The build quality is rugged enough to withstand daily use in a busy home environment.
When it is time to mix, you need a flatter response and a wider image. The Sennheiser HD 600 is widely respected for its neutral tonal balance, allowing you to hear exactly what is happening in the frequency spectrum without coloration. Because they are open-back, they will not isolate sound, but they provide the spatial accuracy needed to balance instruments and apply effects with confidence.


As an Amazon Associate, we may earn from qualifying purchases.
AI tools for noise-free audio
You don’t need a soundproof booth to get clean audio. Modern AI audio processing tools like Adobe Podcast and Krisp can salvage imperfect home recordings, significantly reducing the need for expensive acoustic treatment. These tools act as digital filters, stripping away background hums, fan noise, and room echo while preserving the clarity of your voice.
Adobe Podcast’s Enhance Speech feature is particularly effective for solo vocal tracks. It uses machine learning to reconstruct speech frequencies, making a recording made in a bedroom sound like it was captured in a studio. This is a game-changer for podcasters and voice-over artists who lack professional isolation. For real-time noise cancellation during calls or live streams, Krisp integrates with your microphone input to block out distractions like barking dogs or construction work.
Using these tools doesn’t replace good technique, but it bridges the gap between amateur setups and professional results. Pair AI cleanup with a budget-friendly dynamic microphone, and you can achieve broadcast-quality audio without breaking the bank.
Room setup and acoustic basics
Sound behaves like water; it flows into every corner, pool, and gap in your room. Before you buy microphones or interfaces, treat the space itself. A well-treated room makes even budget gear sound professional, while a bad room will ruin expensive equipment.
Start by placing your monitors in an equilateral triangle with your listening position. This ensures stereo imaging stays accurate. Keep the speakers away from walls to reduce boundary reflections that muddy the bass response. If your desk is against a wall, move it to the center of the room or use isolation pads to decouple the speakers from the surface.
Next, address the first reflection points. These are where sound bounces off side walls and ceilings before hitting your ears. Stick-on acoustic panels at these points tame harsh frequencies without making the room sound dead. For low-end buildup, place bass traps in the corners where walls meet. This simple step removes the "boomy" quality that makes mixing difficult.
Finally, break up parallel walls with soft furnishings. Bookshelves filled with books act as natural diffusers, scattering sound waves. Heavy curtains on windows and rugs on hard floors absorb high-frequency reflections. These changes cost far less than soundproofing but drastically improve recording clarity.
No comments yet. Be the first to share your thoughts!