
Podcast setup budget
The AI-Powered Home Studio works best when the purchase path is explicit. Verify the source, compare the offer against real alternatives, check the total cost, and confirm what happens after payment before you decide. After each comparison, write down the one risk that would change your mind. If the seller, condition, support, warranty, shipping, or upkeep still feels uncertain, resolve that question before moving to checkout.
The simplest way to use this section is to verify the seller, compare the total cost, and resolve the biggest risk before you commit.
Shortlist real options
The AI-Powered Home Studio works best as a sequence, not a scramble through settings. Do the minimum first: confirm compatibility, connect the core hardware, update only when needed, and test the result before adding optional features. That order keeps the task understandable and makes failures easier to isolate. After each step, pause long enough for the interface to finish syncing. Many setup problems are timing problems disguised as configuration problems. If the same step fails twice, record the exact error, restart the smallest affected piece, and retry before moving deeper.
| Factor | What to check | Why it matters |
|---|---|---|
| Fit | Match the option to the primary use case. | A good deal still fails if it does not fit the job. |
| Condition | Verify age, wear, and service history. | Hidden condition issues erase upfront savings. |
| Cost | Compare purchase price with likely upkeep. | The cheapest option is not always the lowest-cost option. |
Inspect the expensive parts
Use this section to make the The AI-Powered Home Studio decision easier to compare in real life, not just on paper. Start with the reader's actual constraint, then separate must-have requirements from details that are merely nice to have. A practical choice should survive normal use, maintenance, timing, and budget. If a recommendation only works in an ideal situation, call that out plainly and give the reader a fallback path.
-
Verify the basicsConfirm the core specs, condition, and fit before comparing extras.
-
Price the downsideLook for the repair, maintenance, or replacement cost that would change the decision.
-
Compare alternativesCheck at least two comparable options before treating one listing as the benchmark.
Plan for ownership costs
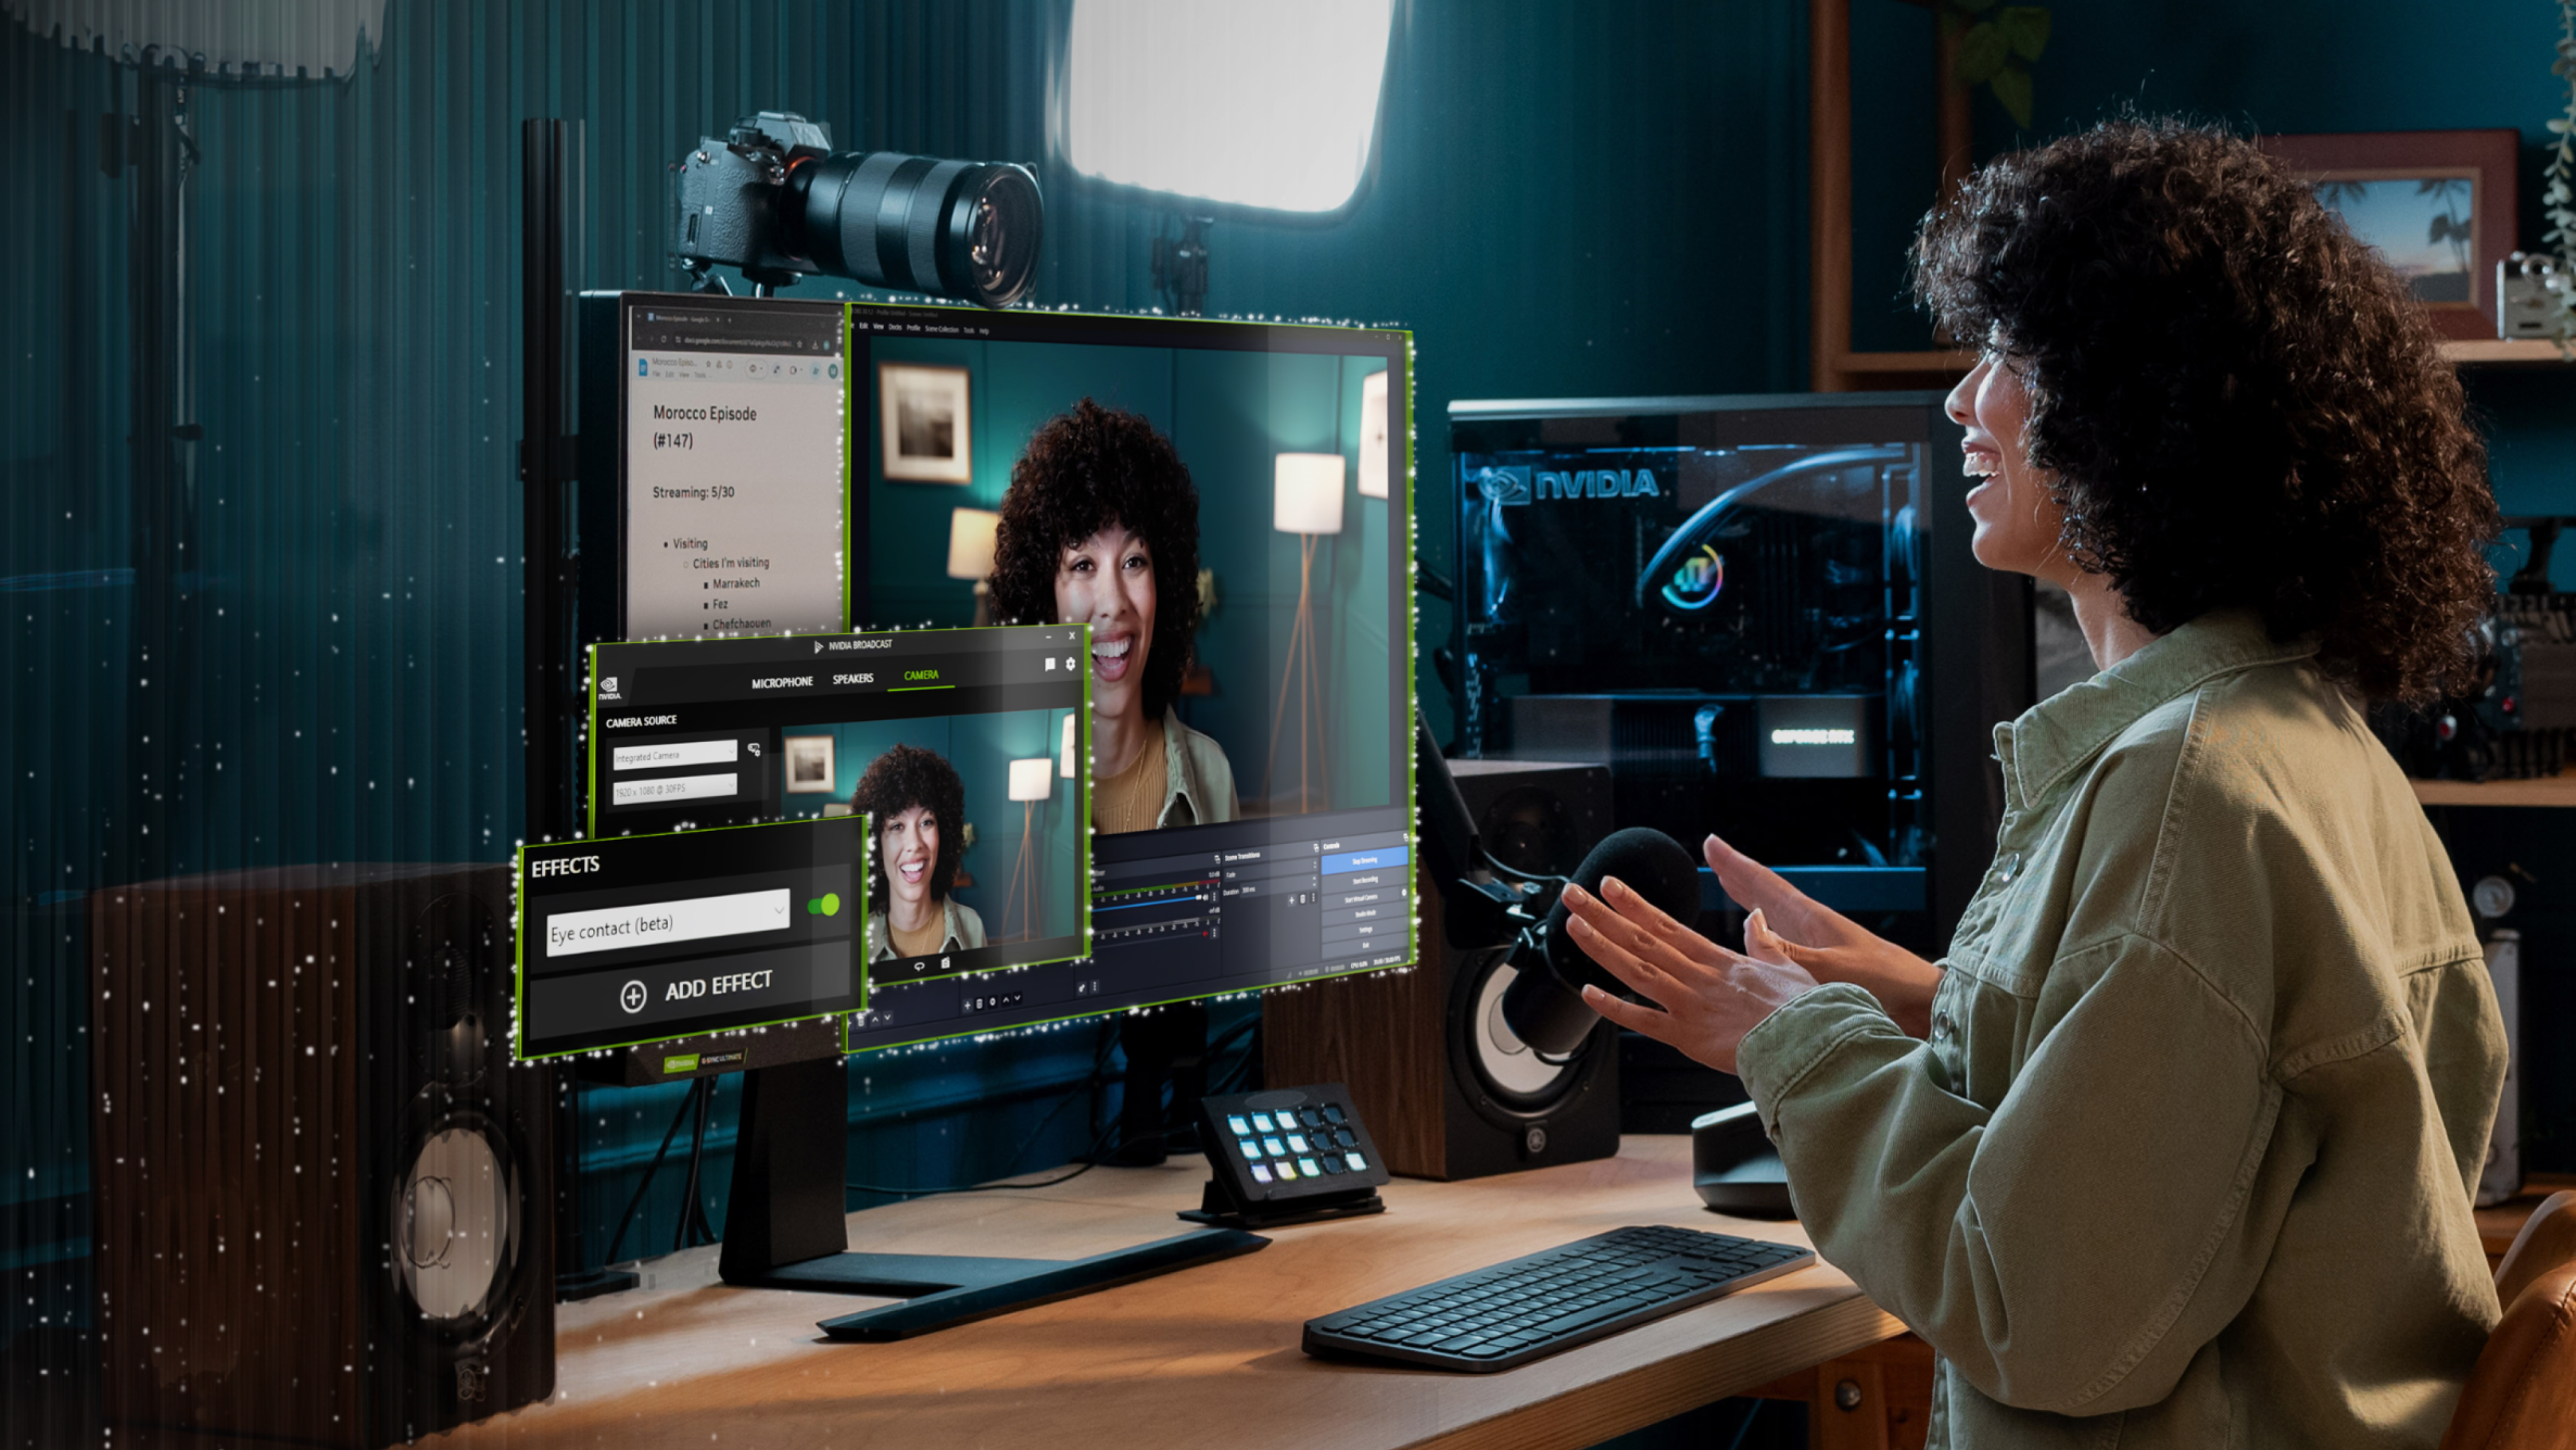
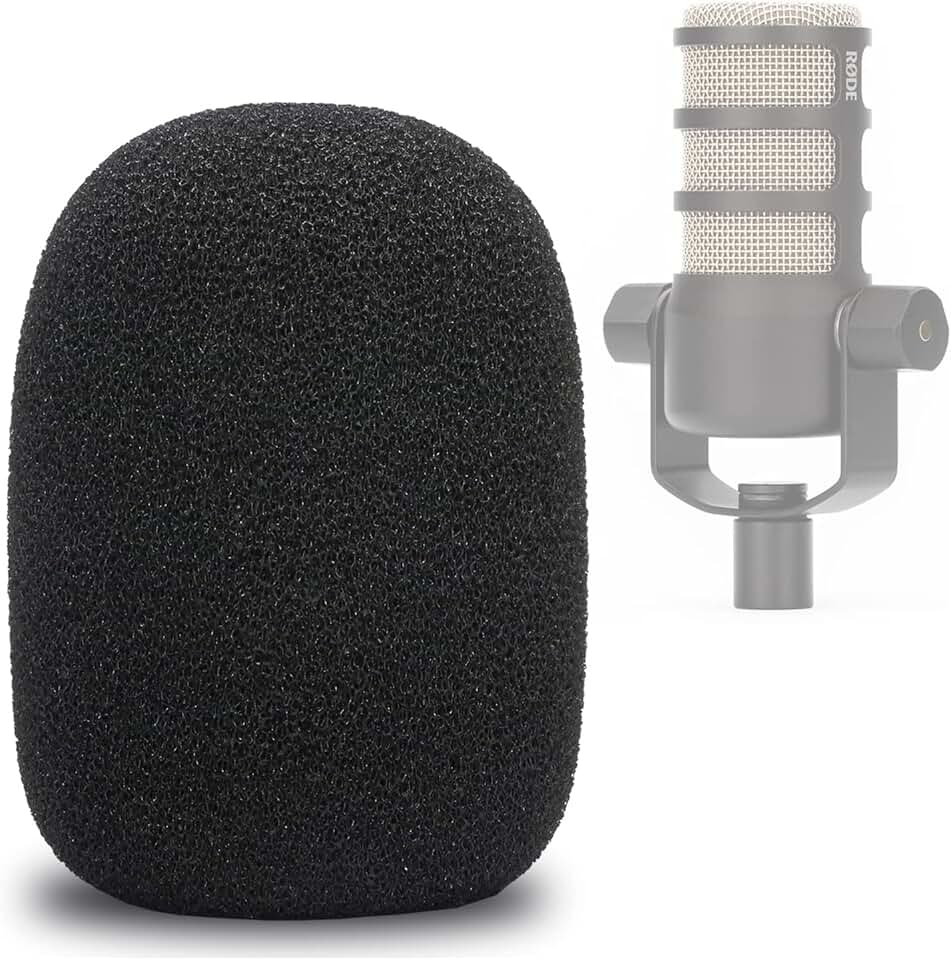
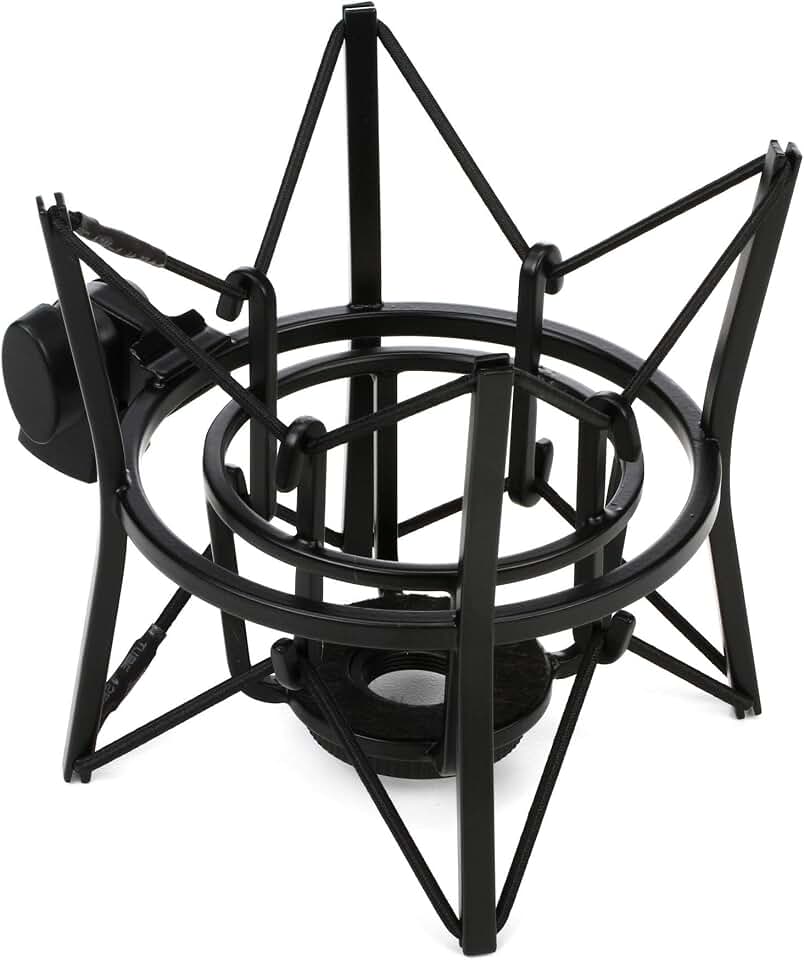
A podcast starter kit is rarely a single purchase. The microphone is just the entry fee; the real costs come from the ecosystem required to make it sound professional. A cheap USB mic might cost $50, but without a boom arm, shock mount, and pop filter, it will capture desk vibrations and mouth clicks that ruin episodes. When you add acoustic treatment to tame a noisy room, the "cheap" option often costs as much as a mid-tier XLR setup.
Maintenance and upgrades are the second hidden cost. Headphone cables fray, XLR connectors loosen, and foam windscreens degrade over time, turning into dust magnets that color your audio. If you plan to keep a podcast running for years, budget for replacing consumables and upgrading interfaces as your requirements change. Ignoring these small expenses leads to the "it sounds fine for now" trap, where you eventually have to rebuild your entire chain.


As an Amazon Associate, we may earn from qualifying purchases.
The most expensive mistake is buying a system that can't grow with you. A USB mic is a dead end if you later want to add a second host or integrate with professional software. Investing in XLR gear and a decent audio interface from the start protects your budget. It means you can upgrade one component at a time rather than replacing the whole studio when your workflow changes.
Podcast setup: what to check next
Before you commit to a hybrid workflow, it helps to clarify which parts of the setup actually matter for your specific recording environment. The gap between a decent recording and a professional one usually comes down to acoustic treatment and software integration, not just the price tag of your microphone.
Can I record a podcast without an audio interface?
You can skip the interface entirely if you stick to USB microphones like the Samson Q2U. This is the fastest way to start, as the mic connects directly to your computer. However, USB mics limit your ability to add future upgrades like external preamps or XLR microphones. If you plan to scale your studio with additional hosts or guests, an XLR setup with an audio interface offers more flexibility and better signal quality.
How do I soundproof my room without construction?
True soundproofing requires sealing gaps and adding mass to walls, which is rarely feasible for a home studio. Instead, focus on acoustic treatment to reduce echo and reverb. Hanging heavy moving blankets, placing bookshelves behind your mic, or using foam panels can significantly improve your audio. The goal is to create a "dead" sound rather than a "live" one, making your voice sound intimate and clear.
What software handles hybrid remote recording best?
For hybrid workflows where some guests are in-studio and others are remote, you need software that records local audio tracks separately from remote feeds. Tools like Riverside.fm or SquadCast handle this by recording video and audio locally for each participant, then syncing them during post-production. This prevents the common issue of remote guests sounding like they are on a phone call due to internet compression.
How many microphones do I actually need?
You need one high-quality microphone per speaker. While it is tempting to use a single shotgun mic for a group, the audio quality will suffer as voices get further away or overlap. For a two-host show, two dynamic USB or XLR mics are the standard. Adding a third mic for a seated guest ensures everyone has consistent volume levels and clarity, regardless of where they sit in the room.
No comments yet. Be the first to share your thoughts!