
Choose your recording space
The room itself is your first and most important piece of gear. Before you buy a microphone or interface, you need a physical space that minimizes unwanted noise and controls sound reflections. A bedroom closet, a spare bathroom, or a corner of a living room can all work if you treat them correctly. The goal is to create a controlled environment where your recordings capture the source, not the room's flaws.
Start by identifying a quiet area away from street noise, HVAC systems, and household traffic. Hard surfaces like bare drywall, tile floors, and large windows create echo and standing waves that muddy your mixes. You don't need to build a professional isolation booth, but you do need to break up flat surfaces. Hanging heavy blankets, placing thick rugs, and adding bookshelves filled with irregular items can significantly reduce reflections on a budget.
Position your desk so that you are not sitting directly against a wall or in the center of the room. Placing your listening position slightly forward from the back wall helps manage bass buildup. Aim for a triangular relationship between your head and your monitors, forming an equilateral triangle for optimal stereo imaging. This setup ensures you hear a balanced mix, which is critical for making good production decisions.
Acoustic treatment is more effective than expensive gear. A cheap microphone in a well-treated room will sound better than a $2,000 mic in an untreated one. Focus on absorption at the first reflection points on your side walls and ceiling before you worry about bass traps in the corners. This simple step yields the most dramatic improvement in clarity. As experts at Berklee note, starting with the right space sets the foundation for a professional-level recording environment on any budget.
Pick the essential gear
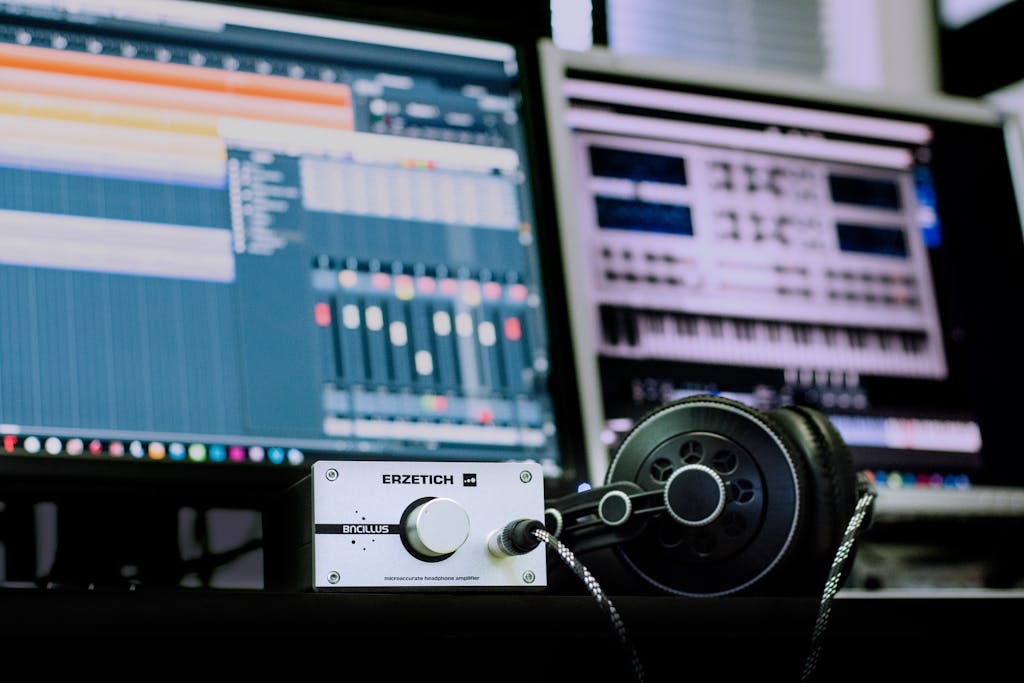
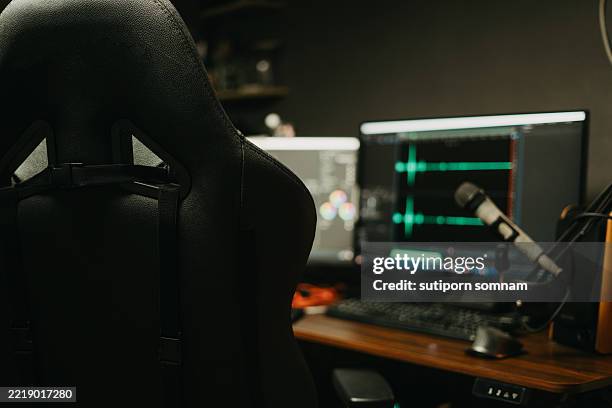
Building a home recording studio on any budget starts with selecting the right core hardware and software. You don’t need a van full of expensive equipment to get professional results; you just need the essentials that fit your workflow. The foundation of any recording setup consists of four main pillars: a computer, an audio interface, studio headphones or monitors, and a Digital Audio Workstation (DAW).
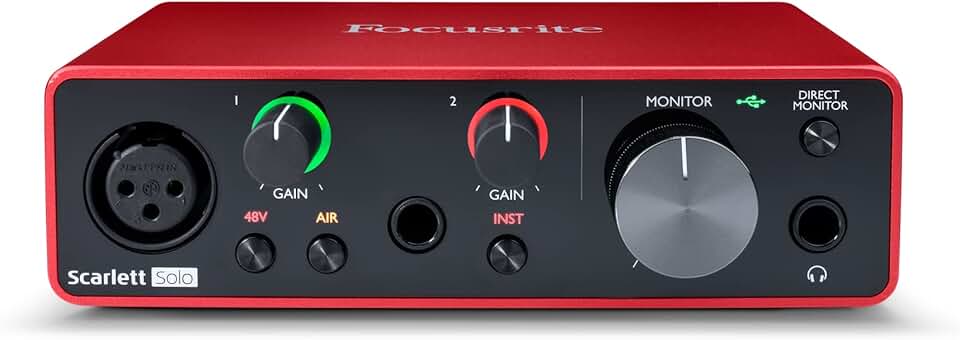
Start with your computer. Most modern laptops and desktops can handle basic recording tasks if they have at least 8GB of RAM and a decent processor. Next, choose an audio interface. This device connects your microphones and instruments to your computer, converting analog signals into digital data. Look for an interface with at least two inputs if you plan to record instruments later. For microphones, a large-diaphragm condenser is versatile for vocals, while a dynamic mic like the Shure SM58 handles loud sources well. Finally, pair your setup with a DAW. Many interfaces come with bundled software, which is a great way to start without extra cost.
To help you get started quickly, here are some recommended starter items that cover the basics of a home recording studio:


As an Amazon Associate, we may earn from qualifying purchases.
When shopping, prioritize build quality over flashy features. A sturdy interface and reliable headphones will serve you better than a cheap, feature-heavy setup that breaks down. Remember, your home recording studio is only as good as your recording chain, so invest in the components that directly impact your sound quality.
Connect and configure your setup
Build a Home Recording Studio on Any Budget works best when the purchase path is explicit. Verify the source, compare the offer against real alternatives, check the total cost, and confirm what happens after payment before you decide. After each comparison, write down the one risk that would change your mind. If the seller, condition, support, warranty, shipping, or upkeep still feels uncertain, resolve that question before moving to checkout.
-
Verify the sellerCheck reputation, included details, delivery terms, and return policy before treating the listing as credible.
-
Compare total costAdd shipping, accessories, maintenance, warranty, and likely replacement costs to the listed price.
-
Confirm fitMatch the option to the real use case before paying for features that will not matter.
Treat the room for better sound
Start by defining what a good Build a Home Recording Studio on Any Budget purchase has to prove before you compare prices. Separate must-have requirements, seller credibility, condition, delivery timing, and return terms from nice extras that can wait. Keep the first pass narrow. Shortlist a few credible sources, check the evidence behind each listing, and reject options that hide basic details. A cheaper offer is not useful if it leaves the most important risk unanswered.
The simplest way to use this section is to verify the seller, compare the total cost, and resolve the biggest risk before you commit.
Record your first track
This is the moment you’ve been waiting for. You have your gear, your space is treated, and your software is ready. Recording your first track is less about perfection and more about capturing a clean, usable performance. Follow this sequence to go from silence to a saved audio file.
Before you play a single note, check your levels. Speak or sing into the microphone at your loudest expected volume. Adjust the gain knob on your audio interface until the meters hit around -12dB to -6dB. If the lights hit red, you are clipping, which introduces harsh distortion that software cannot fix. Aim for a healthy signal that leaves room for headroom.
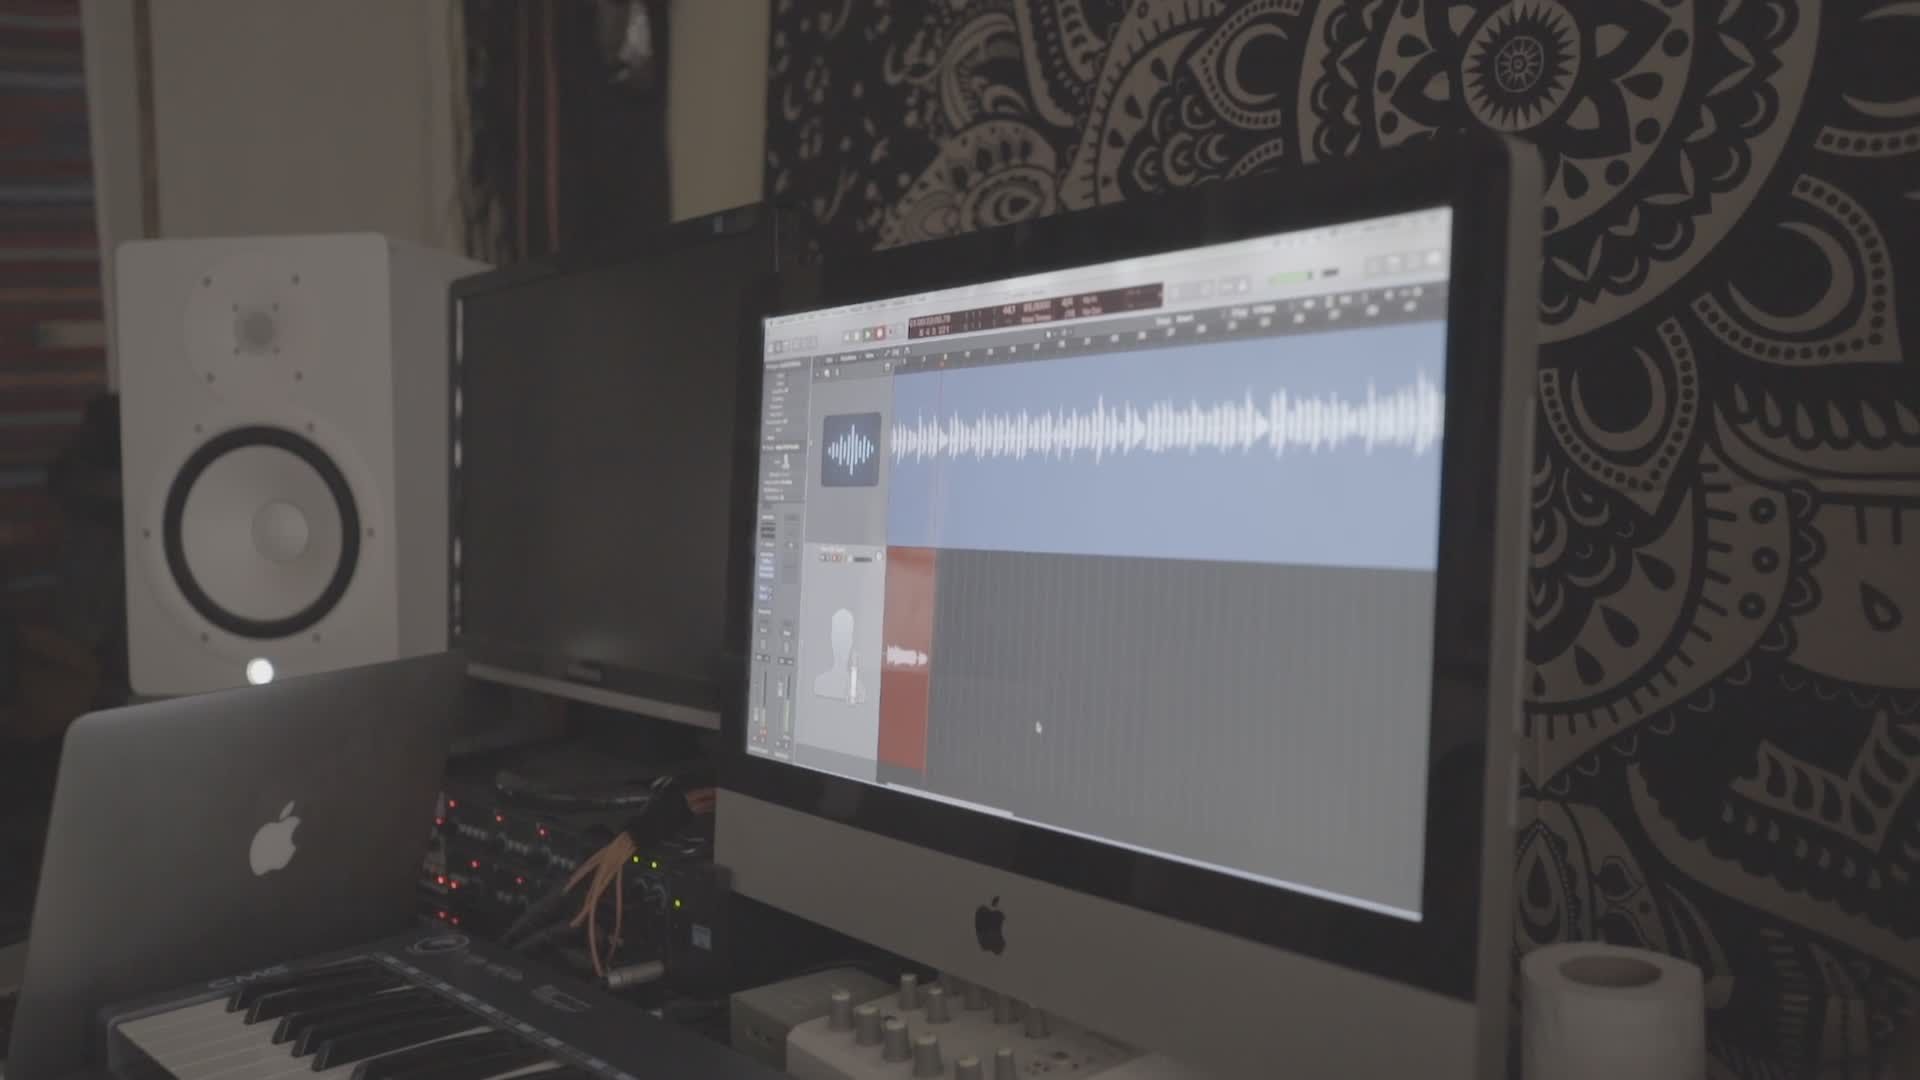
In your DAW, arm the audio track by clicking the red "R" or "Arm" button. Enable input monitoring so you can hear yourself through your headphones or monitors in real-time. If you are using plugins like reverb or compression, disable them during tracking to reduce latency and CPU load. You want the raw, dry signal for the most flexibility later.
Hit record and perform a short section of your song. Listen back immediately. Check for clicks, pops, or background hum. If the performance feels right, you are ready for the full take. If not, adjust your mic position or gain settings and try again.
Now, record the full take. Keep your eyes on the waveform in your DAW rather than staring at your hands or the mic. This helps you stay in the moment and maintain the energy of the performance. Don’t stop if you make a small mistake; keep playing through and fix it in editing later.

Once you are satisfied with the take, stop recording and save your project. Name your file clearly with the date and song title (e.g., "2024-05-20_Demo_Vocal_01.wav"). This habit saves hours of confusion later when you are trying to find that specific take you loved three weeks ago.
Common home recording mistakes
Even on a tight budget, small errors can ruin your audio quality. Most beginners focus heavily on gear while ignoring the environment and signal flow. Fix these three issues first to ensure your home recording sounds professional, not amateur.
Ignoring room acoustics
Your room shape and furniture interact with sound waves, creating echoes and muddy frequencies. Treating your space is not optional. Place thick rugs, heavy curtains, or bookshelves in corners to break up reflections. This simple step cleans up your recordings immediately.
Poor gain staging
Recording too hot causes digital distortion that plugins cannot fix. Your signal should peak around -12dB to -6dB on your audio interface meters. If the level hits red, you are clipping the input. Lower the gain knob and move the microphone slightly further away. Clean input levels are the foundation of a good mix.
Skipping headphone isolation
If you record vocals with open-back headphones, the sound bleeds into the microphone. This creates phase issues and makes editing difficult. Use closed-back studio headphones during tracking. This isolates the audio signal and prevents unwanted leakage into your recording.
Frequently asked: what to check next
Building a home recording studio doesn't require a professional budget. You can start with a capable setup for under $550 by prioritizing essential gear over expensive accessories. This approach focuses on getting the core signal chain right before investing in acoustic treatment or high-end monitors.
How much does it cost to make a home recording studio?
A functional home studio can be built for less than $300 if you already own a computer. At the $550 mark, you get better value with a dedicated audio interface and a reliable condenser microphone. Professional-grade rooms with extensive treatment often exceed $2,000, but that level of investment is unnecessary for most creators.
What do I need to set up a home recording studio?
Start with the basics: a computer, an audio interface, and a DAW (Digital Audio Workstation). Add a pair of studio monitors or high-quality headphones and at least one microphone. A MIDI keyboard helps with composing, while acoustic treatment improves your recordings without costing much.
How much does studio time cost?
If you choose to rent a professional space, hourly rates vary by location. Smaller studios often charge $30 to $100 per hour, while major cities with high-end gear can run $100 to $300+. Many facilities require minimum booking blocks due to setup time, making home studios a more flexible option for daily practice.
Can I build a studio on a tight budget?
Yes. Focus on a single high-quality microphone and a solid audio interface first. Use free or affordable DAW software and your existing headphones for monitoring. Upgrade monitors and acoustic treatment only after you have recorded several tracks and identified specific limitations in your current setup.
Is a dedicated room necessary for a home studio?
No, but a quiet space is essential. A closet full of clothes can serve as an effective vocal booth due to the natural sound absorption. If you cannot isolate your room, use a portable vocal shield and record during quiet hours to minimize background noise.
No comments yet. Be the first to share your thoughts!