

Start with the right microphone
Your microphone is the first point of contact between your voice and the digital world. It captures the nuances of your performance, so choosing the wrong type can ruin a recording no matter how good your computer or software is. Think of it as the lens on a camera; a wide-angle lens won't fix a blurry subject, just as a dynamic mic won't capture the airy detail of a quiet voice in a noisy room.
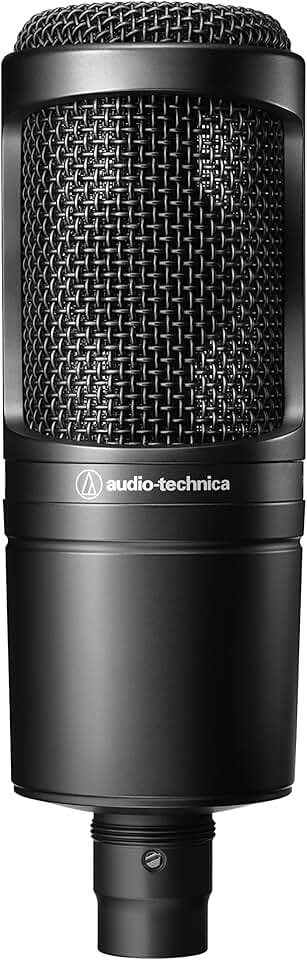
The choice largely comes down to two categories: dynamic and condenser. Dynamic microphones are rugged and less sensitive to ambient noise. They are ideal for untreated home spaces, loud instruments like guitar amplifiers, or podcasting in less-than-ideal acoustic environments. Condenser microphones, on the other hand, are highly sensitive and capture a wider frequency range. They deliver crisp, detailed audio but also pick up every hum from your computer fan and echo from bare walls. They require a quiet, treated space to shine.
For most home studio beginners, starting with a dynamic microphone is the safer bet. It forgives acoustic mistakes and delivers a consistent, professional sound even in a bedroom setup. If you have a dedicated, sound-treated booth and record quiet vocals or acoustic instruments, a condenser might be the better long-term investment.

As an Amazon Associate, we may earn from qualifying purchases.
Choose an audio interface
The audio interface is the bridge between your analog world and your digital audio workstation. It handles the critical conversion of sound waves into data that your computer can process, while also amplifying quiet signals from microphones through its preamps. A poor interface will bottleneck your sound quality regardless of how expensive your microphone is.
When evaluating interfaces for a home studio, focus on preamp clarity and connectivity. High-quality preamps provide clean gain with minimal noise, which is essential for vocal recordings. You also need to consider I/O requirements: do you need enough inputs to record a full band simultaneously, or is a simple two-input setup sufficient for podcasting and solo music? Phantom power is another non-negotiable feature if you plan to use condenser microphones.
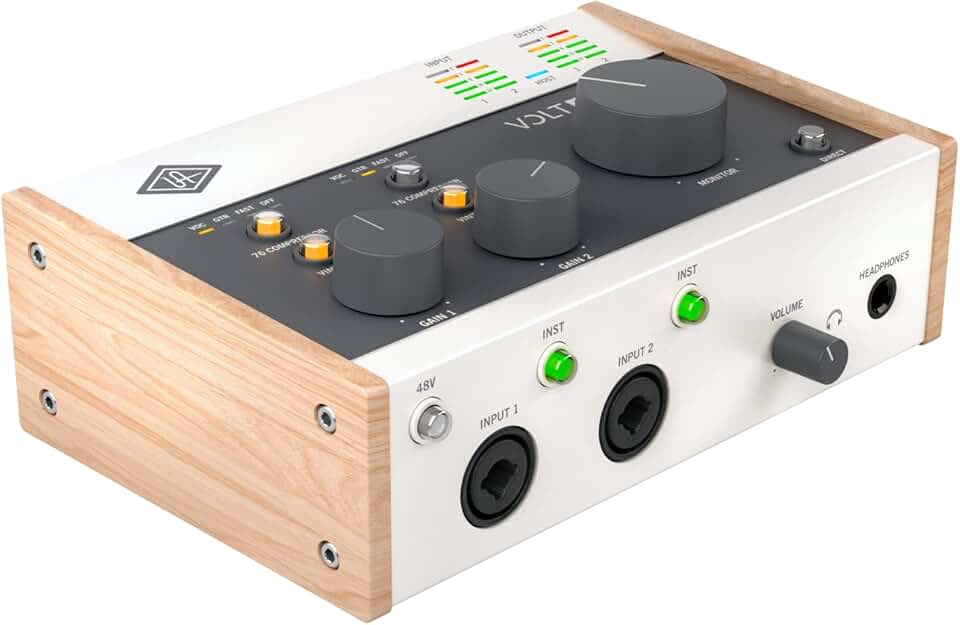
The table below compares three popular options that balance performance with home studio constraints. These models represent different tiers of entry-level to mid-range professional gear.
| Model | Inputs | Max Sample Rate | Phantom Power | Connectivity |
|---|---|---|---|---|
| Focusrite Scarlett 2i2 | 2 | 192 kHz | Yes | USB-C |
| Universal Audio Volt 2 | 2 | 192 kHz | Yes | USB-C |
| PreSonus AudioBox USB 96 | 2 | 96 kHz | Yes | USB-C |


As an Amazon Associate, we may earn from qualifying purchases.
Optimize your room acoustics
A high-end microphone will not save a recording made in a boxy, untreated room. Acoustics determine how sound reflects off your walls, floor, and ceiling before it hits the capsule. Treating your space is the single most effective upgrade you can make to your home recording studio gear, often outperforming expensive hardware upgrades.
Start by identifying your first reflection points—the spots on side walls and ceilings where sound bounces directly from your speakers to your ears. Placing absorption panels at these points stops early reflections that muddy your mix. You do not need to tear down drywall or hire a contractor to achieve this. Simple, movable acoustic panels or thick moving blankets can significantly reduce flutter echo and standing waves.
Diffusion is the second pillar of acoustic treatment. While absorption soaks up sound energy, diffusion scatters it. This keeps your room from sounding "dead" or overly dry. Instead of flat, lifeless recordings, diffusion preserves the natural energy and depth of the space. A mix of absorption at reflection points and diffusion on rear walls creates a balanced environment for critical listening.
Sit at your mixing position and have a friend slide a mirror along the side walls. Wherever you see your studio monitor in the mirror, that is a first reflection point. Mark these spots with painter’s tape to guide your panel placement.
Mount thick acoustic foam or fiberglass panels at the marked reflection points. Aim for panels that are at least 2 inches thick to effectively absorb mid and low frequencies. If you are on a tight budget, heavy moving blankets hung on the walls can serve as a temporary, effective alternative.
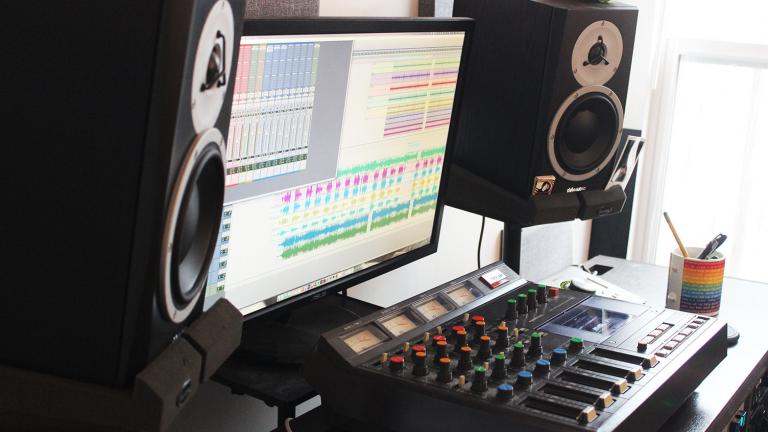
Bass traps are essential for controlling low-frequency buildup in room corners. If you cannot buy dedicated corner traps, place large, dense absorption panels in the junction of your walls and floor. This reduces the "muddy" boominess that often ruins home recordings.
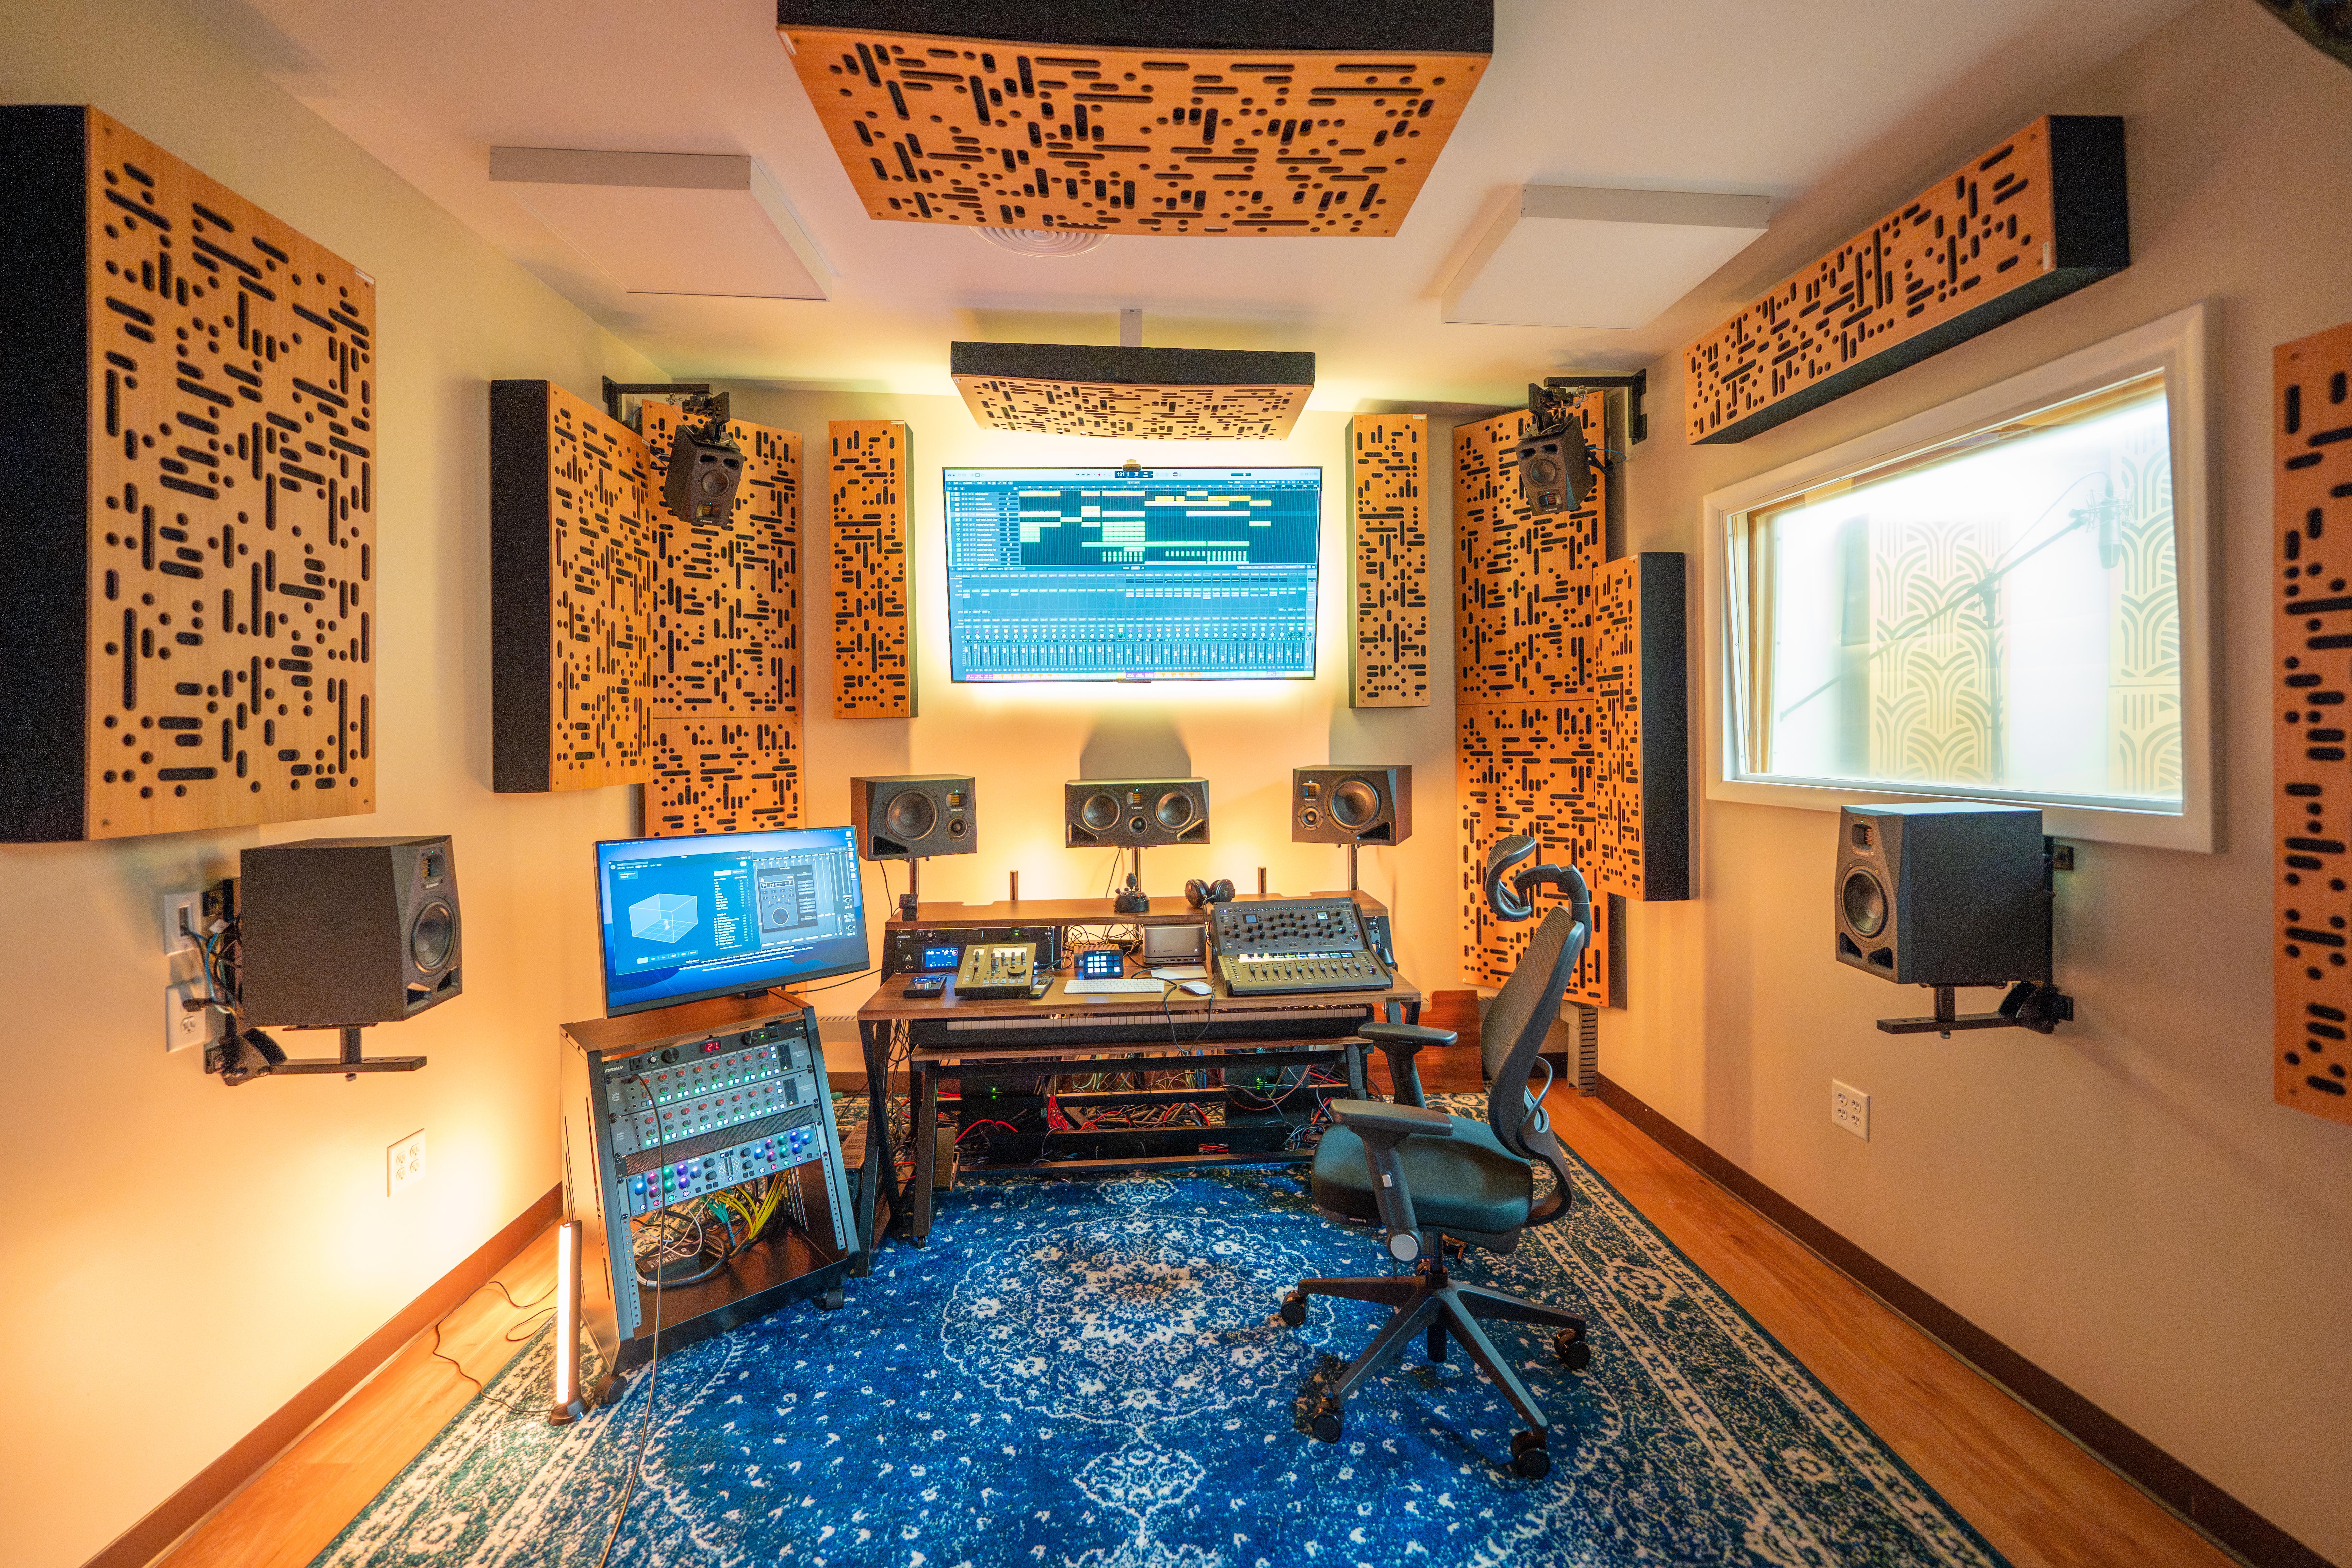
Place diffusion panels on the wall behind your listening position. This scatters sound waves that bounce back from behind you, preserving the sense of space without creating distinct echoes. This step ensures your room sounds natural rather than acoustically dead.


As an Amazon Associate, we may earn from qualifying purchases.
Choose the right monitoring headphones
Your headphones are the only window into your mix when you are working in a treated or untreated room. They do not need to sound "good" in a consumer sense; they need to be accurate. The first choice is between closed-back and open-back designs, and each serves a distinct purpose in the recording chain.
Closed-back headphones seal the ear cups completely. This isolation prevents sound from bleeding into your microphone, which is non-negotiable when recording loud sources like electric guitar amps or vocals. Because the sound is trapped inside, the bass response often feels slightly boosted or "boomy." You can use them to record, but you should not rely on them for final mixing, as the artificial bass can make your mix sound muddy on other systems.
Open-back headphones have grilles on the back of the ear cups that allow air to move freely. This creates a wider, more natural soundstage that mimics listening to speakers in a room. They are the standard for mixing because they reveal flaws in your track that closed-back cans hide. However, they offer zero isolation. If you play music through them while recording vocals, the mic will pick it up, ruining the take.
For a complete setup, you will need both types. Use the closed-backs for tracking to keep your recordings clean, and switch to the open-backs when you sit down to mix and master. Popular choices for monitoring include the Beyerdynamic DT 770 Pro for isolation and the Sennheiser HD 600 series for critical listening accuracy.


As an Amazon Associate, we may earn from qualifying purchases.
Essential software and accessories
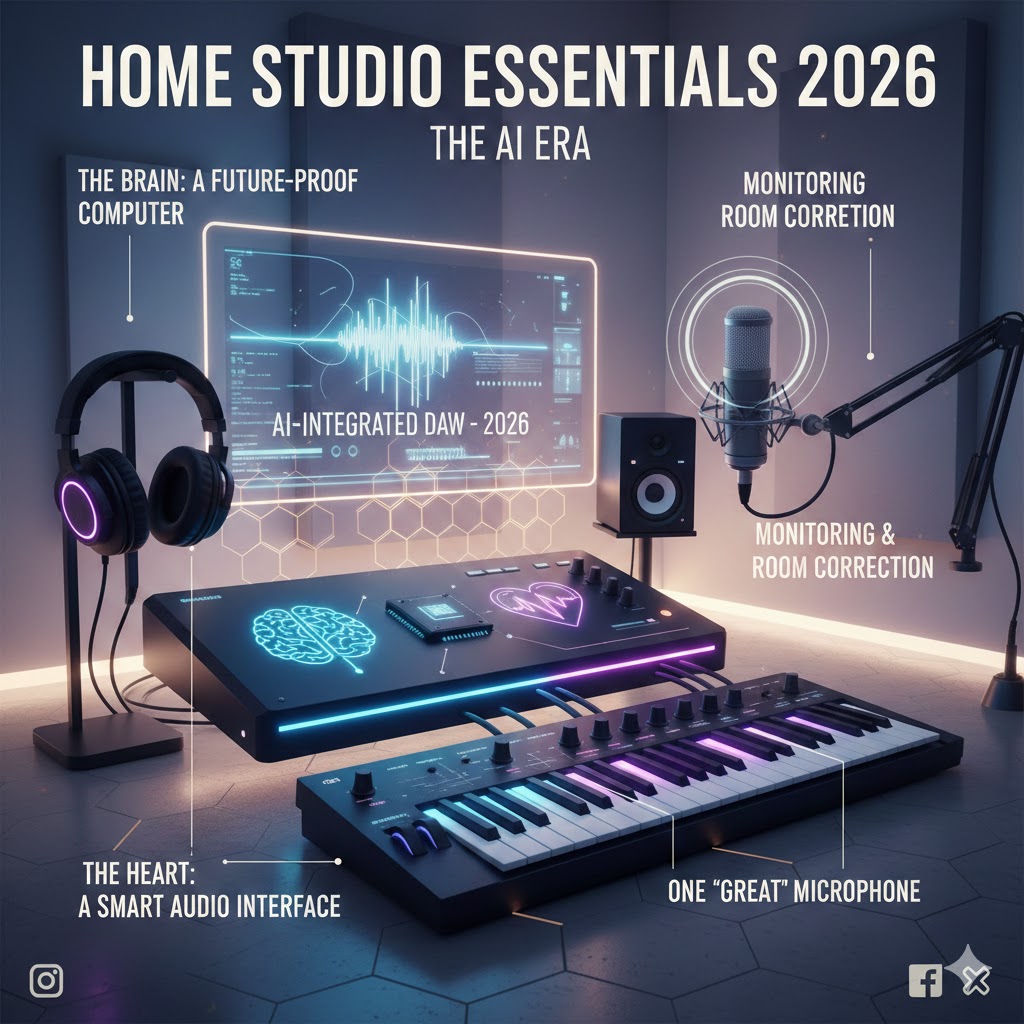
A home recording studio is more than just a microphone and interface; it requires the right software and physical support gear to function smoothly. The Digital Audio Workstation (DAW) serves as the central hub where all audio is captured, edited, and mixed. Popular choices include Ableton Live, Logic Pro, and Reaper, each offering different workflows tailored to specific production styles. Pairing this with a dedicated audio interface ensures high-quality signal conversion between your analog sources and digital environment.
Physical accessories play a critical role in sound quality and workflow efficiency. A sturdy mic stand prevents unwanted vibrations and allows for precise positioning, while a pop filter reduces harsh plosive sounds during vocal recordings. Acoustic treatment, such as foam panels, further refines the recording environment by managing room reflections.


As an Amazon Associate, we may earn from qualifying purchases.
-
Digital Audio Workstation (DAW)
-
Audio Interface
-
Microphone Stand
-
Pop Filter
-
Acoustic Treatment
Common home recording studio: what to check next
Setting up a home recording studio doesn't require a professional budget, but it does require knowing where to allocate your funds. Experts agree that the core signal chain—microphone, interface, and monitoring—is where you should prioritize spending. You can achieve professional-sounding results without needing a mortgage, provided you choose gear that matches your specific workflow rather than chasing every available feature.
How much does a basic home studio cost?
A functional home studio can start around $300 to $500 if you already own a computer. This budget covers a entry-level audio interface, a decent dynamic microphone, and a pair of studio monitor headphones. As you add acoustic treatment, studio monitors, and more specialized microphones, costs rise, but the foundational setup remains affordable for most beginners.
What is the most important piece of gear?
The audio interface is the heart of your setup. It converts analog signals from your microphone or instruments into digital data your computer can process. While a good microphone matters, a poor interface will bottleneck your sound quality regardless of how expensive your mic is. Look for an interface with clean preamps and low-latency monitoring capabilities.
Do I need acoustic treatment before recording?
Acoustic treatment improves recording clarity by reducing room reflections and standing waves. While you can record on a budget using blankets or rugs to dampen early reflections, dedicated bass traps and absorption panels yield better results. Treat your room before buying expensive microphones; a $100 mic in a treated room will sound better than a $1,000 mic in an untreated one.
Can I use my computer's built-in sound card?
Built-in sound cards are generally unsuitable for recording due to high latency and poor analog-to-digital conversion quality. They often introduce noise and distortion that ruins vocal or instrument takes. An external USB or Thunderbolt audio interface provides dedicated, high-quality preamps and direct monitoring, which is essential for tracking performances in real time.
No comments yet. Be the first to share your thoughts!