
Pick your recording space
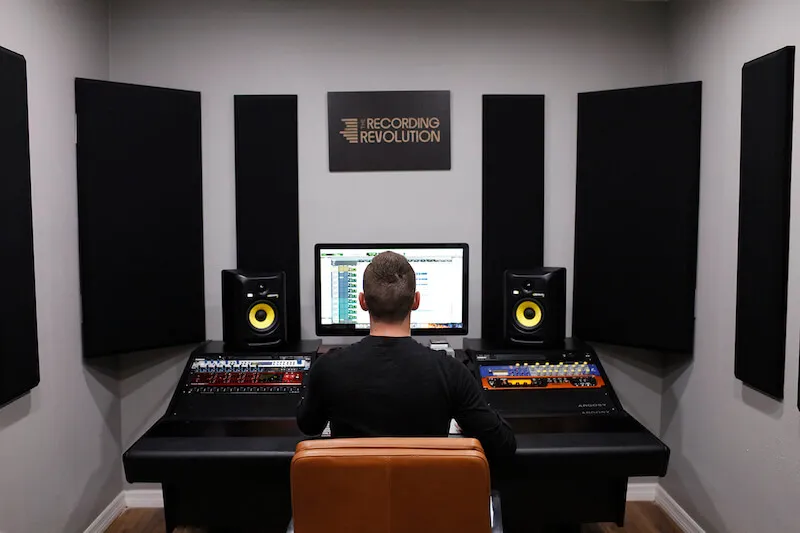
A home recording studio starts with the room itself, not the gear. Before you unbox your interface or mount a microphone, you need a physical space that handles sound. The goal is simple: keep outside noise out and manage the reflections bouncing around inside.
Start by looking for a room with soft surfaces. Bedrooms with carpet and curtains are often better than empty bathrooms or kitchens with hard tile. If you have a dedicated room, great. If not, a closet or a corner under a desk works well. Fill the space with clothes, books, or heavy blankets to break up sound waves.
Once you have a spot, test it. Close the door and windows. Turn off the AC, fridge, and any fans. Listen for hums, traffic, or neighbors. If you hear something, move your setup or change the time you plan to record. You can’t fix a bad environment with expensive plugins later.
Next, think about your chair position. Sit in the center of the room, away from the walls. This is your primary recording spot. If you have a desk, make sure there’s enough room for your computer and monitors without crowding the mic. A tidy space helps your mind focus, but don’t stress about perfect acoustics yet. You can add treatment later. For now, just find a quiet corner and start there.
Choose the right audio interface
An audio interface is the bridge between your microphones, instruments, and computer. It converts analog signals into digital data your DAW can process. Picking the right one depends on your input needs, preamp quality, and connectivity.
Preamp quality matters
The preamp boosts weak microphone signals to line level. Good preamps add clarity and low noise. Bad ones introduce hiss or distortion. Look for interfaces with transparent, clean preamps if you record vocals or acoustic instruments. If you primarily record line-level sources like synthesizers or drum machines, preamp quality is less critical.
Input and output count
Match the interface to your typical recording setup. A 2-in/2-out interface handles one microphone and one instrument simultaneously. This covers most solo creators. Need to record a drum kit or a small band? You’ll need 4 or more inputs. Check both inputs and outputs. You’ll want enough outputs to connect studio monitors and headphones without conflict.
Connectivity
USB-C is the current standard for most home studios. It offers reliable power and data transfer. Thunderbolt interfaces provide higher bandwidth and lower latency, ideal for large track counts. Firewire is obsolete; avoid it. If you use an older computer, check compatibility before buying.
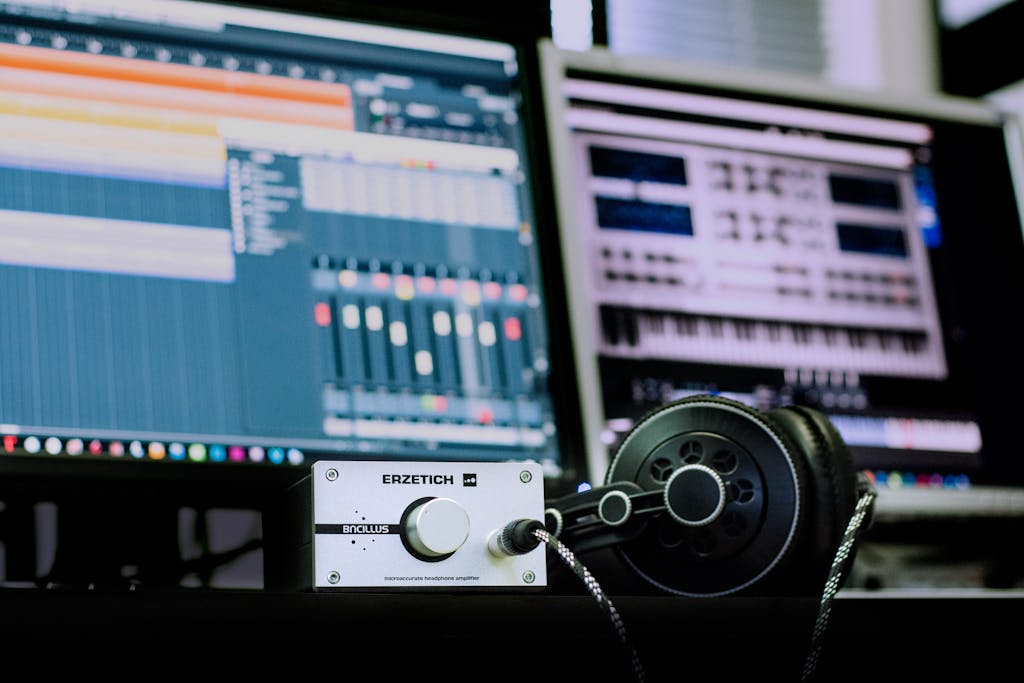
Comparison of popular options
| Interface | Inputs/Outputs | Connectivity | Best For |
|---|---|---|---|
| Focusrite Scarlett 2i2 | 2 | USB-C | Solo vocalists |
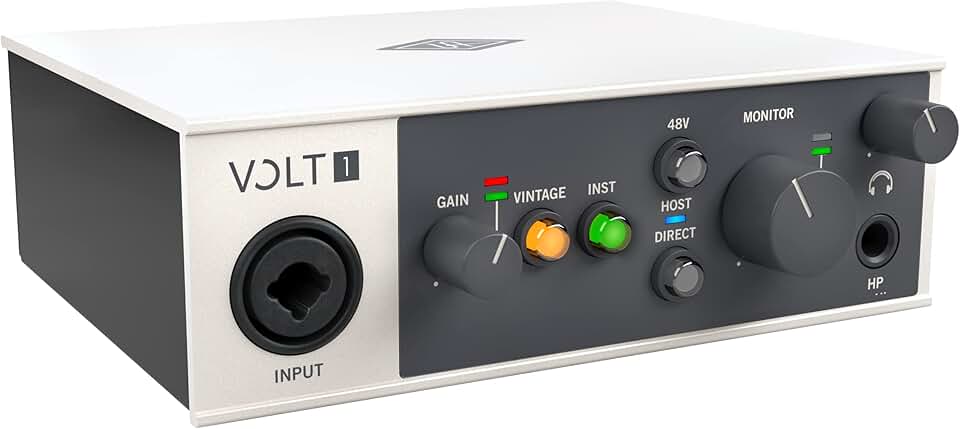
| Universal Audio Volt 2 | 2 | USB-C | Warm preamps |
| Motu M2 | 2 | USB-C | Low latency |
| Audient iD14 MkII | 2 | USB-C | Premium preamps |
| RME Fireface UCX II | 4 | FireWire/USB | Pro studio work |


As an Amazon Associate, we may earn from qualifying purchases.
Select microphones for your voice
Your microphone choice dictates how much of your room’s character ends up in the recording. The two main categories—dynamic and condenser—serve different environments. Pick the type that matches your space before you worry about brand or price.
Dynamic microphones
Dynamic mics are the workhorses of home recording. They are less sensitive to ambient noise, meaning they reject background chatter, computer fans, and street traffic better than their counterparts. This makes them the safer choice for untreated rooms or shared living spaces.
They are also generally more durable and can handle higher sound pressure levels, making them versatile for both voice and loud instruments. If your recording space isn’t acoustically treated, start with a dynamic microphone to ensure clean vocal tracks.
Condenser microphones
Condenser microphones capture a wider frequency range and greater detail. They respond to subtle vocal nuances that dynamic mics might miss. However, this sensitivity is a double-edged sword: they pick up everything, including room reverb and background noise.
Use a condenser mic only if you have a quiet, treated space with minimal ambient sound. In a noisy environment, a condenser will record the hum of your refrigerator along with your voice.
| Feature | Dynamic | Condenser |
|---|---|---|
| Sensitivity | Low | High |
| Best Environment | Noisy or untreated | Quiet and treated |
| Durability | High | Fragile |
| Price Range | $50–$200 | $100–$500+ |
Dynamic vs. Condenser: Which fits your room?
If you are unsure where to start, choose a dynamic microphone. It is more forgiving of poor acoustics and easier to place correctly. You can always upgrade to a condenser later once you have built a dedicated, quiet recording corner.
Set up monitoring headphones
Closed-back headphones are the standard for home recording because they isolate sound. Unlike open-back designs, which let audio escape and bleed into your microphone, closed-back models keep the track contained within the ear cups. This isolation prevents the drummer’s snare or the vocalist’s backing track from leaking into the main vocal mic, ensuring a clean recording.
Choose the right fit and type
Select headphones with a secure, comfortable clamp force. You will wear these for hours, so a lightweight plastic frame with padded ear cushions is preferable to heavy metal bands. Look for a "studio monitor" style with a relatively flat frequency response, which helps you hear mistakes rather than masking them with boosted bass.
Connect and configure your interface
Plug your headphones into the dedicated headphone output on your audio interface. Avoid using the 3.5mm jack on your computer or laptop, as the built-in sound cards often introduce latency and poor audio quality. A dedicated interface provides the clean gain and low-latency monitoring you need for tracking.
Set safe listening levels
Start with your interface’s volume knob at zero, then power on your computer and DAW. Gradually increase the volume until you can hear the playback clearly but comfortably. Your ears fatigue quickly; if you have to shout to be heard, the volume is too high. Keep levels moderate to preserve your hearing and maintain critical listening accuracy over long sessions.
Install your DAW and basic plugins
Your digital audio workstation (DAW) is the heart of your home recording studio. It’s where you record, edit, mix, and arrange your tracks. Think of it as your studio’s command center: without it, your interface and microphones are just expensive hardware.
Start by choosing a DAW that fits your workflow. Popular options include Ableton Live, Logic Pro, and Reaper. Download the installer from the official website and run it. Follow the prompts to install the software on your computer. Most DAWs offer free trials, which is a good way to test compatibility with your audio interface before committing.
Visit the official website of your chosen DAW (such as Ableton, Logic, or Reaper) and download the installer. Run the file and follow the on-screen instructions to complete the installation. Ensure your computer meets the minimum system requirements for smooth performance.
Plug your audio interface into your computer via USB, Thunderbolt, or FireWire. Open your DAW’s preferences or settings menu and select your interface as the default input and output device. This ensures your DAW can send and receive audio correctly.
Most DAWs come with basic plugins, but you may need additional tools. Install essential effects like EQ, compression, and reverb. Consider AI-powered plugins for noise reduction and audio cleanup, which can save time during the editing phase.
Record a short audio clip using your microphone. Play it back to check levels and clarity. Adjust your gain staging and plugin settings to ensure a clean signal chain. This step confirms everything is working before you start recording your first project.
Once your DAW is running, focus on a minimal but effective plugin chain. You don’t need dozens of effects to start. A simple EQ to balance frequencies, a compressor to control dynamics, and a reverb for space are enough for most initial recordings. Many modern plugins use AI to automatically clean up background noise or enhance vocal clarity, which is particularly helpful for beginners.
Keep your plugin library organized. Create a folder structure for your effects and presets so you can find them quickly. This prevents clutter and helps you maintain a consistent sound across your projects. As you gain experience, you can expand your toolkit with more specialized tools.
Test your recording chain
Before you hit record, verify that every piece of hardware and software is communicating correctly. A broken signal flow is the most common reason for lost takes. Treat this as a final system check to ensure your microphone, interface, and DAW are locked in.
Verify signal flow and levels
Connect your microphone to the interface, then plug the interface into your computer. Open your DAW and select the interface as your audio input and output device. Create a new track, arm it for recording, and speak or sing into the mic. Watch the input meter in your DAW; it should move in sync with your sound. If the meter stays flat, check your cable connections and ensure the correct input channel is selected in your audio settings.
Test monitoring and latency
Put on your headphones and play back the recorded audio. Listen for delay between your voice and the playback, known as latency. If the delay is noticeable, adjust the buffer size in your audio interface software to a lower setting (e.g., 64 or 128 samples) for real-time monitoring. Ensure your headphone volume is comfortable and that you can hear both the live mic input and the playback clearly.
Run a test recording
Record a 30-second clip of you speaking or playing an instrument. Stop recording and listen to the file immediately. Check for distortion (peaking red), background noise, or missing channels. If the recording sounds clean and matches what you heard in the headphones, your chain is ready. If you hear issues, adjust gain staging or check your cable integrity before starting your project.
Common home studio: what to check next
Before you buy gear, it helps to understand the real costs and space requirements. Here are answers to the most frequent barriers to entry.
No comments yet. Be the first to share your thoughts!