
The 2026 studio baseline
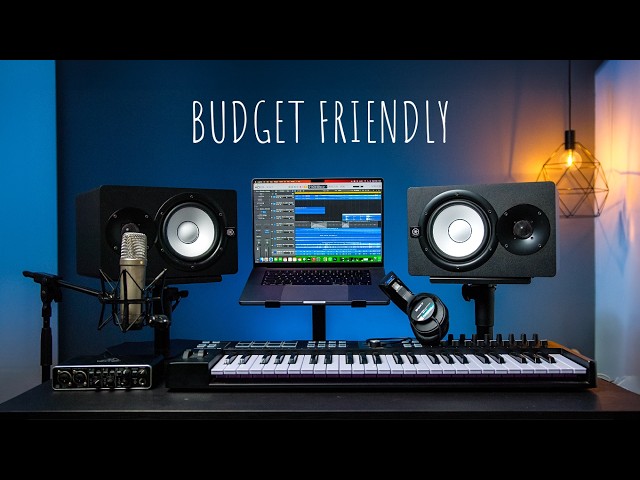
Home recording gear has finally caught up to professional studio standards. In 2026, the gap between a $500 interface and a $5,000 rack unit is narrower than ever. You no longer need a treated live room and a six-figure console to cut a clean vocal or a tight mix. Most modern interfaces now handle sub-2ms latency as a standard, and mid-range condenser mics have flattened the frequency response curves that used to cost thousands to achieve.
The cost of entry has fallen while the ceiling has risen. You can build a setup capable of producing commercially viable tracks without breaking the bank. This change is driven by several factors, including advances in digital signal processing, competition among manufacturers, and the increased demand for high-quality audio in a world saturated with content. The demand for podcasting and content creation is also fueling this growth, pushing innovation in affordable recording solutions.
The rise of remote collaboration has also played a major role. Musicians and producers are frequently working together across distances, requiring reliable, easy-to-use setups that can handle seamless file sharing and real-time communication. This has led to a focus on streamlined workflows and robust connectivity. It's a good time to start a home recording studio, and it’s getting better all the time.
Don’t expect to replicate a multi-million dollar commercial studio overnight. But a professional-sounding setup – one that allows you to capture, edit, and mix music to a very high standard – is now within reach for a lot more people. This article will walk you through the essential components, explain what to look for, and help you build a studio that meets your needs and budget.

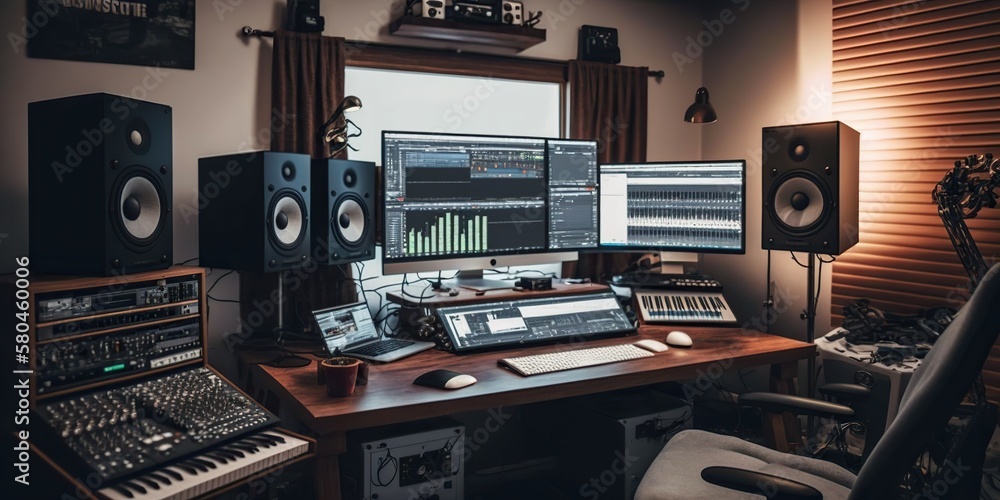
The essential hardware
Your computer is the most expensive part of the rig. For 2026, 16GB of RAM is the bare minimum, but I suggest 32GB if you use heavy Kontakt libraries or high-track counts. An Intel Core i7 or AMD Ryzen 7 handles most processing, but ensure you have a 1TB NVMe SSD. Mechanical HDDs are too slow for active projects; keep those strictly for long-term backups.
Next, the Digital Audio Workstation (DAW). This is your central hub. Ableton Live is fantastic for electronic music and loop-based production, offering a very intuitive workflow. Logic Pro X, exclusive to macOS, is a powerhouse with a comprehensive suite of instruments and effects. Pro Tools remains the industry standard for professional recording and mixing, but it has a steeper learning curve. Reaper is a surprisingly capable and affordable option, favored by many for its flexibility and customization. I personally use Ableton for its quick workflow, but any of these can deliver professional results.
An audio interface is your connection between the analog world (microphones, instruments) and your computer. Focus on low latency – the delay between playing a note and hearing it back – and the number of inputs and outputs you need. Universal Audio’s Apollo interfaces are popular choices, but Focusrite Scarlett and PreSonus AudioBox interfaces offer excellent value. You’ll want at least two inputs to record vocals and an instrument simultaneously.
Microphones are where things get interesting. Dynamic microphones, like the Shure SM58, are rugged and great for vocals and loud sources. Condenser microphones are more sensitive and capture more detail, making them ideal for vocals, acoustic instruments, and overhead drums. A large-diaphragm condenser like the Audio-Technica AT2020 is a solid all-around choice. Pay attention to polar patterns – cardioid is most common, rejecting sound from the sides and rear.
Headphones are essential for tracking and critical listening. Closed-back headphones, like the Beyerdynamic DT 770 Pro, prevent sound leakage during recording. Open-back headphones, like the Sennheiser HD 600, offer a more natural and spacious soundstage for mixing. Finally, nearfield studio monitors are crucial for accurate mixing. Consider 5-inch or 7-inch monitors from brands like Yamaha, KRK, or JBL. Room size will influence the ideal monitor size.
Essential Gear for Your 2026 Home Recording Studio

Two high-quality microphone preamps · Instrument and line inputs · Included recording software bundle
It offers professional sound quality and versatility for a wide range of audio production tasks.

High-quality condenser capsule · Direct USB connection · Includes pop filter and stand
This microphone provides exceptional clarity and ease of use for capturing professional audio without complex setups.

Accurate sound reproduction · Comfortable over-ear design · Detachable cable
These headphones are essential for critical listening and mixing, providing a reliable and detailed soundstage.

Bi-amplified design · Flat frequency response · Controlled room response
These monitors offer a transparent and honest sound, crucial for making informed mixing decisions.

Two combo mic/instrument inputs · MIDI I/O · Bundled with Studio One Artist DAW
This interface is an excellent budget-friendly option that includes essential recording software, making it easy to start producing music.
As an Amazon Associate I earn from qualifying purchases. Prices may vary.
Acoustic Treatment: Beyond Foam Panels
Acoustic treatment is often overlooked, but it’s arguably the most important part of building a good sounding studio. You can have the best gear in the world, but if your room sounds bad, your recordings will too. Simply slapping up some foam panels isn’t enough. You need to address reflections and standing waves.
Absorption reduces the overall reverberation in your room. Bass traps, typically placed in corners, absorb low-frequency energy, preventing muddiness. Acoustic panels, made from materials like fiberglass or mineral wool, absorb mid and high frequencies, reducing flutter echoes. Diffusion scatters sound waves, creating a more natural and spacious sound. Diffusers are often placed on the rear wall to create a sense of depth.
DIY acoustic treatment is possible, but requires research and careful construction. There are plenty of online resources with instructions for building your own bass traps and panels. However, I’d recommend considering professional room measurement software like Room EQ Wizard (REW) to identify problem frequencies and areas for treatment. It’s free and can give you valuable insights.
Getting acoustic treatment right can be challenging, and sometimes professional help is worth the investment. An acoustic consultant can analyze your room and recommend a tailored treatment plan. It’s tempting to skip this step to save money, but trust me, it will pay off in the long run. A well-treated room will translate better to other listening environments.
- Bass traps in the corners to stop low-end buildup.
- Mineral wool panels at first reflection points to kill mid-frequency echoes.
- Diffusers: Scatter sound waves.
Choosing a DAW and plugins
We touched on DAWs earlier, but let's go a little deeper. Ableton Live excels in creative workflows, looping, and performance. Its Session View is unmatched for experimentation. Logic Pro X offers an incredible value proposition with its extensive library of instruments, effects, and samples, all for a one-time purchase. Pro Tools remains the standard in professional studios, offering unparalleled editing capabilities and compatibility. Reaper's strength lies in its customization and efficiency; it’s resource-light and highly adaptable.
Choosing a DAW is a personal decision. Download trials and experiment with each one to see which fits your workflow best. Don't get caught up in the 'best' DAW debate – they're all capable of producing great music. Once you’ve settled on a DAW, you’ll inevitably start looking at plugins.
Plugins extend the functionality of your DAW. EQ plugins shape the tonal balance of your sounds. Compressors control dynamics and add punch. Reverb and delay create space and atmosphere. Virtual instruments emulate everything from synthesizers to acoustic instruments. There are countless plugins available, both free and paid.
Stock plugins are better than they used to be, so don't buy a bundle immediately. Vital is a great free alternative to Serum for wavetable synthesis, and TDR Nova handles dynamic EQ better than most paid options. If you do spend money, FabFilter’s Pro-Q 3 is the only 'essential' for its workflow. Most other paid plugins are just flavors you can add later.
- EQ Plugins: Shape tonal balance.
- Compressor Plugins: Control dynamics.
- Reverb/Delay Plugins: Create space.
- Virtual Instruments: Emulate instruments.
Popular DAW Comparison - 2026
| DAW | Ease of Use | Workflow | Instrument Library | Plugin Support |
|---|---|---|---|---|
| Ableton Live | Intermediate | Excellent for loop-based music and live performance | Strong, particularly for electronic sounds | Very good, broad compatibility |
| Logic Pro X | Beginner-Friendly | Intuitive for Apple users, project-based | Extensive and high-quality | Excellent, native plugins are robust |
| Pro Tools | Advanced | Industry standard for recording, editing, and mixing | Good, but traditionally focused on external instruments | Exceptional, widest compatibility with professional hardware |
| FL Studio | Intermediate | Pattern-based sequencing, popular for electronic genres | Very strong, diverse range of included instruments | Good, VST support is well-established |
| Reaper | Intermediate | Highly customizable, steep initial learning curve | Decent, relies heavily on third-party plugins | Excellent, supports a wide range of plugin formats |
Qualitative comparison based on the article research brief. Confirm current product details in the official docs before making implementation choices.
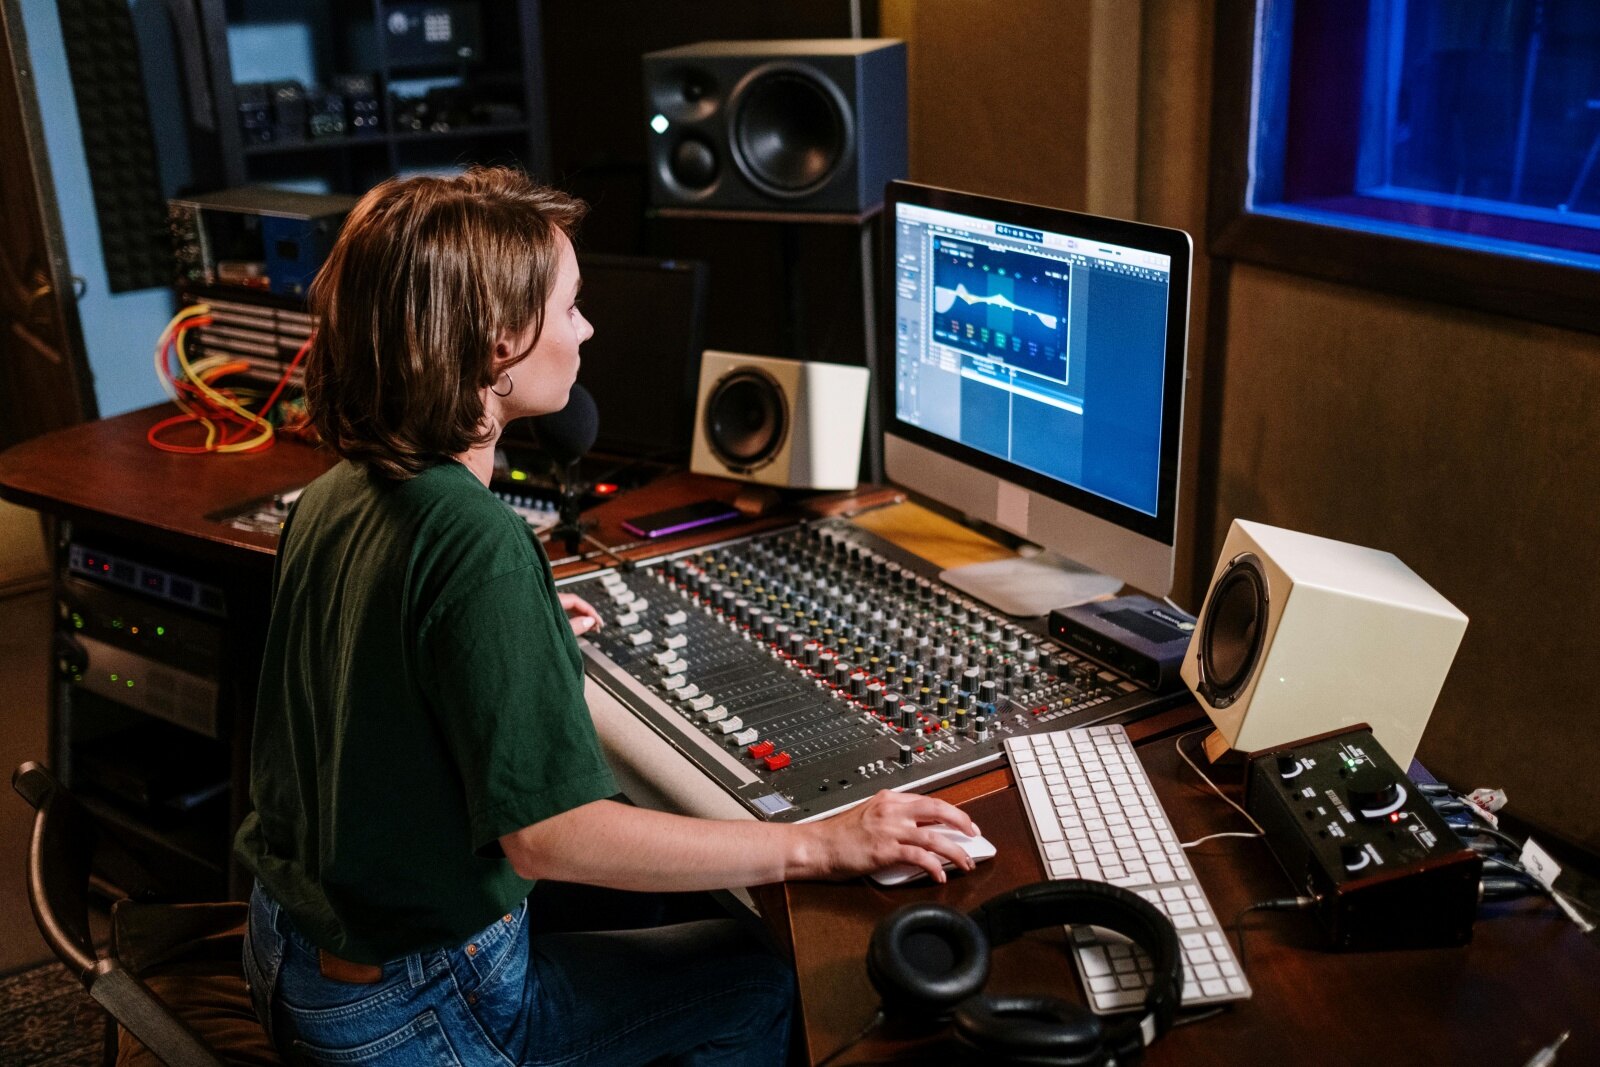
Connectivity and Workflow: Getting Signals Flowing
Now that you have the gear, let’s talk about connecting it all. XLR cables are the standard for microphones, providing a balanced signal with minimal noise. TRS cables are used for balanced line-level signals, like connecting monitors to your interface. TS cables are unbalanced and typically used for instruments like guitars. USB and Thunderbolt cables connect your interface to your computer.
Understanding signal flow is crucial. Audio travels from the microphone to the interface, where it’s converted from analog to digital. The digital signal is then sent to your DAW for processing. From there, it’s sent back to your interface, converted back to analog, and output to your monitors. Proper gain staging – setting the input levels correctly – is essential to avoid clipping (distortion).
MIDI controllers allow you to control virtual instruments and parameters in your DAW. They connect via USB and come in various forms, from simple keyboard controllers to complex control surfaces. A good power conditioner can protect your equipment from voltage spikes and ensure a clean power supply.
Pay attention to cable management. Keep your cables organized to prevent clutter and accidental disconnections. Label your cables to make it easier to identify them. A clean and organized workspace will improve your workflow and reduce frustration.
What it costs
Let's get down to brass tacks: how much will this all cost? Here's a breakdown of three budget tiers. Remember these are estimates, and prices can vary.
Entry-Level ($500-$1000): This is a great starting point for beginners. You can get a basic audio interface (Focusrite Scarlett Solo), a condenser microphone (Audio-Technica AT2020), headphones (Beyerdynamic DT 770 Pro), a DAW (Reaper), and some basic acoustic treatment (DIY panels). You’ll likely need to compromise on the quality of some components, but it’s enough to get you started.
Mid-Range ($1500-$3000): This tier unlocks significant improvements in quality. You can afford a more capable interface (Universal Audio Volt 276), a higher-quality microphone (Rode NT-USB+), better studio monitors (Yamaha HS8), and a more comprehensive plugin suite. You’ll also have more flexibility to experiment with different sounds and techniques.
High-End ($3000+): This is where you can build a truly professional-grade studio. You can invest in a top-of-the-line interface (Universal Audio Apollo Twin X), a premium microphone (Neumann TLM 103), high-end monitors (Genelec 8030C), and a vast collection of plugins. This tier offers the highest level of performance and flexibility, but it comes at a significant cost. Used gear markets can significantly lower costs. Sites like Reverb and eBay offer good deals.
Financing options are available for larger purchases. Many retailers offer payment plans, and some credit cards offer 0% introductory rates. Building a great studio takes time and investment, so don't be afraid to start small and upgrade as your needs evolve.
Studio Essentials
- Computer - A reliable desktop or laptop is the core. Apple’s M3 series or comparable Intel i7/AMD Ryzen 7 processors are powerful options for handling demanding audio software.
- DAW Software - Digital Audio Workstations like Ableton Live, Logic Pro X, or Pro Tools are essential for recording, editing, and mixing. Many offer trial versions.
- Audio Interface - Focusrite Scarlett 2i2 or Universal Audio Volt 2 are popular choices for converting analog signals to digital and vice versa. Consider the number of inputs/outputs needed.
- Microphone - A large-diaphragm condenser microphone like the Audio-Technica AT2020 or Rode NT-USB+ is versatile for vocals and instruments.
- Headphones - Closed-back headphones such as the Beyerdynamic DT 770 Pro or Sony MDR-7506 provide accurate monitoring without sound leakage.
- Studio Monitors - Yamaha HS5 or KRK Rokit 5 G4 nearfield monitors offer a flat frequency response for critical listening during mixing.
- Microphone Stand & Pop Filter - A sturdy microphone stand and pop filter (like those from Knox Gear) are crucial for stable mic placement and reducing plosives.
- XLR Cables - High-quality XLR cables (from brands like Mogami) are necessary to connect your microphone to your audio interface.
Future-Proofing Your Studio: Trends to Watch
The world of audio technology is constantly evolving, so it’s important to stay informed about emerging trends. AI-powered audio tools are becoming increasingly sophisticated, offering features like automatic mixing, mastering, and noise reduction. These tools can be incredibly useful, but they're not a replacement for human creativity and critical listening.
Immersive audio formats like Dolby Atmos and spatial audio are gaining popularity, offering a more immersive listening experience. These formats require specialized microphones and monitoring setups, but they can significantly enhance the impact of your music. New hardware technologies, such as USB-C audio interfaces and Thunderbolt 4 connectivity, are improving performance and simplifying workflows.
Cloud-based DAWs and plugins are also on the rise, offering greater flexibility and accessibility. These services allow you to access your projects and plugins from anywhere with an internet connection. It’s still early days for cloud-based audio production, but it has the potential to revolutionize the way we make music.
Keeping an eye on these trends will help you future-proof your studio and ensure that you’re equipped to take advantage of the latest innovations. Don’t feel pressured to adopt every new technology immediately, but be open to exploring new possibilities.
No comments yet. Be the first to share your thoughts!