
The reality of podcasting in 2026
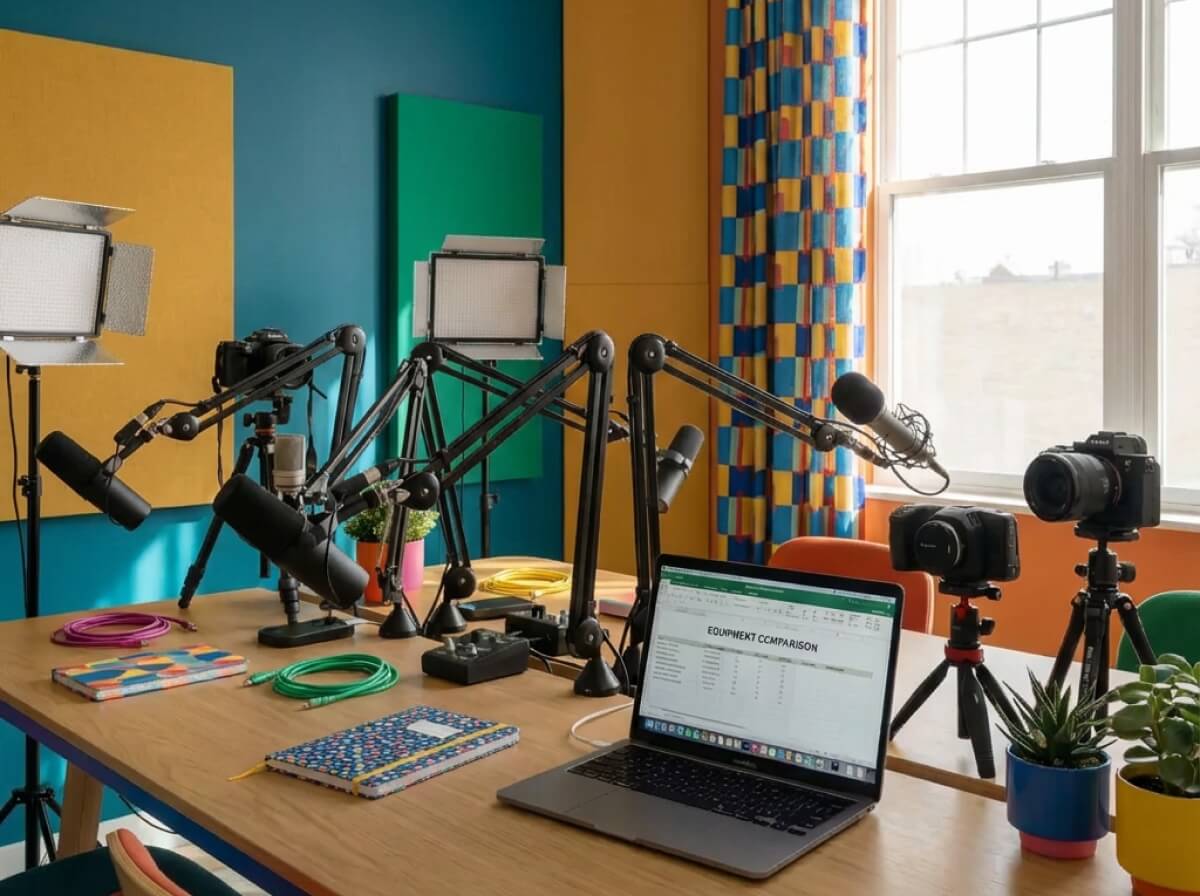
Starting a podcast in 2026 is a different game than it was a few years ago. Video is no longer optional for most, and AI tools have made the technical side much faster. It is a crowded market, but most people quit after three episodes. If you stay consistent, you're already ahead of the pack.
Don’t let the competition scare you off though. A well-defined niche and consistent quality can cut through the noise. This guide is designed for complete beginners – those with zero audio engineering experience. We’ll focus on the practical steps needed to get your podcast up and running, from equipment selection to distribution.
Expect to invest time, not just money. Building an audience takes effort. Also, think beyond just audio. Repurposing your podcast content into short-form videos, blog posts, and social media snippets is becoming essential for growth. It’s not enough to just make a podcast; you need to promote it strategically.
Pick a specific niche
Before you spend a single dollar on equipment, let's talk about the heart of your podcast: its purpose. A focused niche is far more effective than trying to appeal to everyone. Instead of a broad “movie review” podcast, consider “independent horror films from the 1980s.” That specificity attracts a dedicated audience.
Who are you speaking to? Define your target listener. Are they tech enthusiasts, true crime aficionados, or busy parents looking for self-improvement tips? Understanding their interests, pain points, and listening habits will shape your content and marketing. Knowing your audience impacts everything.
Podcast format matters too. Will it be an interview show, a solo monologue, a co-hosted discussion, or a narrative storytelling podcast? Each format has its own strengths and weaknesses. Consider what plays to your strengths and best suits your topic. Don’t be afraid to experiment.
What makes your podcast different? There are already thousands of podcasts on nearly every topic. What unique angle will you bring? For example, "Maintenance Phase’ stands out by debunking wellness fads with a critical eye. ‘Stuff You Should Know’ excels at thorough, well-researched explanations of everyday topics. ‘My Favorite Murder" combines true crime with comedic storytelling.
- Pick a niche so specific it feels too small.
- Know Your Listener: Understand their interests and pain points.
- Choose a Format: Select a style that suits your content and strengths.
- Find an angle that makes people choose you over the top 10 shows in your category.
Microphones that actually sound good
Your microphone is arguably the most important piece of equipment. There are two main types: dynamic and condenser. Dynamic microphones are durable, less sensitive, and excel in noisy environments. They’re great for beginners and home recording. Condenser microphones are more sensitive, capture more detail, and require a quieter recording space.
Let’s look at some recommendations. Under $100, the Samson Q2U is a fantastic USB dynamic microphone – a great all-in-one option. In the $100-$200 range, the Audio-Technica ATR2100x-USB offers similar benefits with slightly improved audio quality. For those willing to spend $200+, the Rode NT-USB+ is a high-quality condenser microphone that delivers professional sound.
Polar patterns determine how the microphone picks up sound. Cardioid patterns focus on sound directly in front of the microphone, rejecting noise from the sides and rear. This is ideal for solo recording. Omnidirectional patterns pick up sound from all directions, which is useful for recording multiple people.
USB microphones are easy to set up – just plug and play. XLR microphones offer higher audio quality and more control, but require an audio interface (covered in the next section). The choice depends on your budget and technical comfort level. I've always found USB mics a great starting point for newcomers.
The extra gear you'll need
A good microphone is only part of the equation. Closed-back headphones are essential for monitoring your audio without bleed into the microphone. The Audio-Technica ATH-M50x ($150-$200) are a popular choice for their accuracy and comfort. For a more budget-friendly option, consider the Sony MDR-7506 ($100).
If you choose an XLR microphone, you'll need an audio interface to connect it to your computer. The Focusrite Scarlett 2i2 ($160) is a reliable and easy-to-use option. A microphone stand is also crucial for positioning the microphone correctly. Consider a boom arm for flexibility.
A pop filter reduces plosives (harsh “p” and “b” sounds) and a shock mount isolates the microphone from vibrations. These are relatively inexpensive but make a noticeable difference in audio quality. Even simple acoustic treatment can help. Recording in a closet surrounded by clothes, or adding blankets to walls, can reduce echo and reverb.
Location is key. Find the quietest space in your home. Turn off fans, air conditioners, and other noise sources. A dedicated recording space is ideal, but not always necessary. Prioritize a space that minimizes background noise and reflections. A quiet space is surprisingly important.
Software for recording and editing
Now it’s time to record and edit your podcast. Audacity is a free, open-source audio editor that’s surprisingly powerful. GarageBand is another excellent free option, but it’s only available for Mac users. Both are great for beginners.
If you're willing to pay, Adobe Audition ($21/month) offers a professional-grade feature set. Descript ($12/month and up) is a unique option that focuses on editing audio by editing the transcript. It's becoming incredibly popular.
Basic editing techniques include noise reduction (removing background hiss), leveling (adjusting audio volume), and adding intro/outro music. Most software has tools for these tasks. Don’t be afraid to experiment and learn as you go. There are tons of tutorials available online.
AI tools for noise reduction and leveling are actually good now. I use them to save time, but they can't fix a bad performance. Use them to polish your audio, not to replace a quiet room.
- Download and Install: Choose your recording/editing software.
- Record Your Audio: Speak clearly and consistently.
- Remove Noise: Use noise reduction tools to clean up your audio.
- Adjust Levels: Ensure consistent volume throughout the episode.
- Add Music/Effects: Enhance your podcast with intro/outro music.
Hosting and distribution
Once your episode is edited, you need a podcast hosting platform to store your files and generate an RSS feed. Libsyn, Buzzsprout, Captivate, and Transistor are all popular choices. Pricing varies depending on storage space and features, typically ranging from $12 to $30 per month.
An RSS feed is a link that contains information about your podcast, including episode titles, descriptions, and audio files. This feed is what podcast directories use to distribute your podcast. Submitting your podcast to Apple Podcasts, Spotify, and Google Podcasts is essential for reaching a wider audience.
Podcast artwork and show notes are also important. Your artwork is your podcast’s visual identity, so make it eye-catching and professional. Show notes provide additional information about each episode and can include links to resources mentioned in the podcast.
Video podcasting is gaining momentum. Platforms like YouTube and Spotify now support video podcasts. Consider recording a video version of your podcast to reach a broader audience. It’s an extra step, but the potential reach is significant.
Fixing common audio problems
Beginners often encounter common problems like background noise, inconsistent audio levels, and microphone feedback. To minimize background noise, record in a quiet space and use a pop filter. Ensure your microphone is positioned correctly and that you’re speaking at a consistent volume.
Microphone feedback can be caused by improper gain staging or speaker placement. Lower the gain on your audio interface or move your speakers further away from the microphone. Editing mistakes are inevitable. Don’t be afraid to re-record sections or use editing tools to fix errors.
Always test your audio before recording a full episode. Record a short sample and listen back carefully to identify any issues. There are many helpful resources and tutorials available online. YouTube is a great place to start.
I’ve definitely learned a lot through trial and error! Don't get discouraged by early mistakes. Experiment with different settings and techniques until you find what works best for you. Remember, consistency is key to building a successful podcast.
- Background Noise: Record in a quiet space, use a pop filter.
- Audio Levels: Speak consistently, adjust gain settings.
- Microphone Feedback: Lower gain, adjust speaker placement.
- Editing Mistakes: Re-record or use editing tools.
No comments yet. Be the first to share your thoughts!