
Pick the right microphone first
The microphone is the single most important piece of equipment in your podcast setup. It captures your voice, and no amount of editing software can fix poor audio quality at the source. Choosing between a USB microphone and an XLR microphone comes down to balancing convenience with long-term flexibility.
USB microphones are designed for plug-and-play simplicity. You connect the mic directly to your computer via USB, and it is ready to record immediately. This setup eliminates the need for additional hardware, making it the best choice for beginners or podcasters who prioritize ease of use. The Samson Q2U is a popular entry-level option that works well for home studios because it delivers decent sound without requiring extra gear. It is a practical starting point if you are just getting started.
XLR microphones require an audio interface to connect to your computer. This setup adds a layer of complexity but offers superior audio quality and scalability. If you plan to add more microphones later or want professional-grade sound, an XLR setup with an interface like the Focusrite Scarlett 2i2 is the better path. It allows you to control gain levels precisely and integrate into a larger studio environment. While the initial investment is higher, the upgrade potential makes it a worthwhile choice for serious creators.
To help you decide which path fits your needs, compare the core differences between these two microphone types below.
| Feature | USB Microphone | XLR Microphone |
|---|---|---|
| Connection | Direct to computer | Requires audio interface |
| Ease of Use | High – plug and play | Moderate – requires setup |
| Audio Quality | Good for beginners | Professional grade |
| Scalability | Limited to one mic | Expandable with interface |
| Cost | Lower initial cost | Higher initial cost |
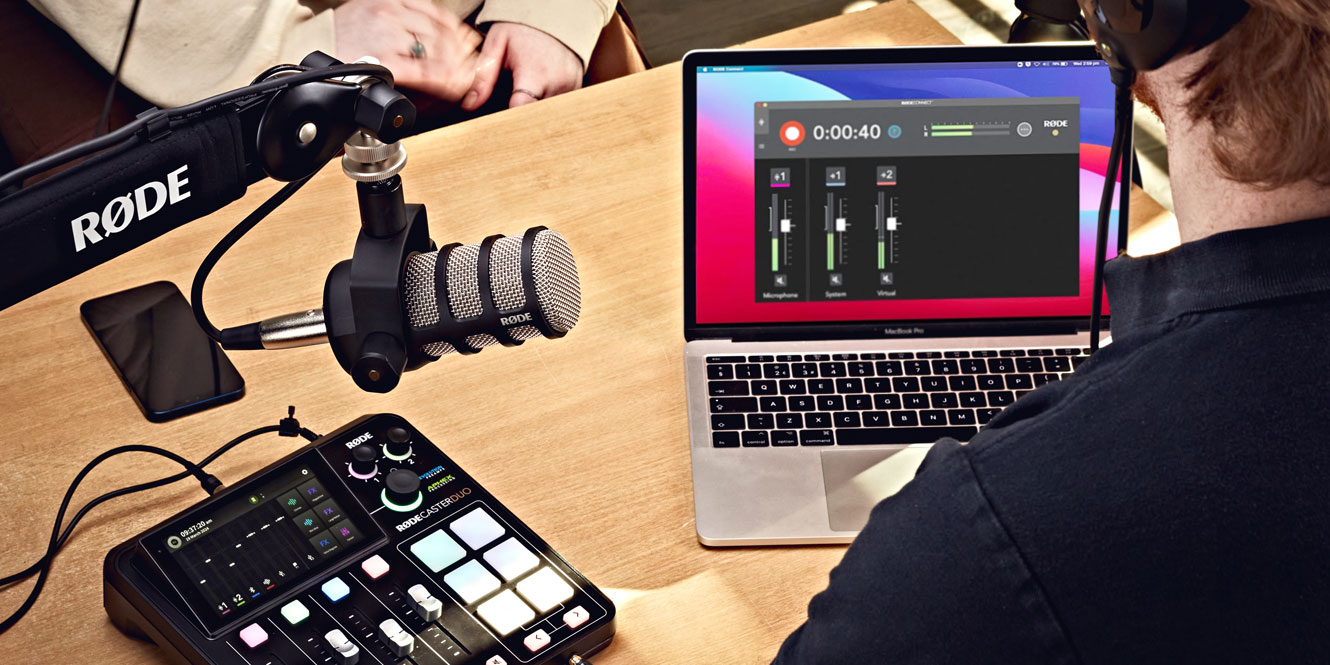
Choose an audio interface or mixer
An audio interface acts as the bridge between your microphones and your computer. If you are using XLR microphones, which are standard for professional broadcast quality, an interface is mandatory. Even if you plan to use USB microphones, an interface becomes essential when you host multiple guests or need to record separate audio tracks for easier editing.
The choice often comes down to whether you need a simple interface or a dedicated mixer. Interfaces are generally more compact and integrate seamlessly with digital audio workstations. Mixers, on the other hand, offer tactile control with physical knobs for gain and levels, which can be helpful for live recording sessions or multi-person discussions where real-time adjustments matter.
For most home studios, a two-input audio interface is the sweet spot. It allows you to record one host and one guest simultaneously while keeping costs manageable. Look for models with clean preamps and low latency monitoring to ensure your audio sounds crisp without distracting delays.
AmazonProductGrid is used to showcase top audio interfaces and mixers available on Amazon.


As an Amazon Associate, we may earn from qualifying purchases.
Choose closed-back headphones for isolation
Closed-back headphones are the standard for podcast monitoring because they seal out external noise and prevent audio bleed. When you record in the same room, open-back designs let your mic pick up the sound leaking from the earcups, creating an echoey, muddy recording. Closed-back models keep the audio contained to your ears, ensuring your microphone captures only your voice.
Comfort is equally important since you will wear these for hours. Look for models with plush ear cushions and adjustable headbands that distribute weight evenly. Avoid tight clamping forces that cause headaches, as discomfort distracts from your performance and editing focus.
The Sony MDR-7506 is a staple in professional studios for its accurate sound reproduction and durable build. Its closed-back design effectively isolates sound, making it a reliable choice for both monitoring and recording. For those on a tighter budget, the Audio-Technica ATH-M20x offers solid isolation and comfort without the premium price tag.
AmazonProductGrid


Add Stands, Arms, and Pop Filters
Microphones are sensitive instruments that demand stability and protection to deliver broadcast-quality audio. Without proper physical support, even the best microphone will struggle to capture clear sound. Stands, boom arms, and pop filters form the essential infrastructure of any home studio, transforming a cluttered desk into a professional recording space.
Boom Arms
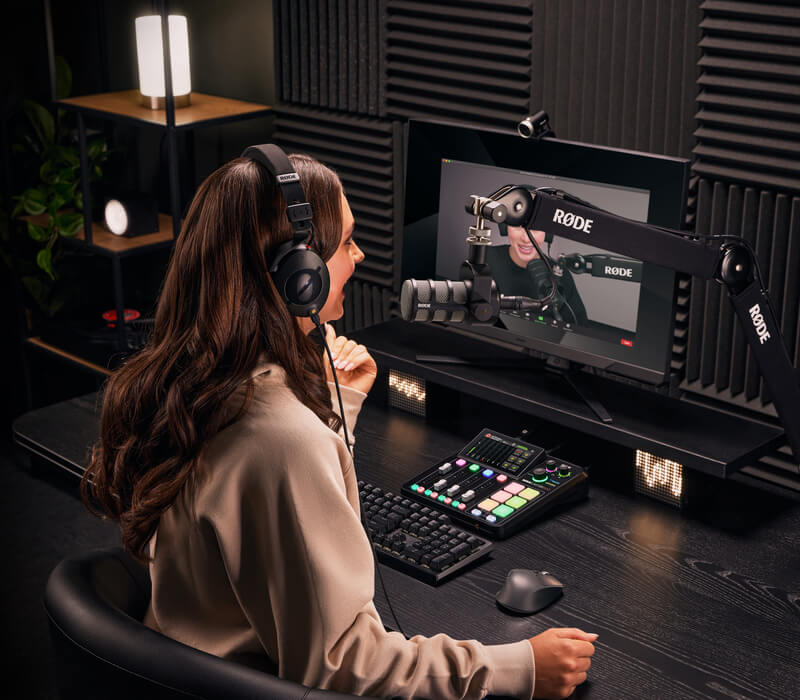
A sturdy boom arm is the most significant upgrade you can make to your podcast setup. It suspends the microphone above your desk, keeping it at the perfect distance from your mouth while freeing up valuable table space. This flexibility allows you to move freely without losing audio consistency. Look for arms with a gas spring or heavy-duty counterbalance mechanism to ensure the mic stays exactly where you place it, rather than drifting down during long recording sessions.
Microphone Stands
For stationary setups, a dedicated desktop stand provides rock-solid stability. Unlike cheap clip-on mounts, a proper stand with a threaded connector and shock mount isolates the microphone from desk vibrations and handling noise. This is particularly important if you are recording in a shared space where keyboard clicks or accidental bumps could ruin a take. Choose a stand with a wide, weighted base to prevent tipping.
Pop Filters
No podcast setup is complete without a pop filter. This circular mesh screen sits between your mouth and the microphone, dispersing the burst of air from plosive sounds like "P" and "B." Without it, these sharp consonants create low-frequency distortion that is difficult to fix in post-production. A dual-layer nylon pop filter is the standard choice, offering excellent protection without dampening the high-end frequencies of your voice.
Set up recording software
You need two types of software to run a professional podcast: a Digital Audio Workstation (DAW) for editing and a remote recording platform for guests who aren't in the room. Treating these as separate tools prevents audio quality issues and gives you full control over the final mix.
Choose a DAW for local editing
A DAW is where you record, edit, and mix your audio. For beginners, Audacity is a strong free option that handles basic cutting and noise reduction without a learning curve. If you want a more polished interface and better plugin support, GarageBand (Mac) or Descript (cross-platform) offer intuitive timelines that make editing feel like writing text.
Pick a remote recording platform
When recording with guests over the internet, standard Zoom or Skype compresses audio, making voices sound thin and robotic. Use a platform like Riverside.fm or Zencastr instead. These tools record high-quality WAV or MP3 files locally on each participant's computer and upload them to the cloud, ensuring you get studio-quality tracks regardless of internet connection stability.

As an Amazon Associate, we may earn from qualifying purchases.
Final checklist for your studio
Before you hit record, ensure your home studio is ready for clean, professional audio. A rushed setup often leads to background noise or connection drops that ruin an episode.
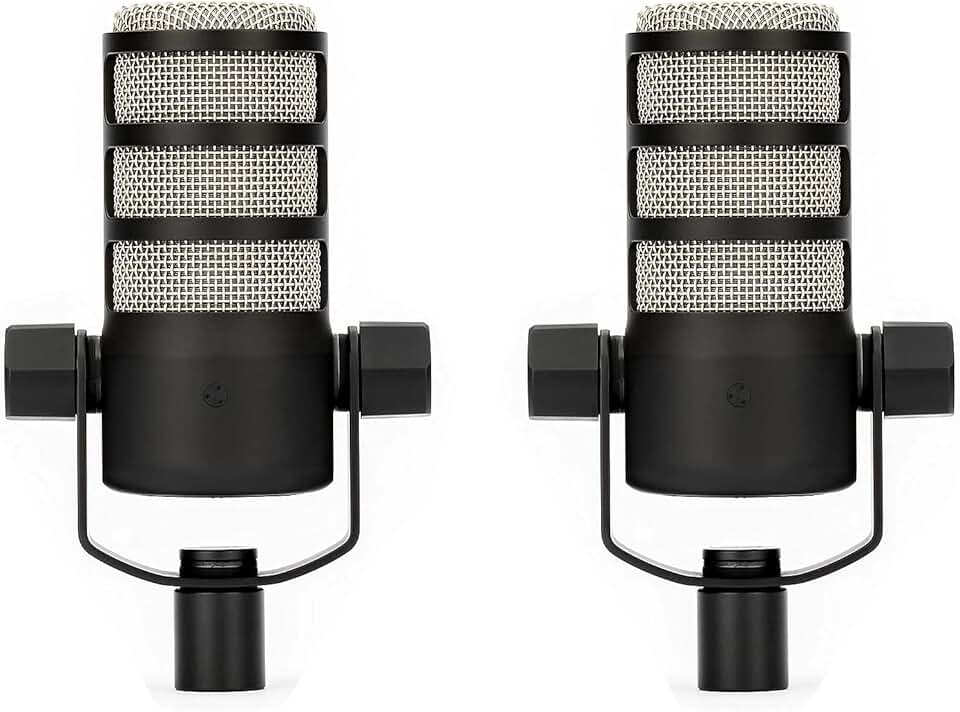
Plug your XLR or USB microphone into the audio interface or computer. Ensure the gain knob is set to a moderate level and the phantom power switch is on if using a condenser mic like the Rode PodMic.
Put on closed-back headphones to monitor your voice. Check for latency (delay) between your speech and the playback. Adjust your DAW buffer size if you hear an echo.
Open your recording software (like Audacity or Descript) and select the correct input device. Perform a quick 10-second test recording to verify levels are peaking around -12dB to -6dB.
Turn off air conditioning, fans, and close windows. Remove hard surfaces near the mic by adding soft furnishings like rugs or curtains to reduce echo.
Completing these steps ensures your first take is clean. You can focus on your content rather than troubleshooting technical issues during the broadcast.
Common questions about podcast gear
Starting a home studio often feels like navigating a maze of cables and adapters. You do not need a professional broadcast booth to sound clear; you just need the right core tools. Here are answers to the most common questions about building a podcast setup.
What is the minimum equipment I need to start?
You only need three things to begin: a decent microphone, headphones, and recording software. A USB microphone like the Blue Yeti or Audio-Technica ATR2100x connects directly to your computer, removing the need for an external audio interface. Pair this with closed-back headphones to prevent audio bleed during recording. This minimalist approach keeps costs low while delivering professional-quality audio for beginners.
Should I buy an XLR or USB microphone first?
Choose USB for simplicity and XLR for future growth. USB microphones are plug-and-play, making them ideal for solo podcasters who want to start recording immediately. XLR microphones require an audio interface but offer superior sound quality and scalability. If you plan to add guests or upgrade your setup later, an XLR mic with a compatible interface like the Focusrite Scarlett is a better long-term investment.
Do I need a pop filter and shock mount?
Yes, these accessories significantly improve audio clarity. A pop filter reduces harsh "p" and "b" sounds that can distort your recording, while a shock mount isolates the microphone from desk vibrations. Even with a high-end microphone, skipping these basics often results in noisy, unprofessional-sounding episodes. They are inexpensive additions that make a noticeable difference in the final mix.
No comments yet. Be the first to share your thoughts!